Making a Crop Top
(The following is not a tutorial but a reflection of my results. Click here to access the tutorial and pattern used.)
1. Pattern Design
The pattern of the crop top consisted in straight lines and curves.
I drew one half of the top and then mirrored it to complete the top.
I selected key points on each line and then determined a path for each point
given a size input.

2. Autodesk Fusion Code and CLO3D
The curves of the top were made using the spline built in function in Fusion.
I also used the canvas feature to import the pdf pattern so that it is easier
to sketch the pattern onto fusion.
After coding the pattern, I tested it using CLO3D. I was able to create an avatar
with the dimensions I wanted and made a crop top for those dimensions. This software
was useful to test out different sizes without actually making them in real life.
3. Custom Crop Top
I decided to make a top for myself,
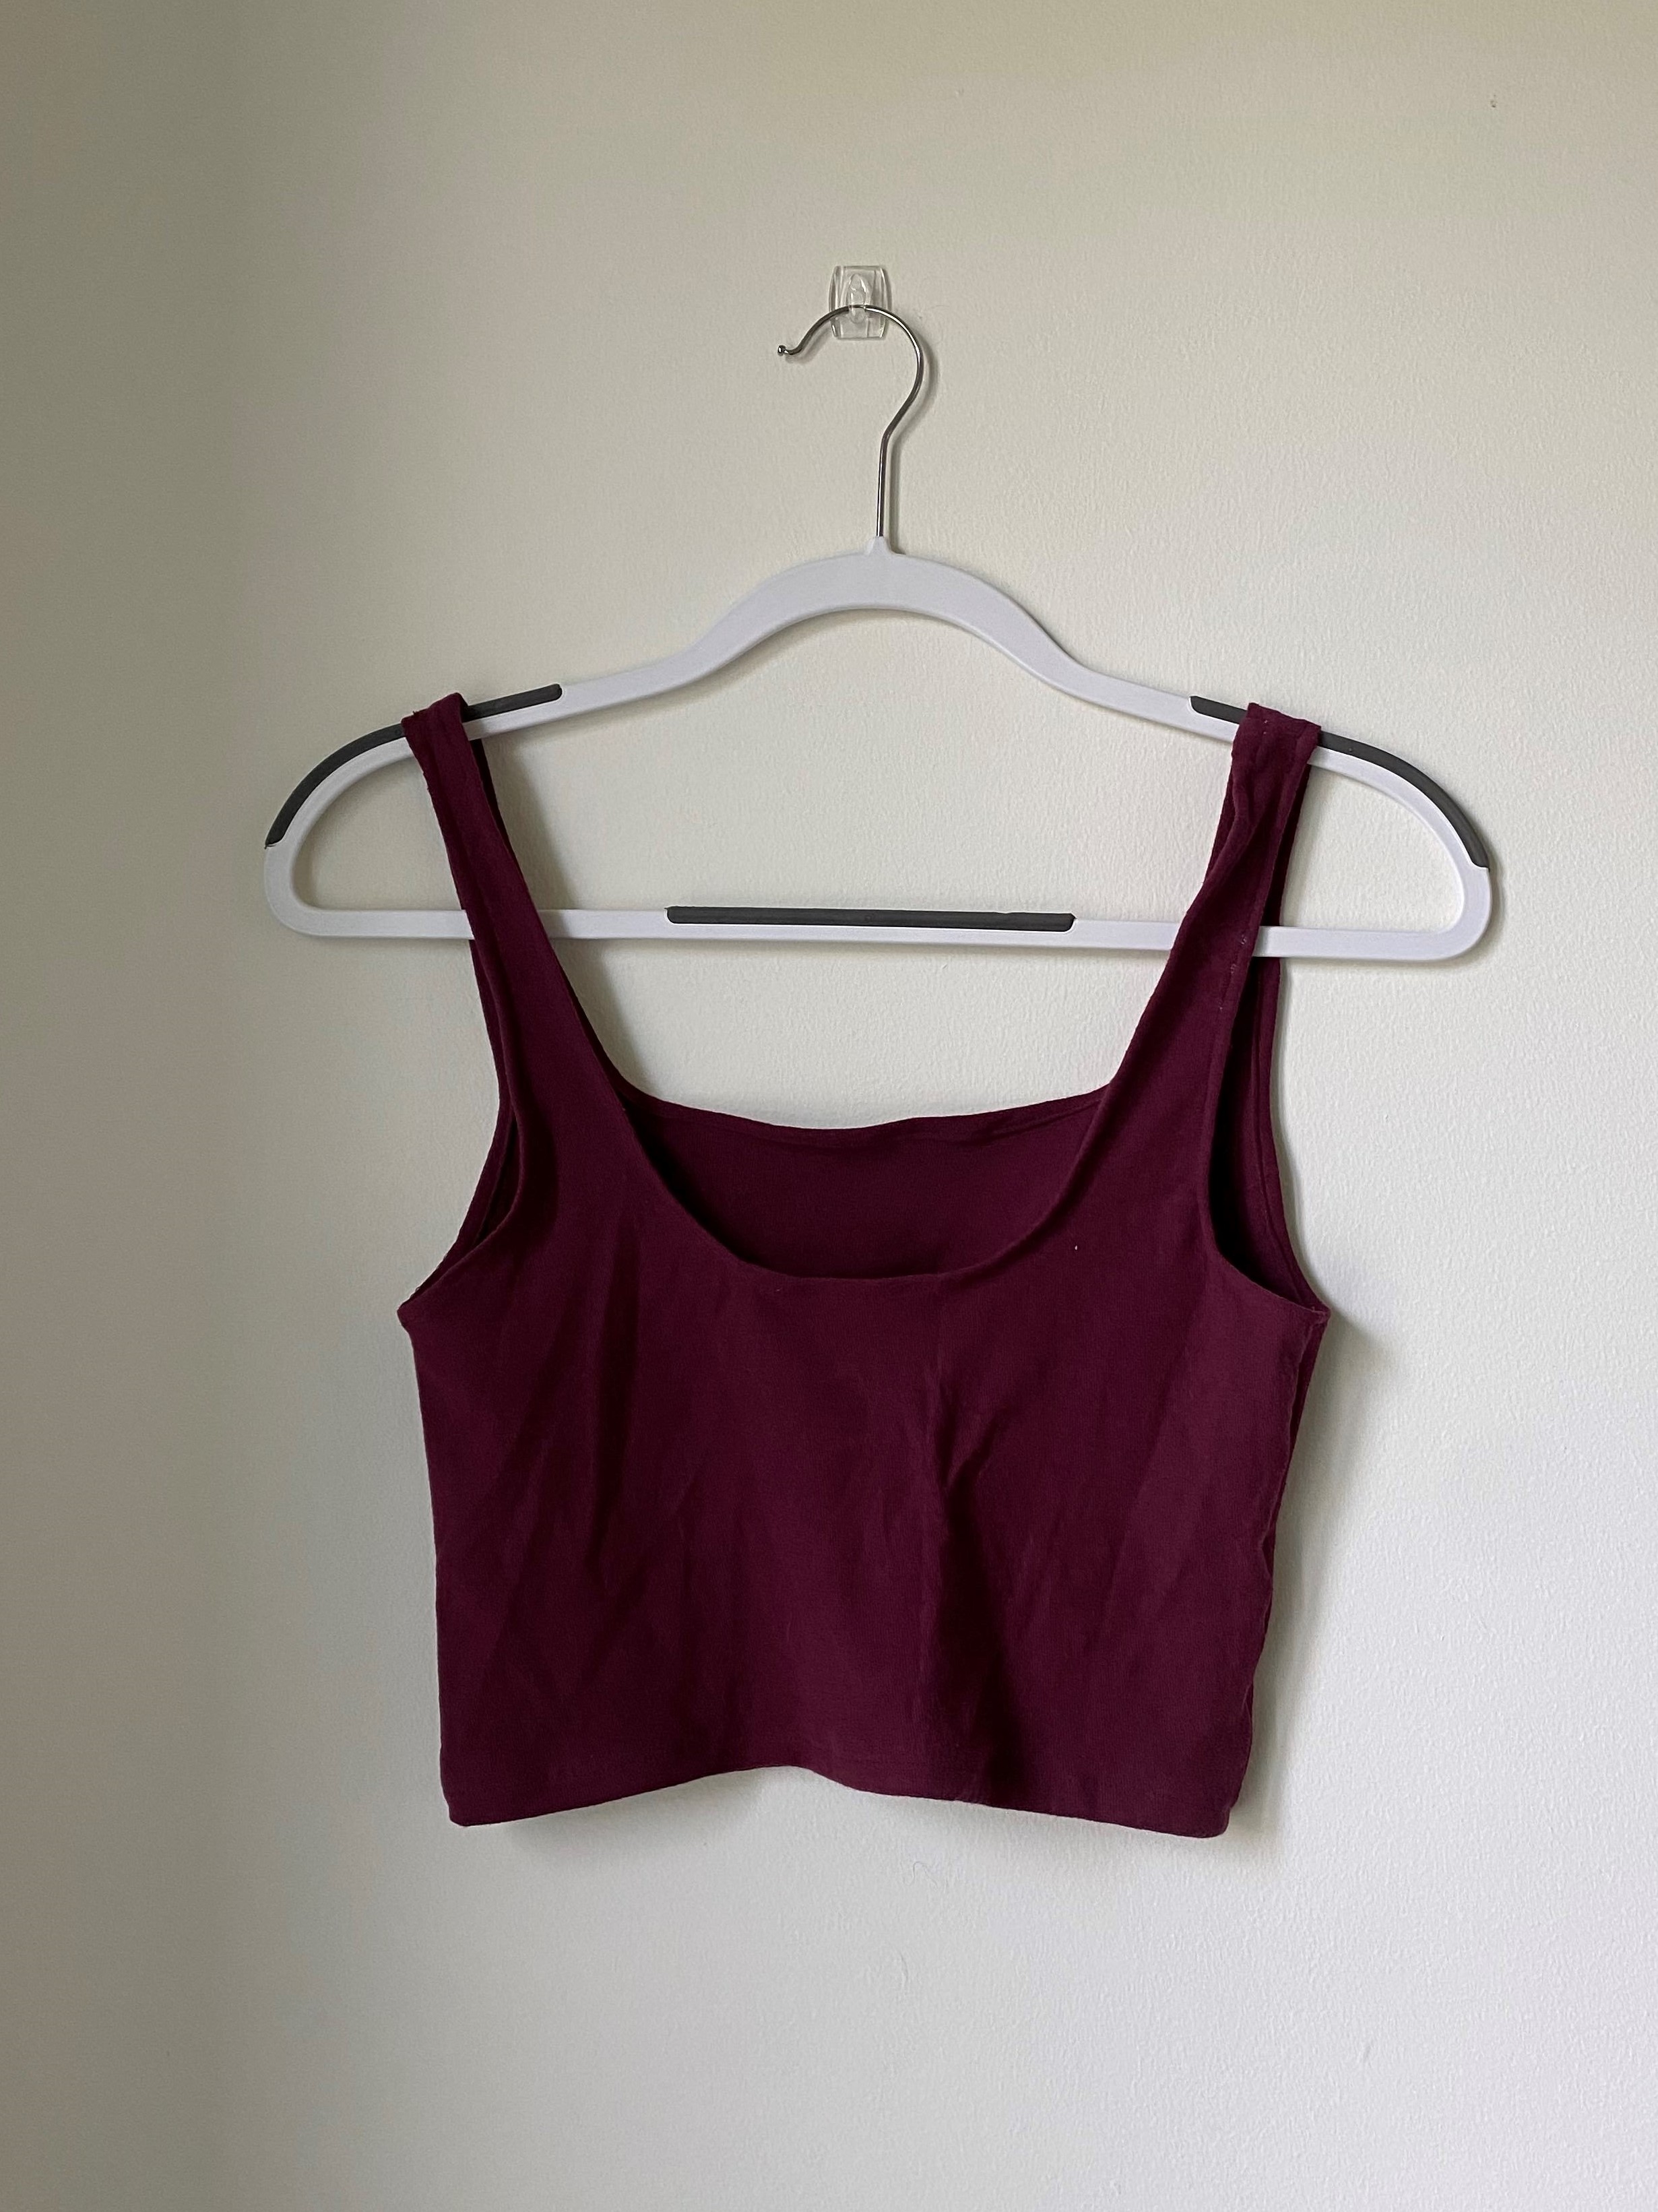
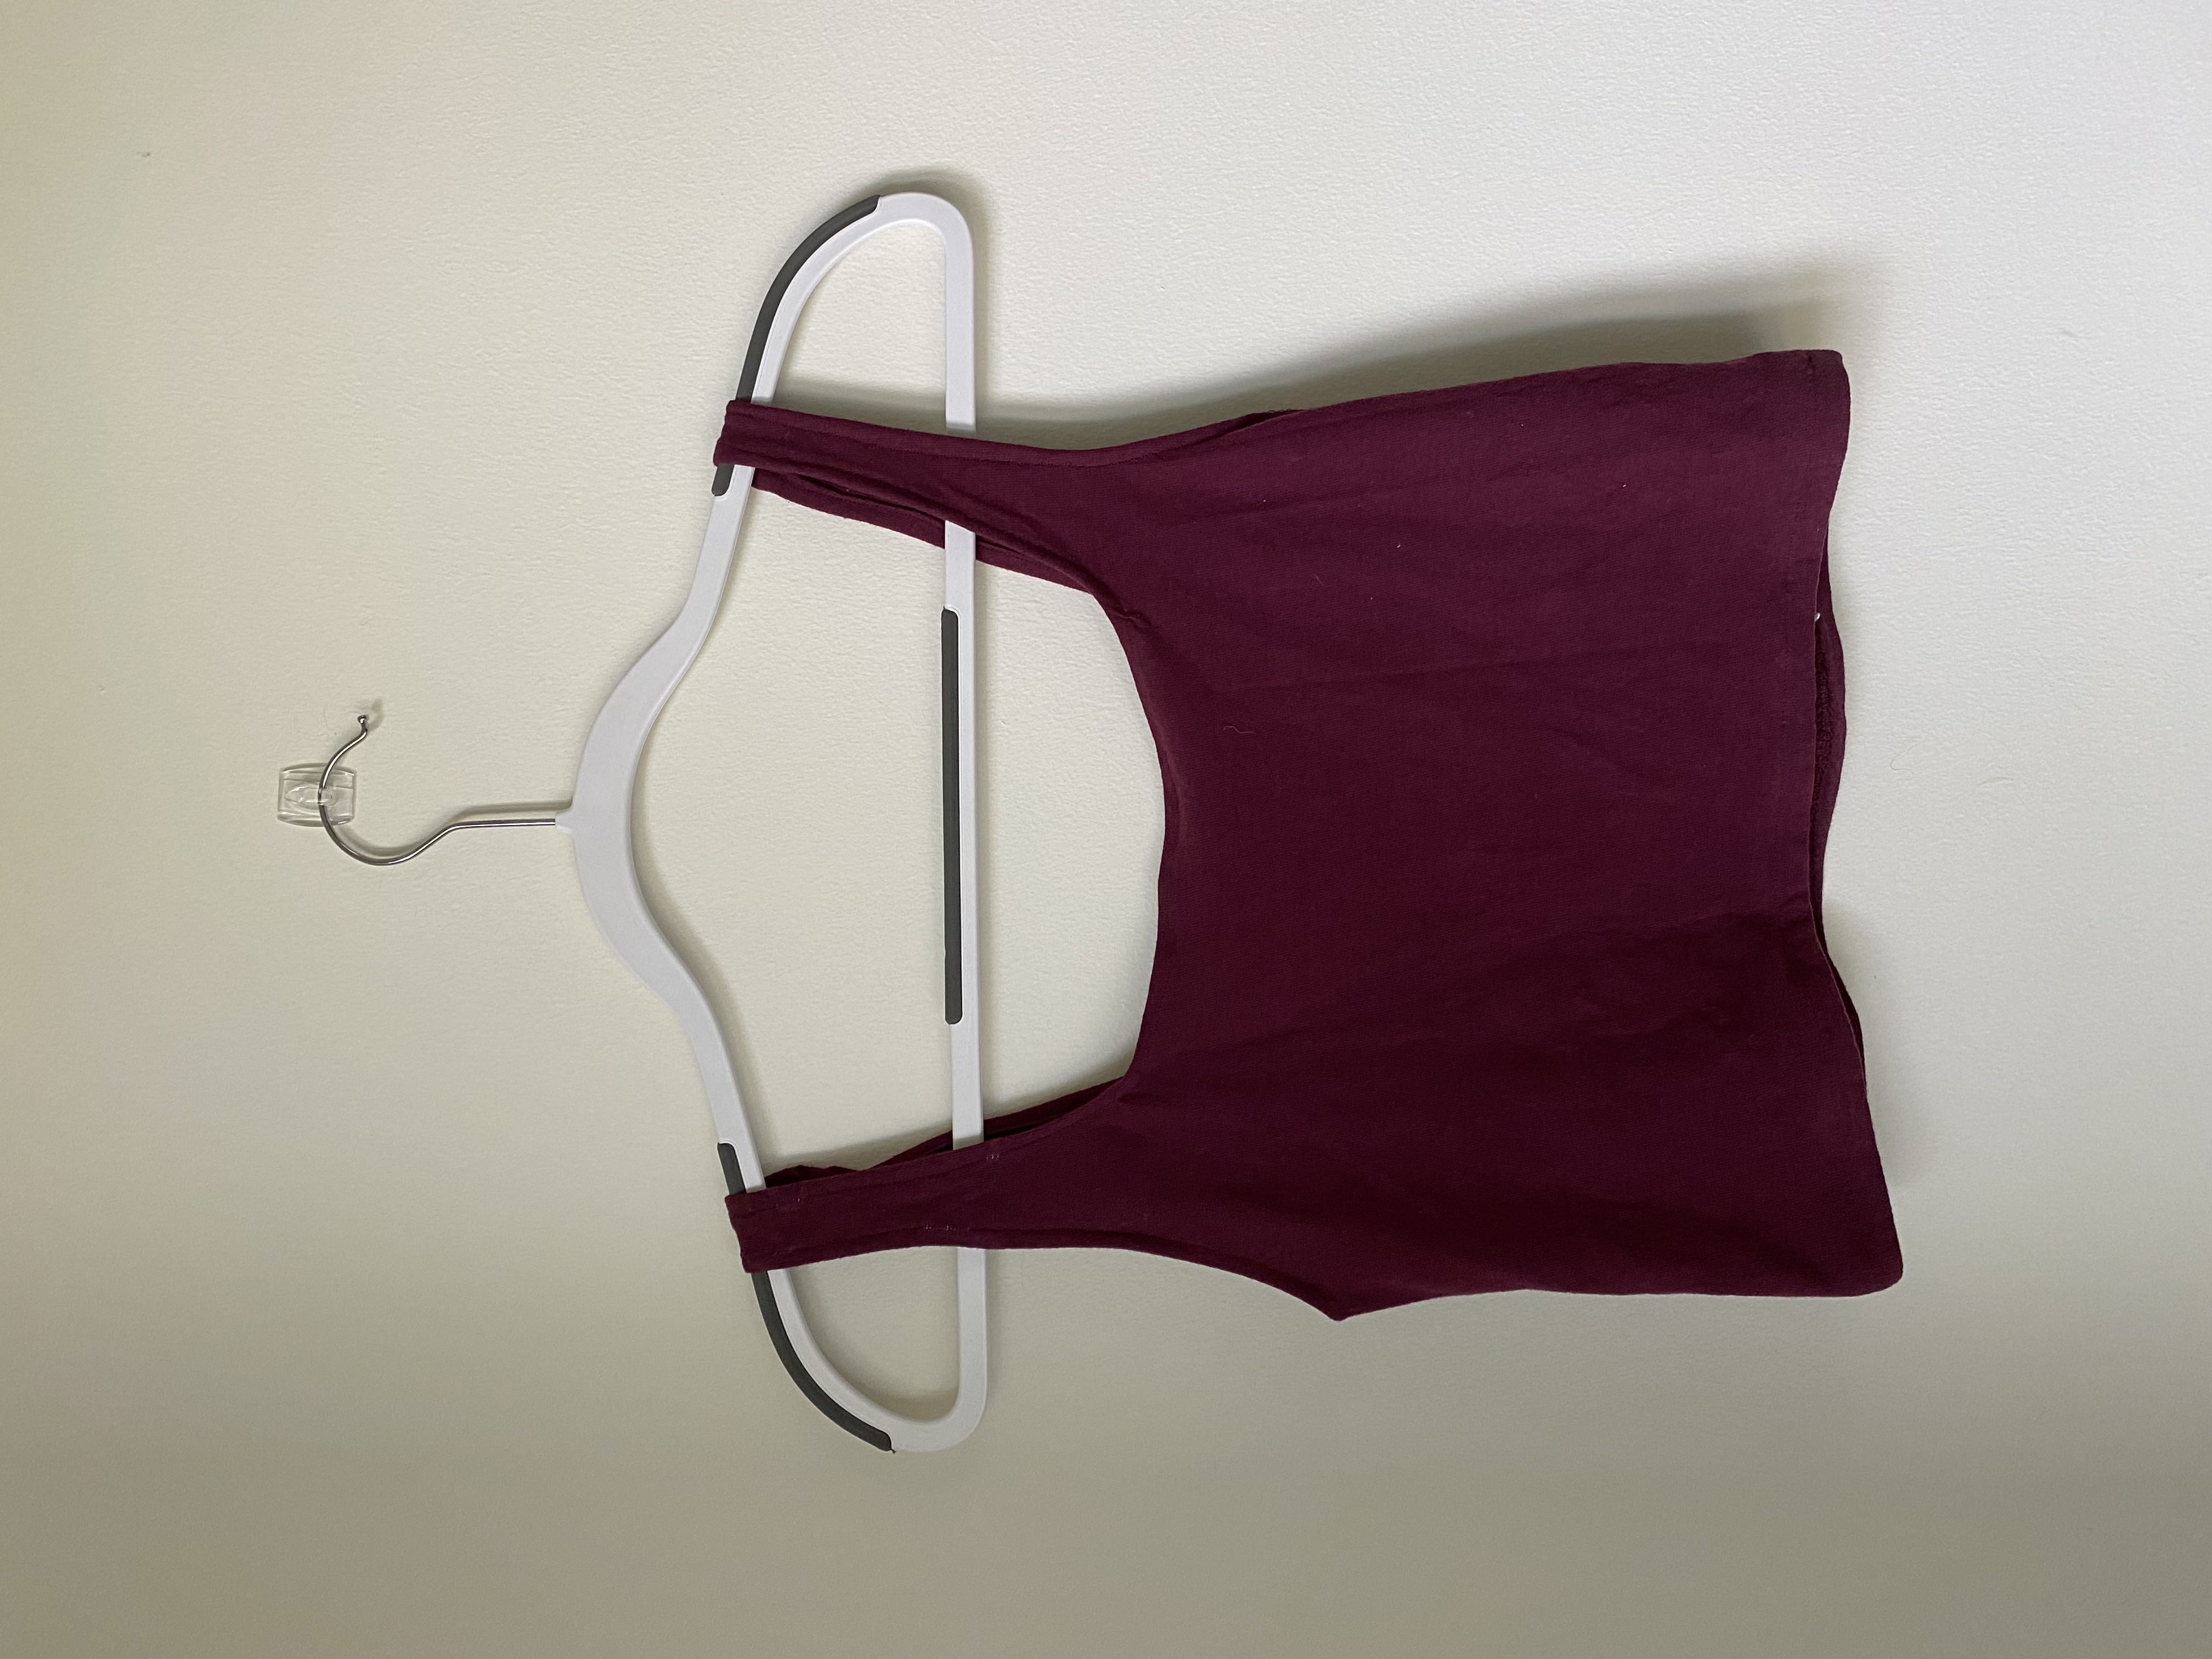
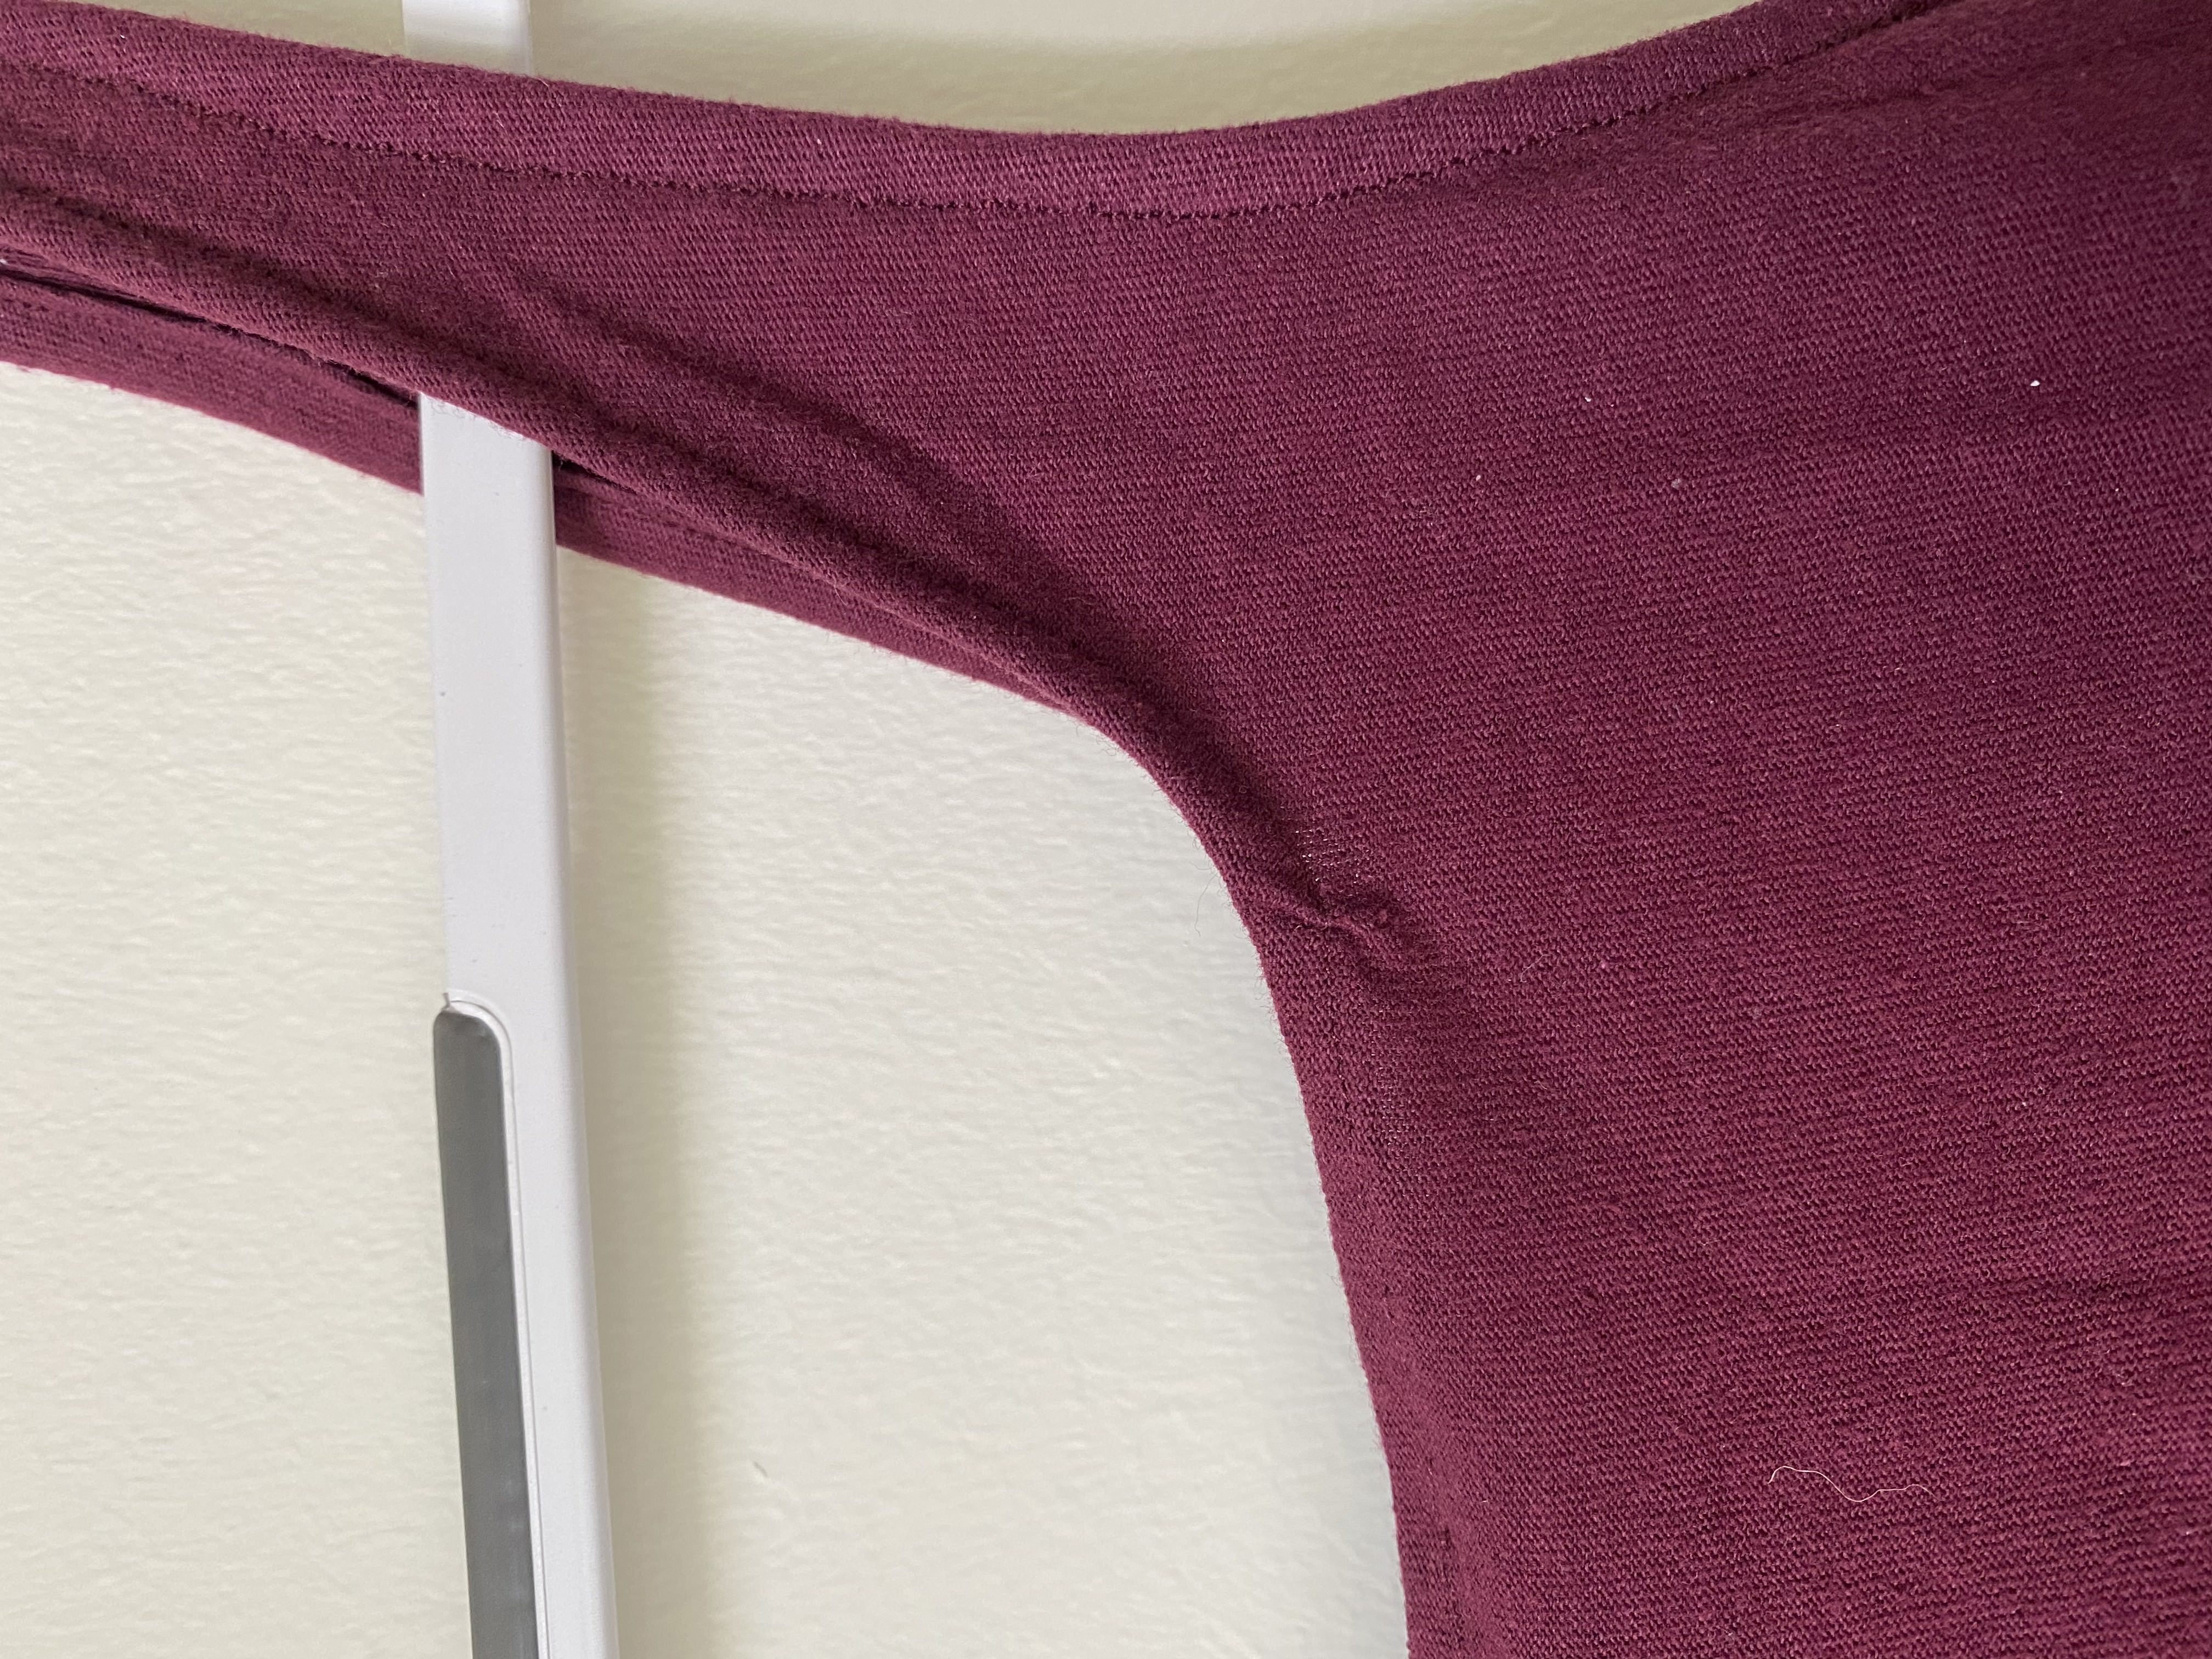
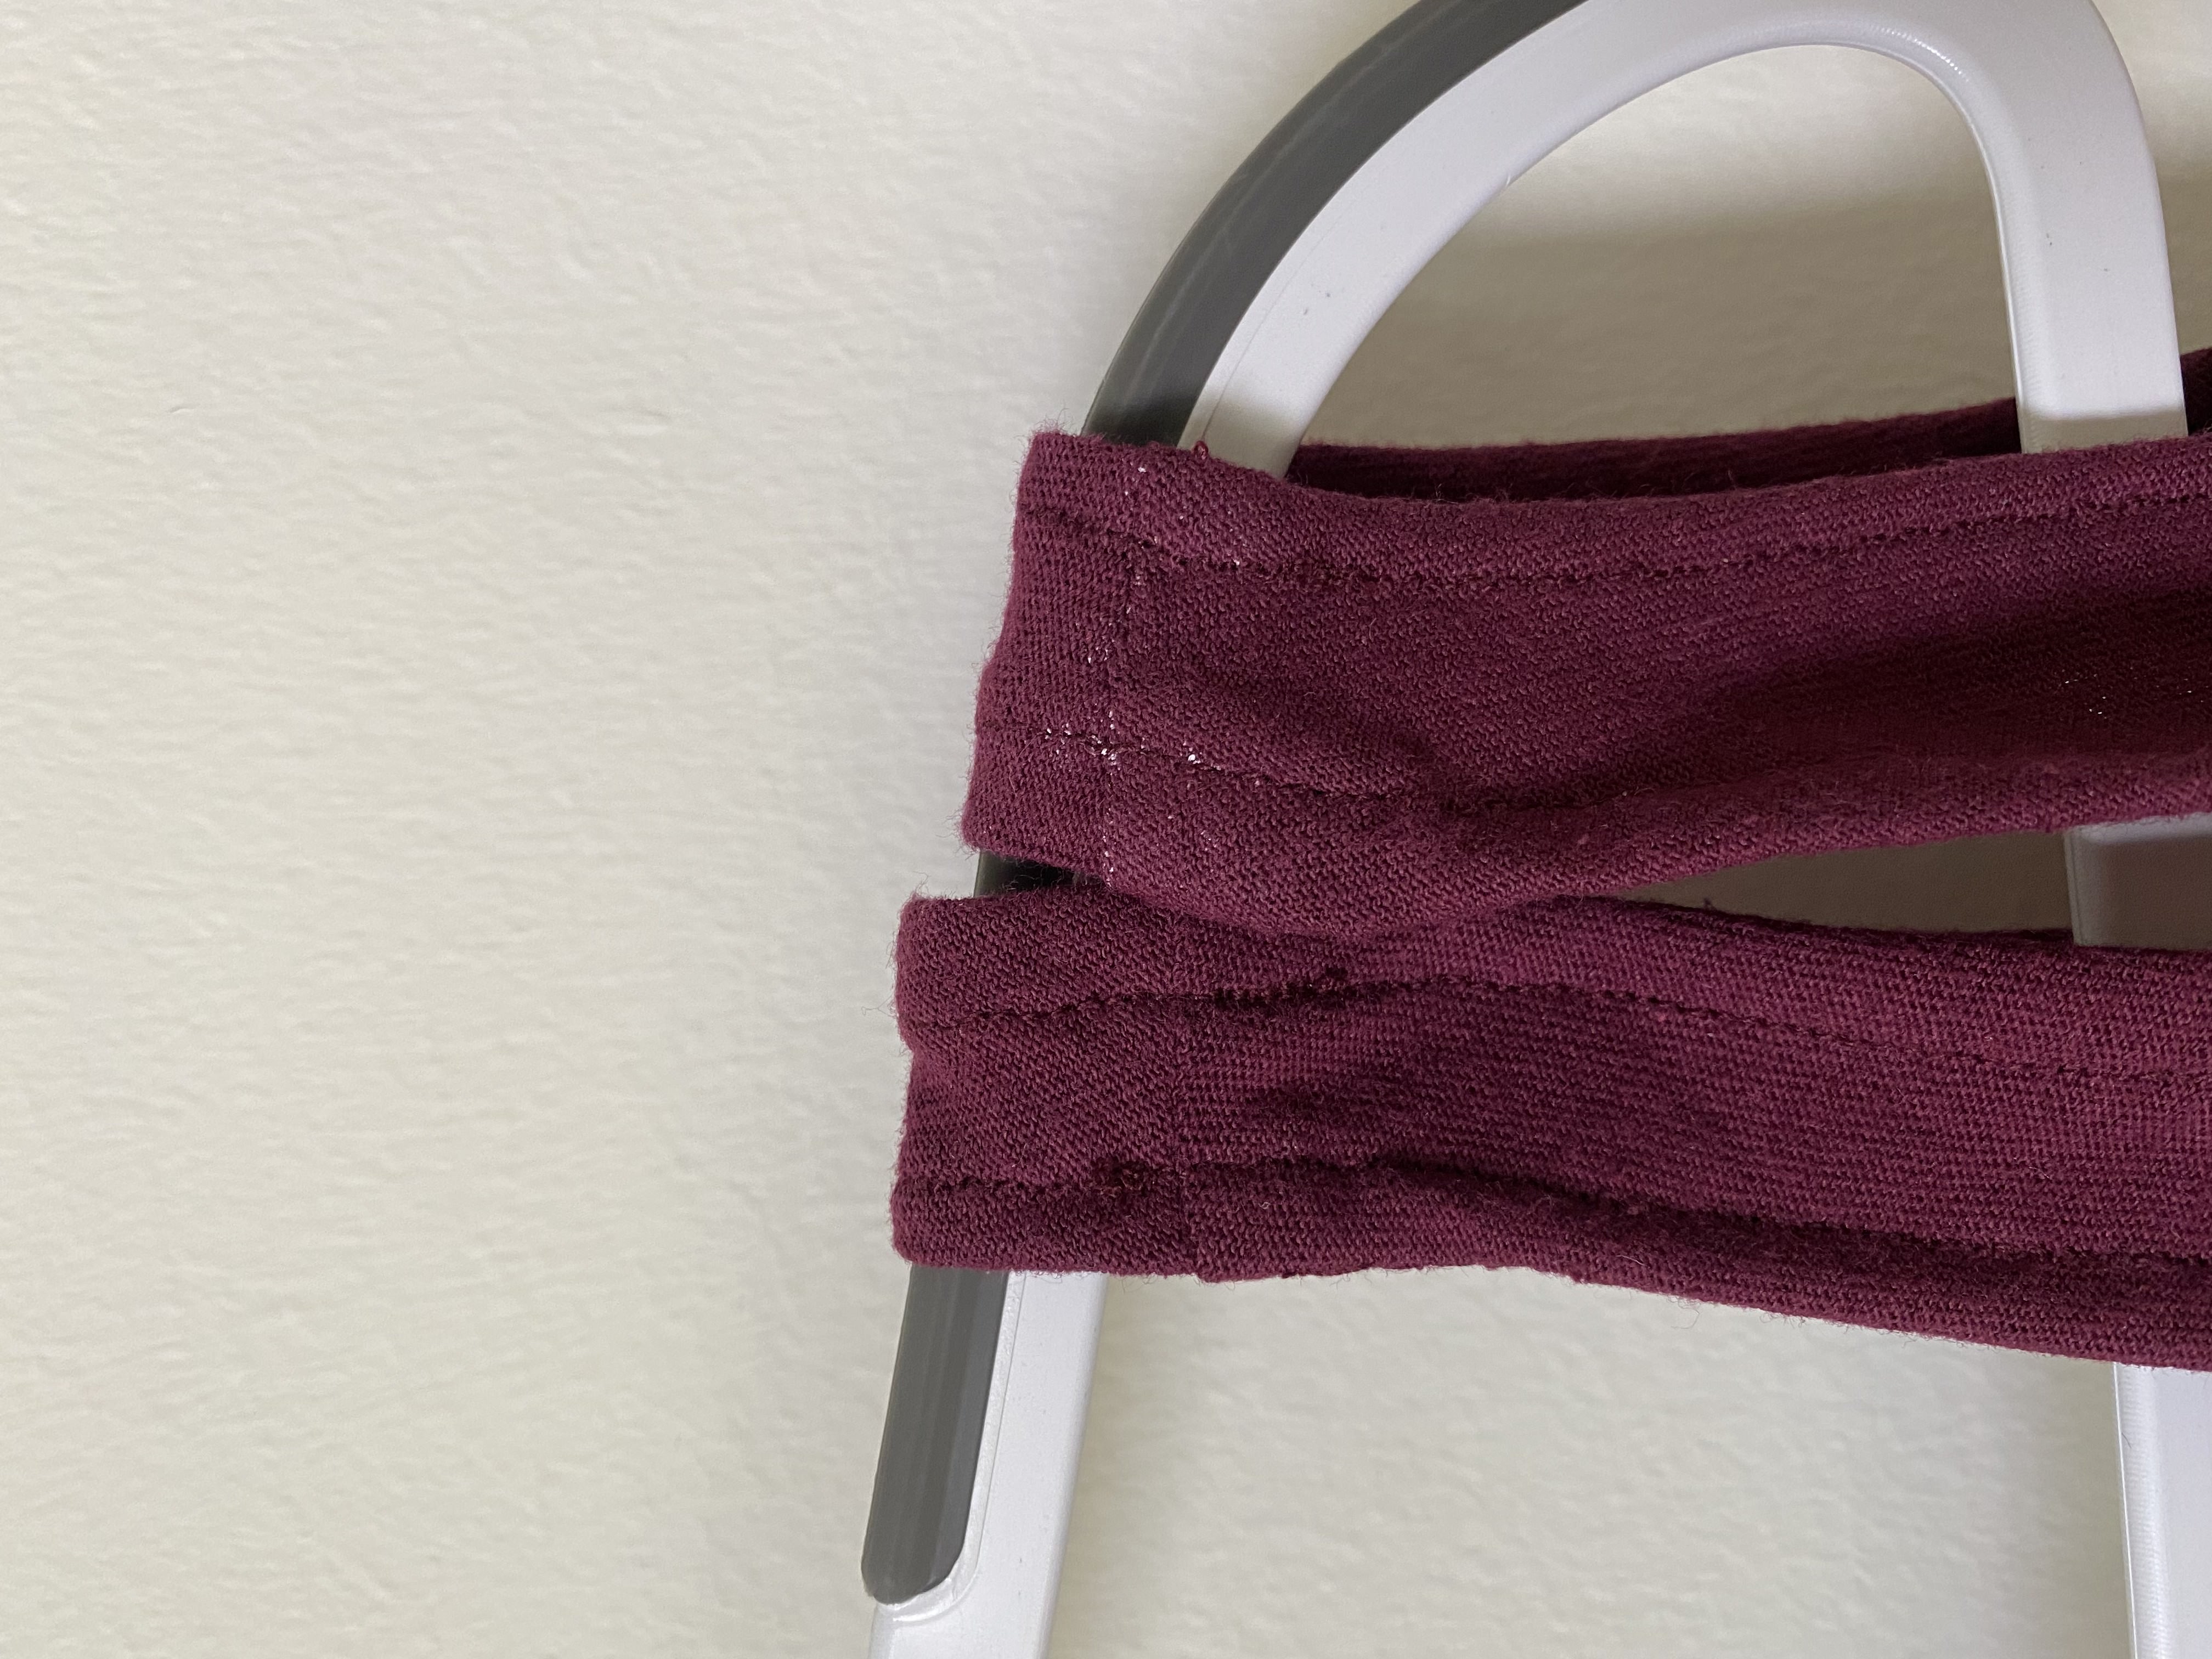
I used an old shirt that had painted lettering. This made it slightly difficult to fold the fabric, which led to slighlty uneven sleeves. In addition, there is a slight indent in the neck when it starts to curve. I have seen in other tutorials that one should normally cut the fabric to release tension. This step was not shown in the tutorial but it should be important to do.
The calculations of the top were pretty accurate. One downside is that a lot of time was spent picking points and calculating how they change. One way to improve this might be making Fusion select the key points rather than manually selecting them.