Coding a Pouch Pattern
Contents
1. Pattern of Pouch
The pattern of the pouch is based on
noodlehead's tutorial and is very simple. It consists of four rectangles
of the same size. Two of them are used for the exterior and the other two for the lining.
To prevent confusion, I will be referring to the dimensions of the pouch as
height, width, and depth--x,y, and z respectively-- while the dimensions
of the pattern, length and width, will be L and W.
Intuitively, I noticed that L, length of pattern, depends on height and depth, x and z, but not on width, y;
and W, the width, depends on width and depth, y and z, but not height, x.
This may not be 100% correct but serves the purposes with the numbers that I will be working with.
From this, I can write the following function
where a, b, c and d are constants. These can be put in matrix form and using the dimensions given in noodlehead's site, we can find the coefficients and then use this equation to create pouch patterns. $$ \begin{bmatrix} 7 \\ 9 \\ 11 \\ \end{bmatrix} = \begin{bmatrix} 4.5 & 3.5 \\ 6 & 4 \\ 8.5 & 4.5 \\ \end{bmatrix} \begin{bmatrix} a \\ b \\ \end{bmatrix} $$ $$ \begin{bmatrix} 10 \\ 12 \\ 14 \\ \end{bmatrix} = \begin{bmatrix} 5 & 3.5 \\ 6.5 & 4 \\ 8 & 4.5 \\ \end{bmatrix} \begin{bmatrix} c \\ d \\ \end{bmatrix} $$ I used MATLAB to solve for the coefficients (download MATLAB file here) and arrived to the following equations. $$L(x,z) = 0.6847x + 1.1669z$$ $$W(y,z) = 0.7273y + 1.8182z$$
2. Fusion 360's API
Autodesk Fusion is a design and modeling software. As read in the title, Fusion has an application programing interface (API). This allows users to access the features of the software through code. The language used for this project was python. Even though Fusion has its own built in function to obtain user inputs, I used tkinter library for the sake of simplicity. (Download the code here)
length, width, and depth of pouch
As an alternative, use Inspect > Measure (as shown above) to check the dimensions of the pattern
In the images above, the dimensions inputted were that of the small pouch. It resulted in a rectangular pattern with dimensions of 7.222 inches by 10.079 inches. This is very close to the pattern that was suggested, 7 inches by 10 inches. Similarly, all other sizes obtained similar results.
3. Customized Pouch
Now that the math and code are set, we can now create a customized pouch. I entered the dimensions of a 4x7x5 in pouch and the code produced a pouch pattern with dimensions of 8.641x14.294 in.
The dimensions were used to cut a piece of fabric using a laser cutter. The speed and power of the laser was changed to cut the cloth properly. Temporary glue was used to put the piece of fabric on top of a piece of wood so that it remained flat during the cutting process.

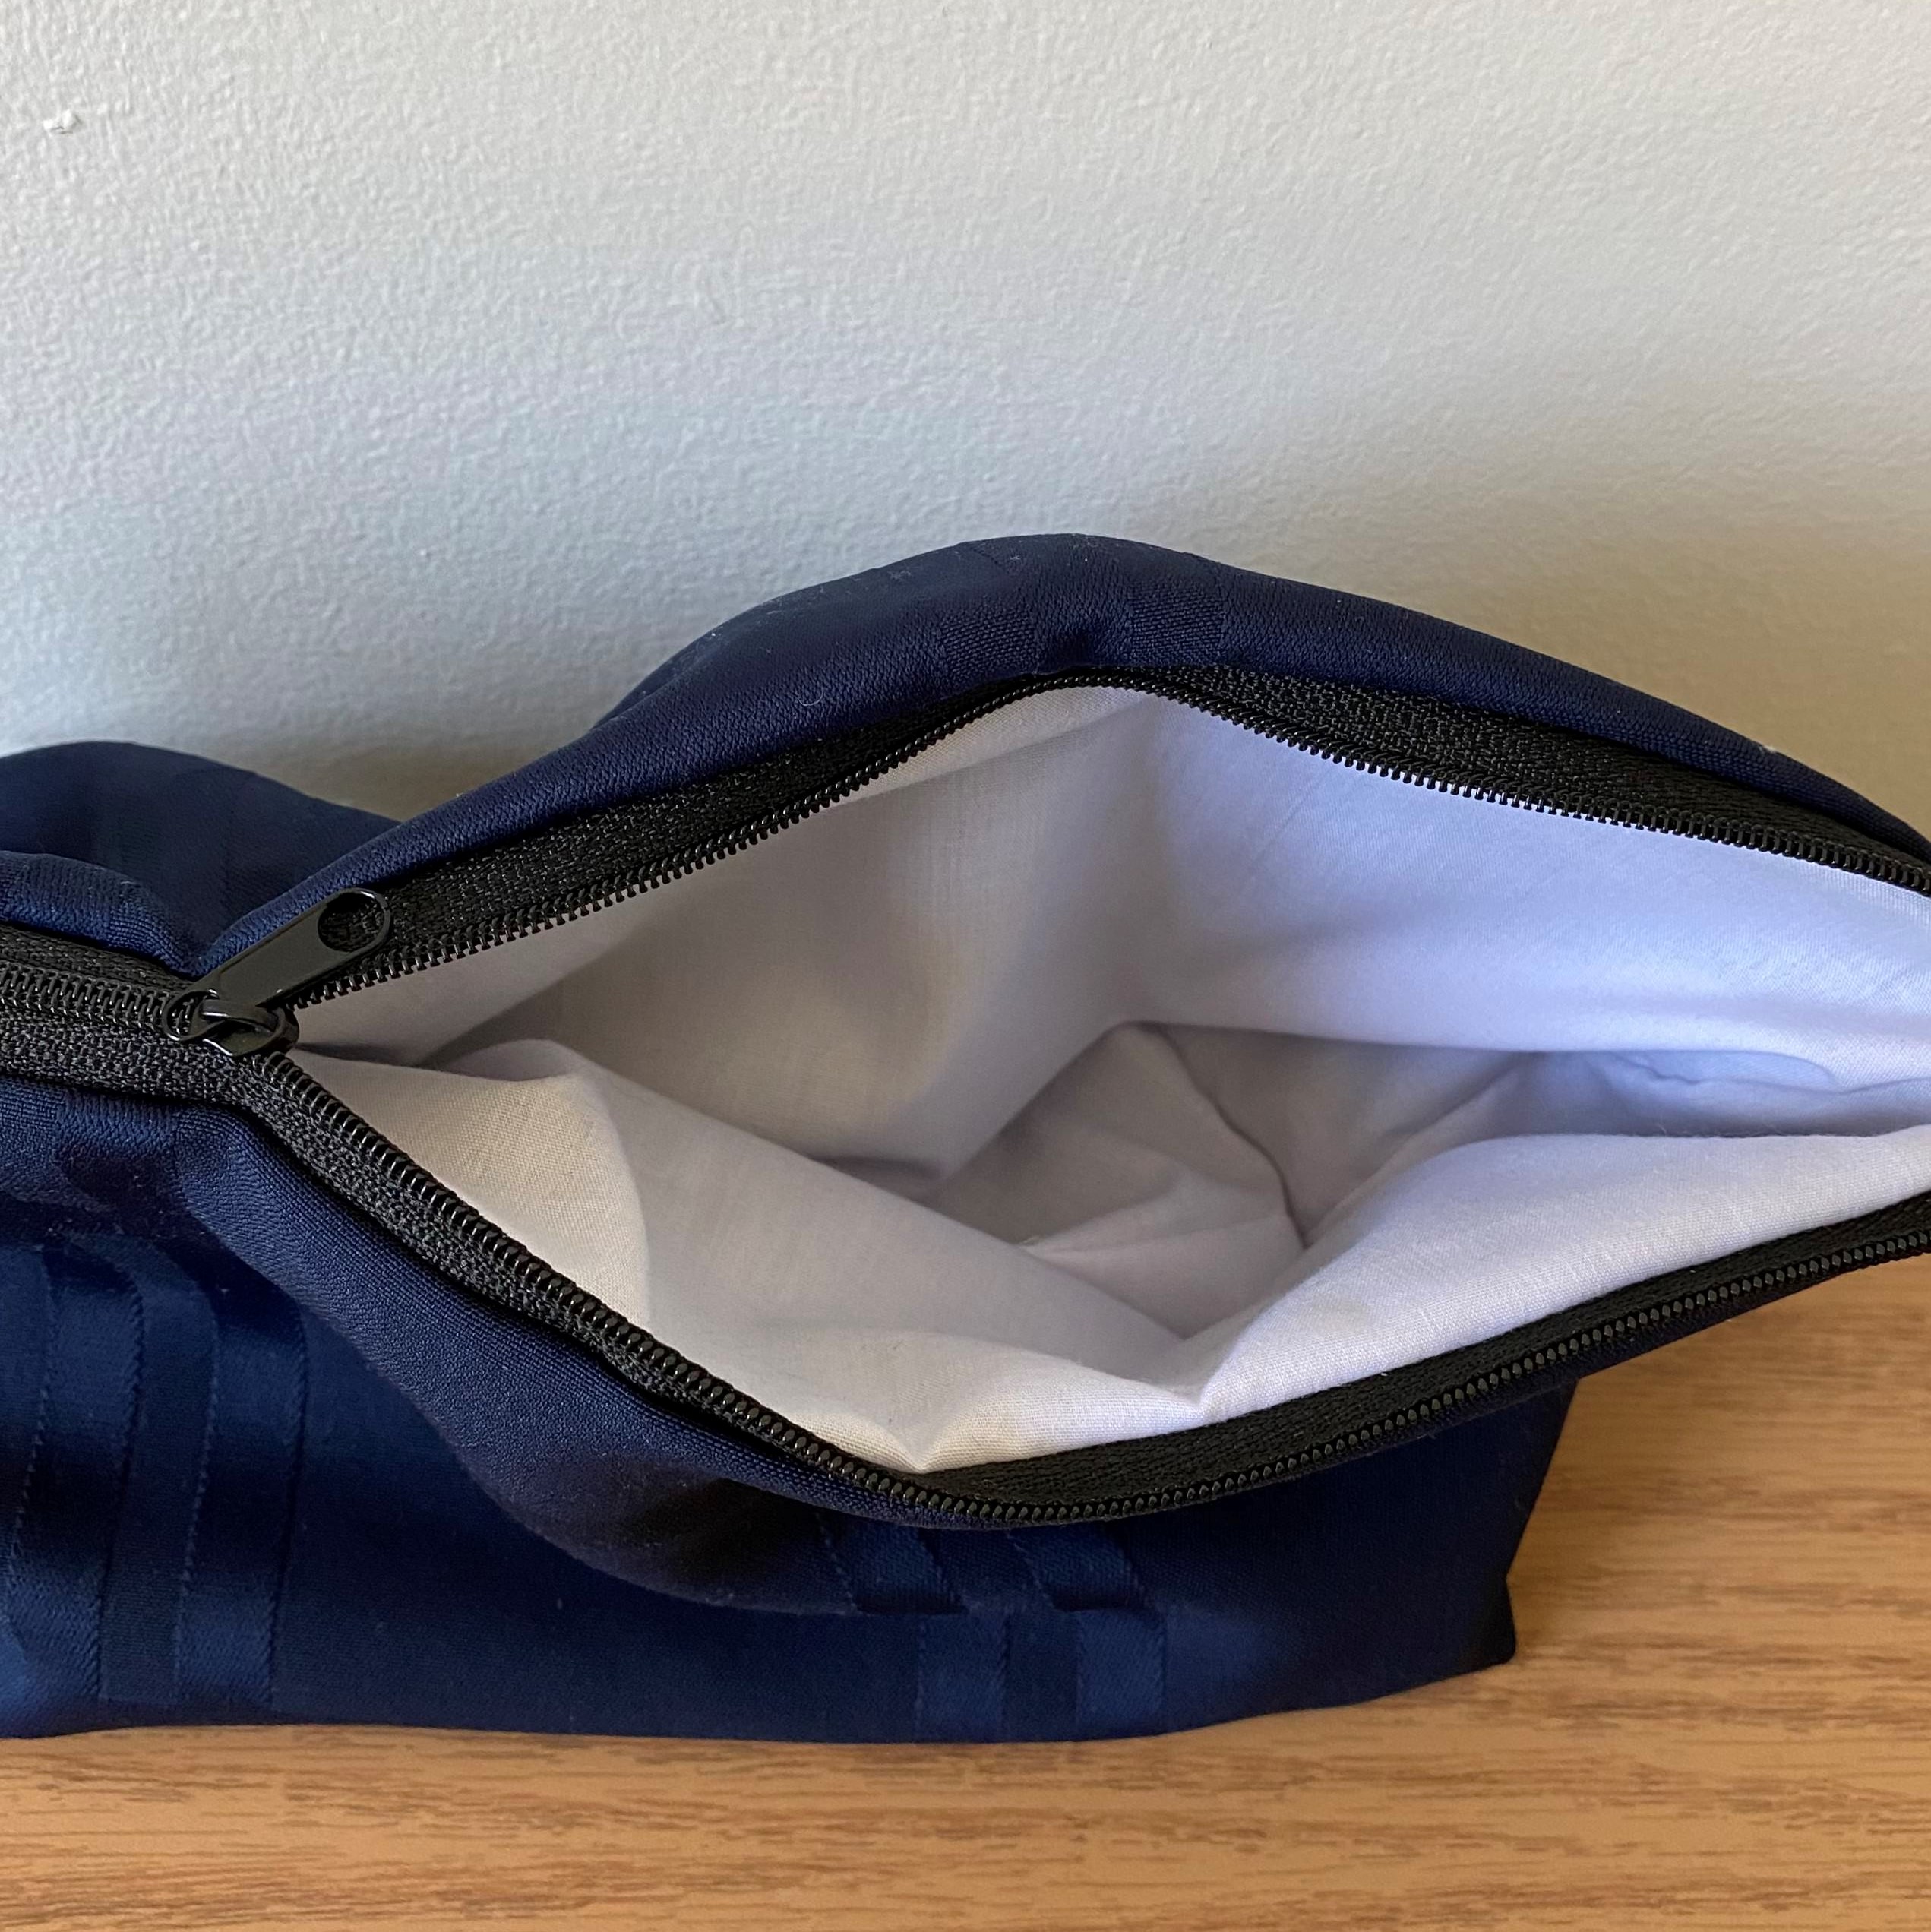
The pieces were sewn together using a sewing machine as instructed in the tutorial. Some modifications were made such as sewing the zipper inside the pouch so that it does not stick out and the seam allowance was decreased to 3/8". The latter one was done because the temporary glue on the fabric made the fabric stick or move not as smoothly on the sewing machine. Decreasing the seam allowance seemed to help with this issue.
Results:
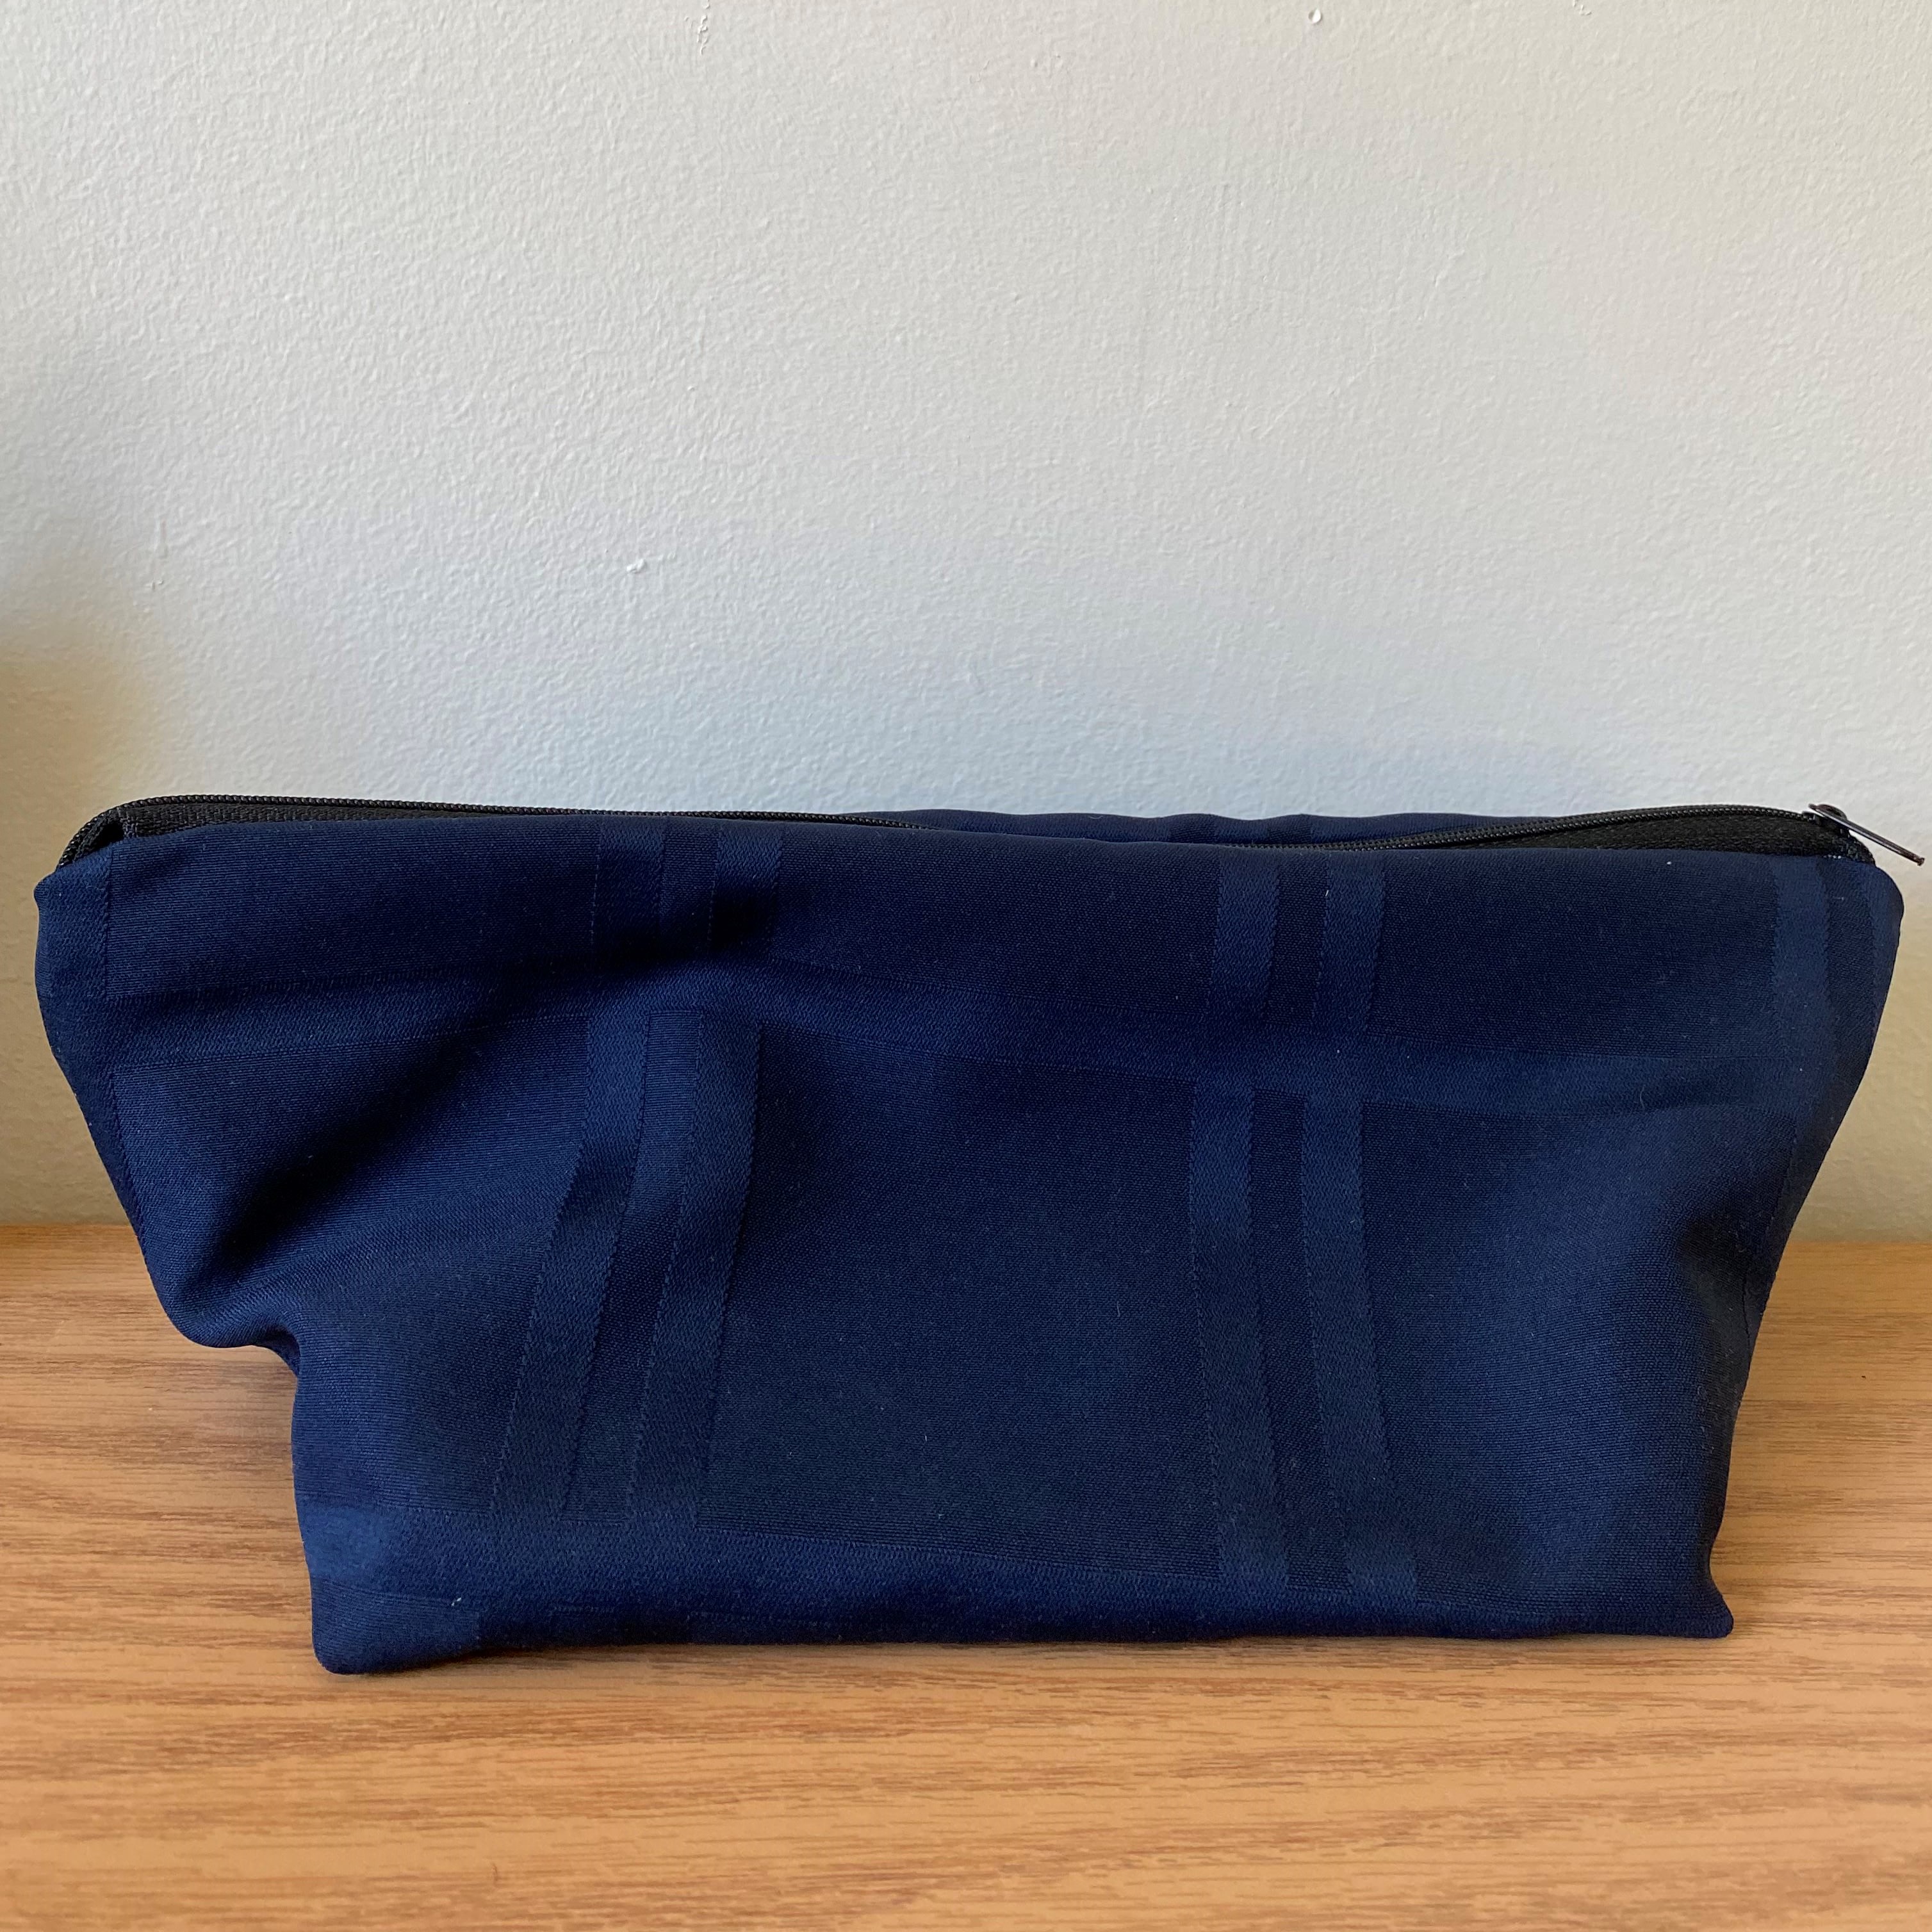
The final dimensions of the pouch were 4.75x8x5 in.
The pouch created did not have the exact dimensions as what was inputted and
were roughly an inch larger than expected. The depth was
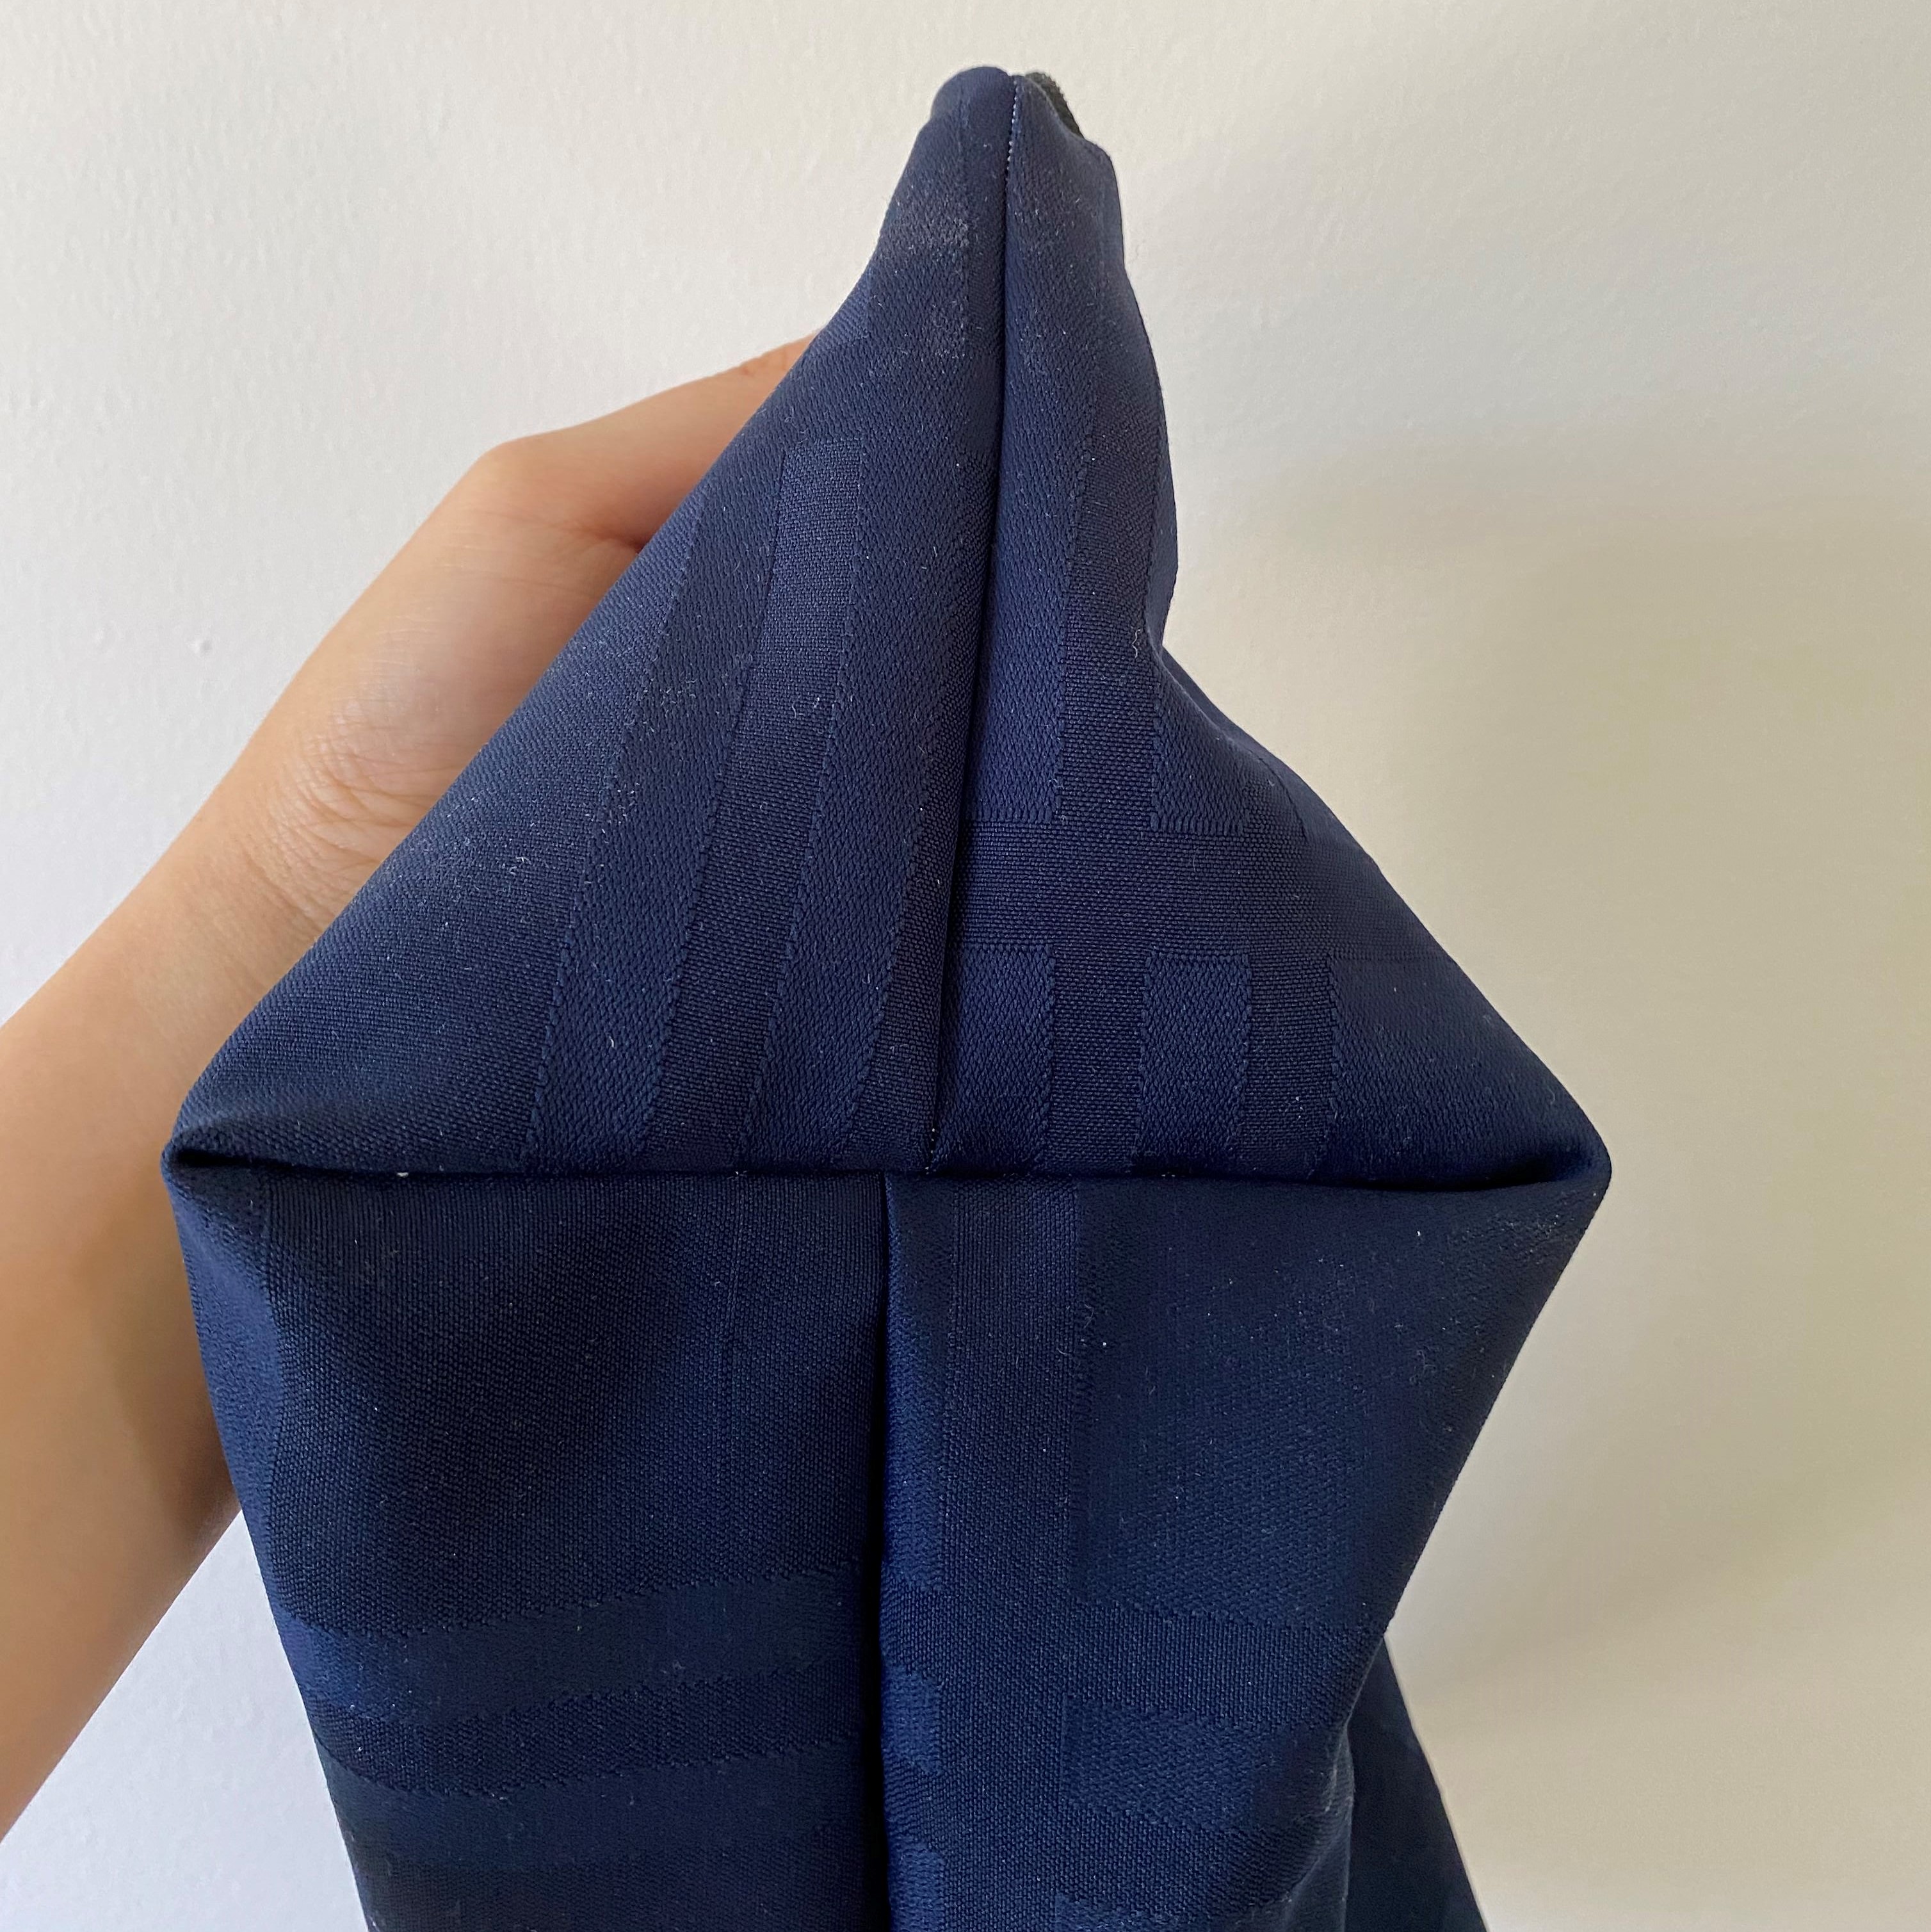
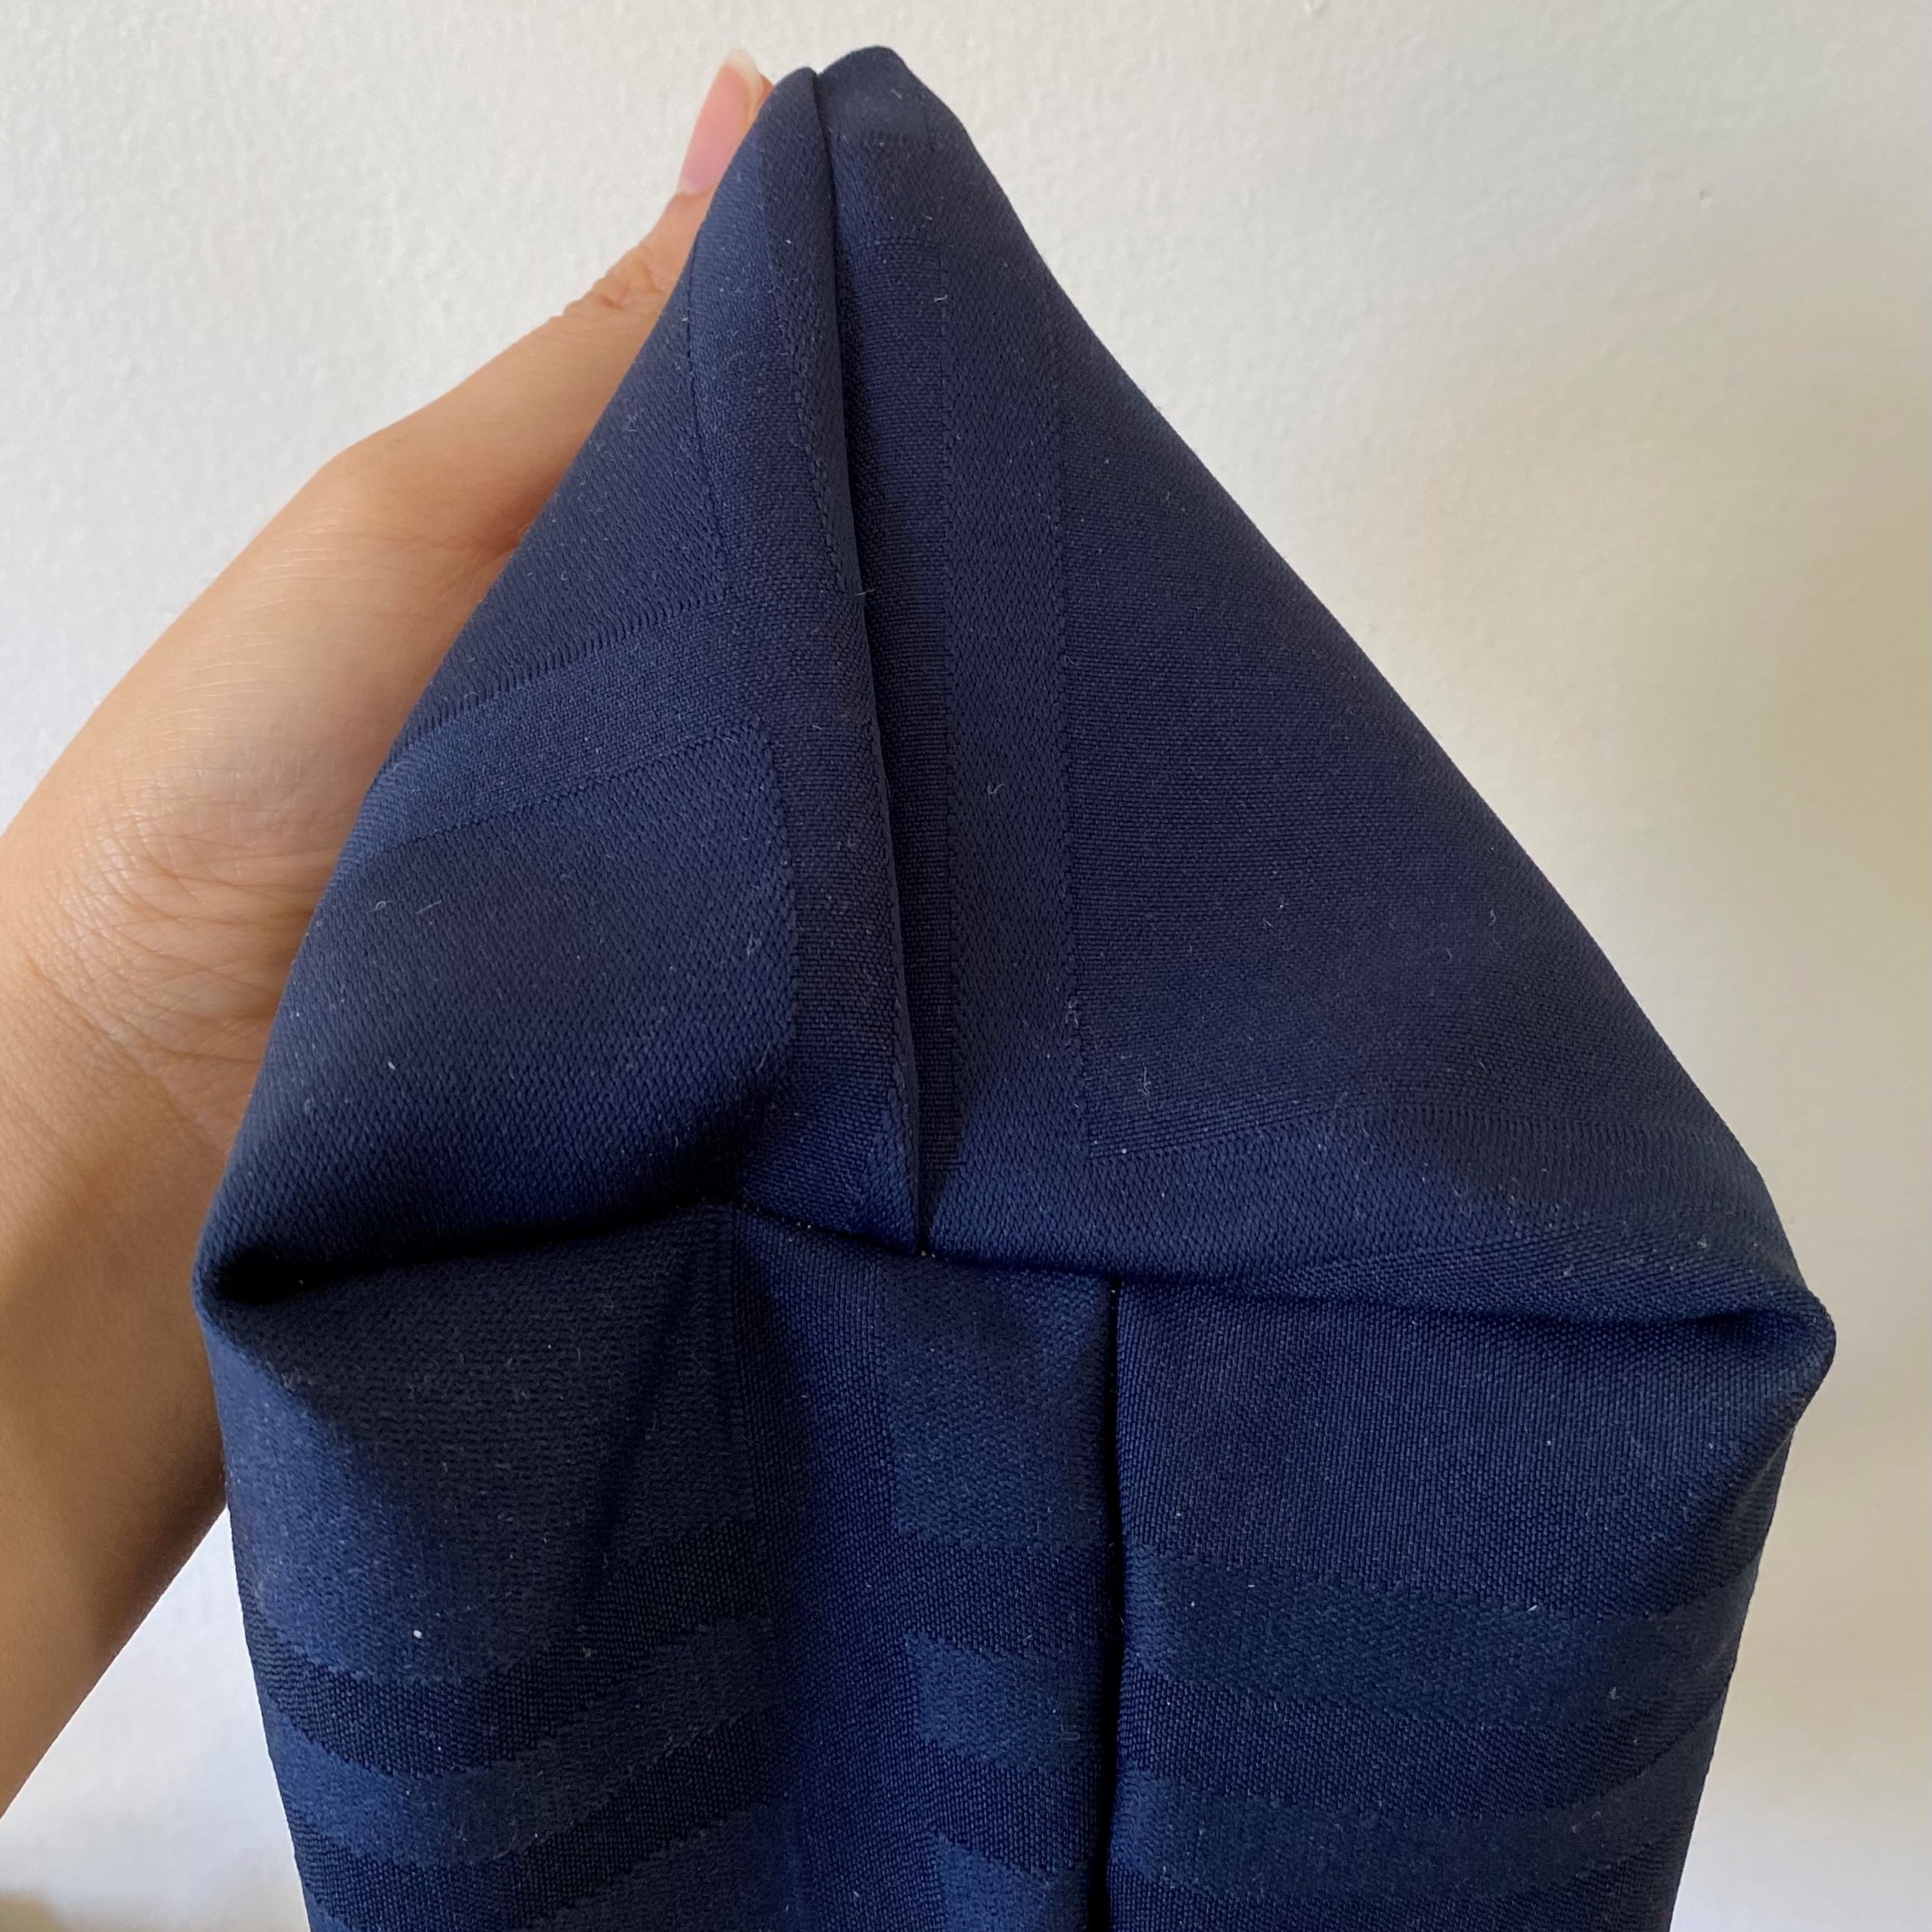
accurate since this had to be measured when the pieces were sewn together. The inaccuracies
might have come from the fact that the seam allowance was changed. To solve this,
the fabric should be washed, to remove the glue, before it's sewn.


