Making a Shirt
(The following is not a tutorial but a reflection of my results. Click here to access the tutorial and pattern used.)
1. Putting the pattern together
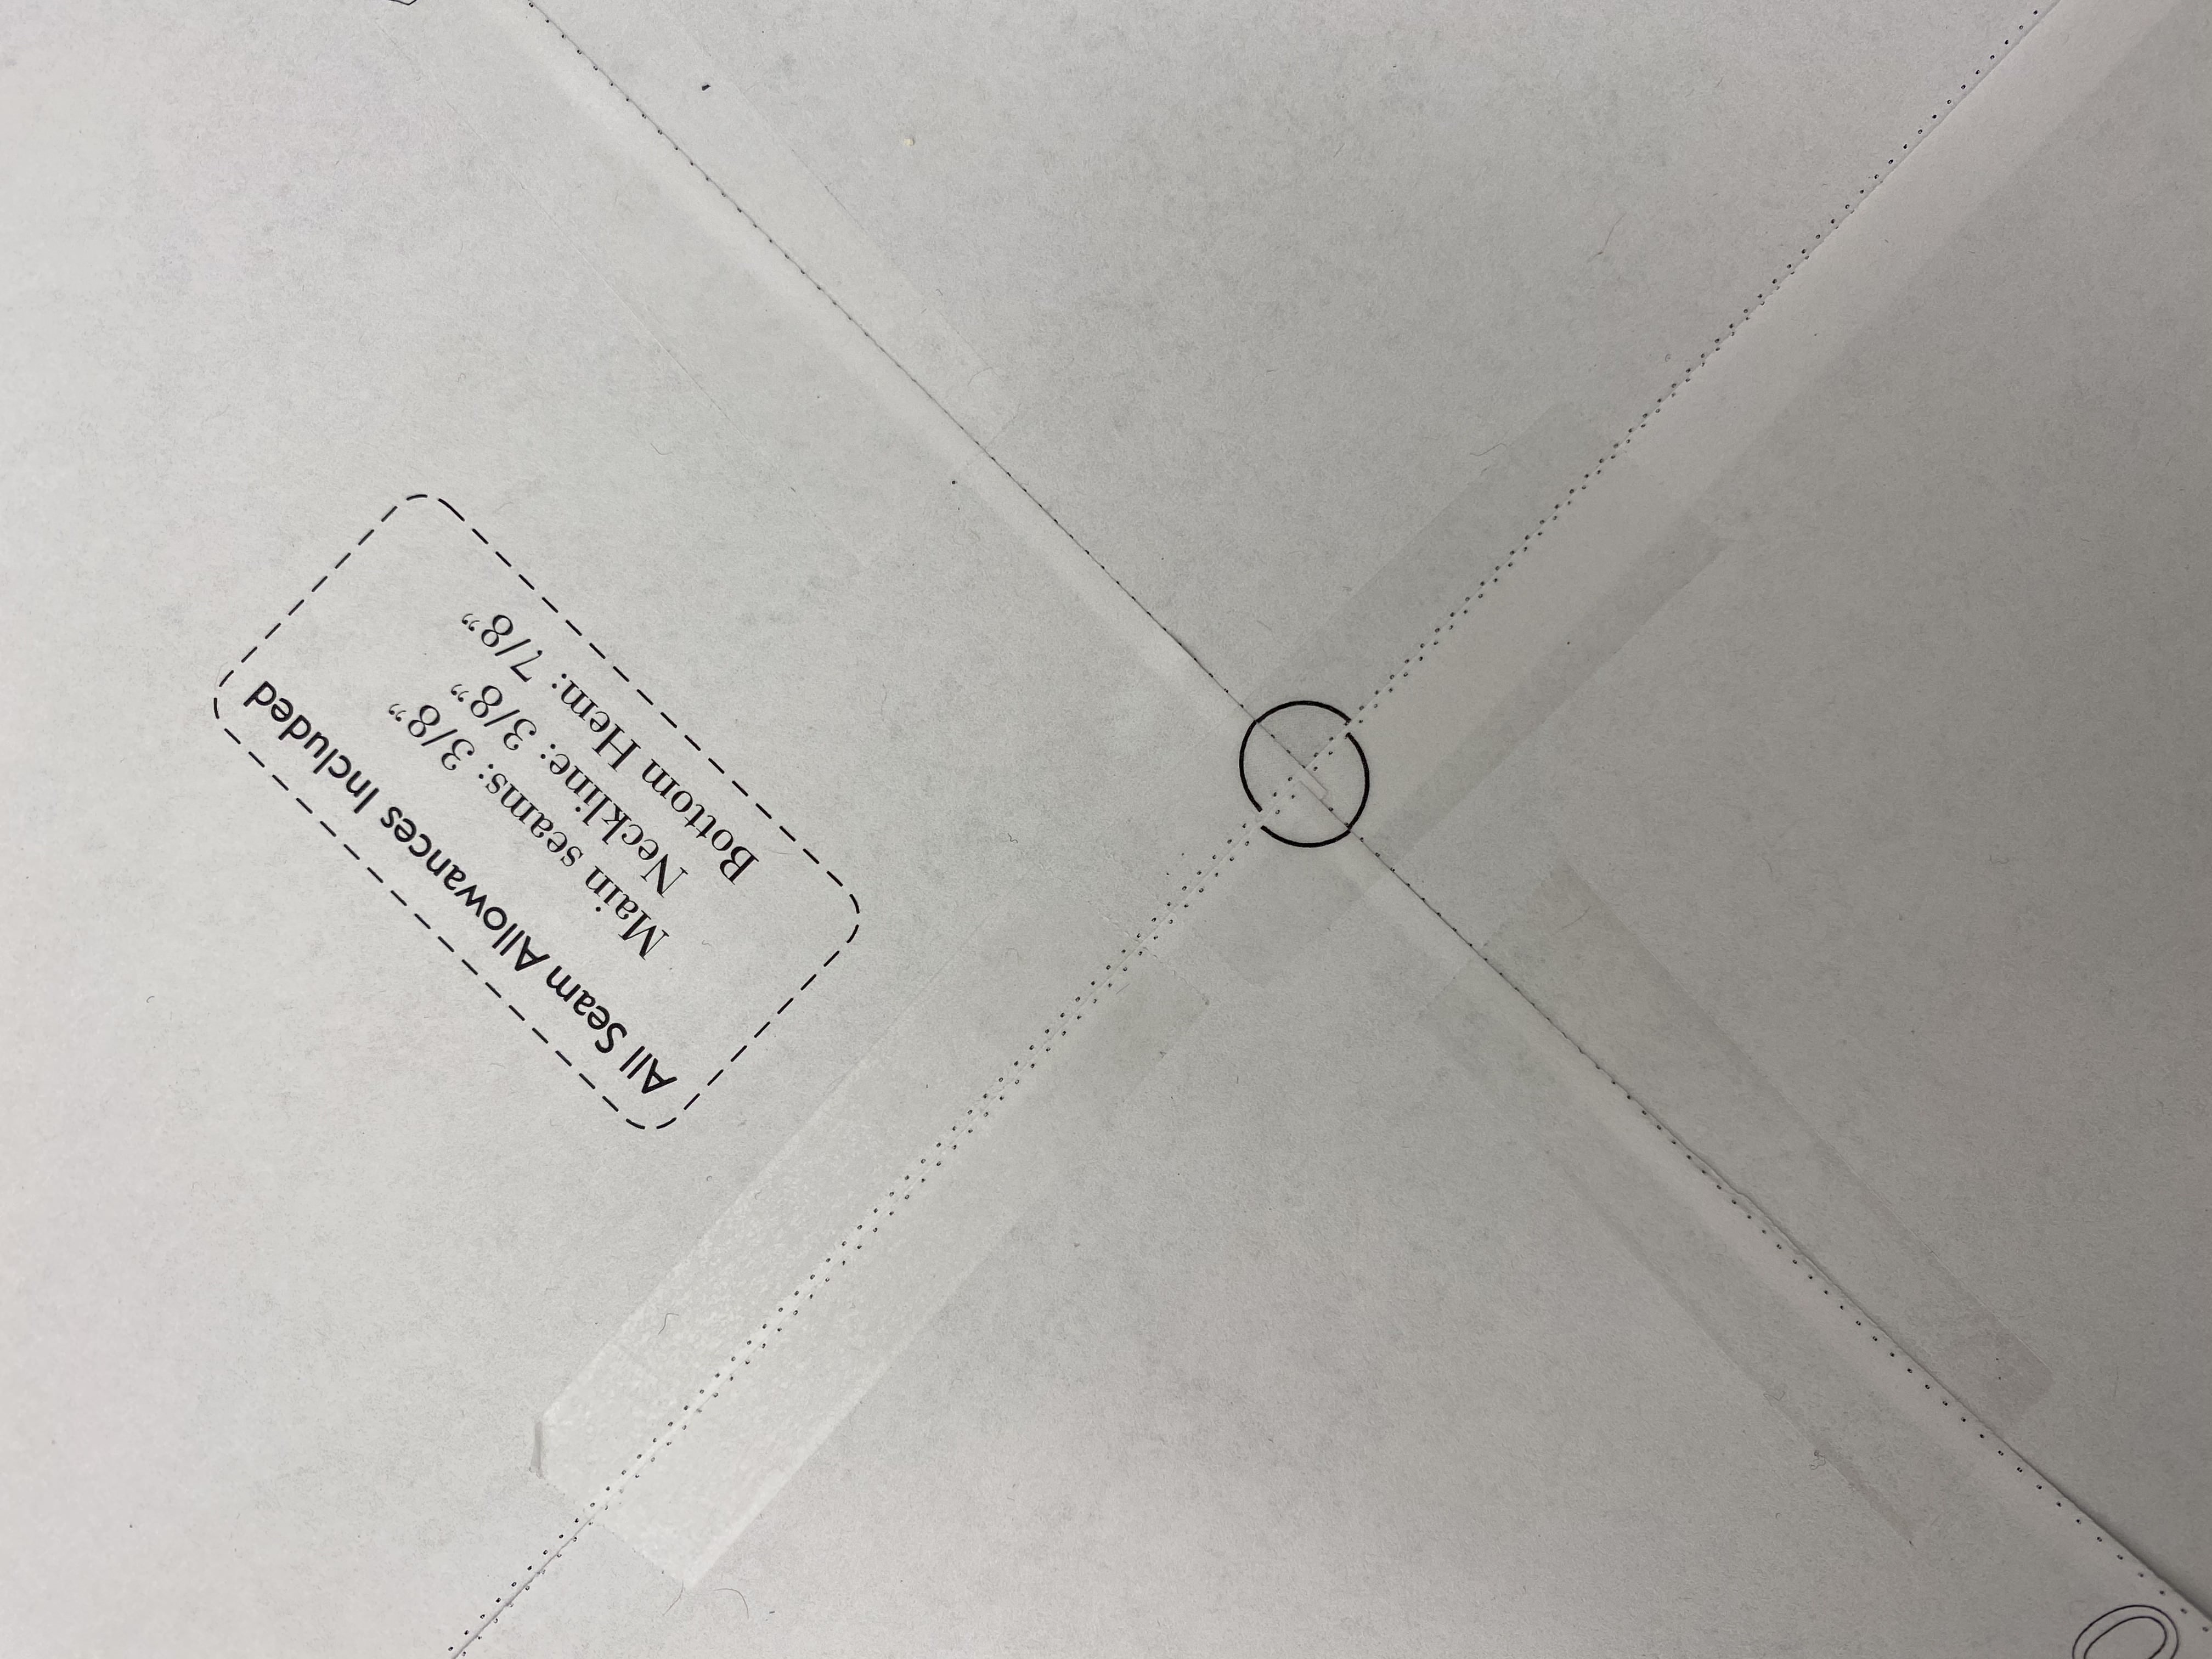
Buying a commercial pattern is different from obtaining a free one online. The main big difference is having to print out the pattern in your standard printing paper then putting them together like a puzzle and taping them to use it as your pattern.
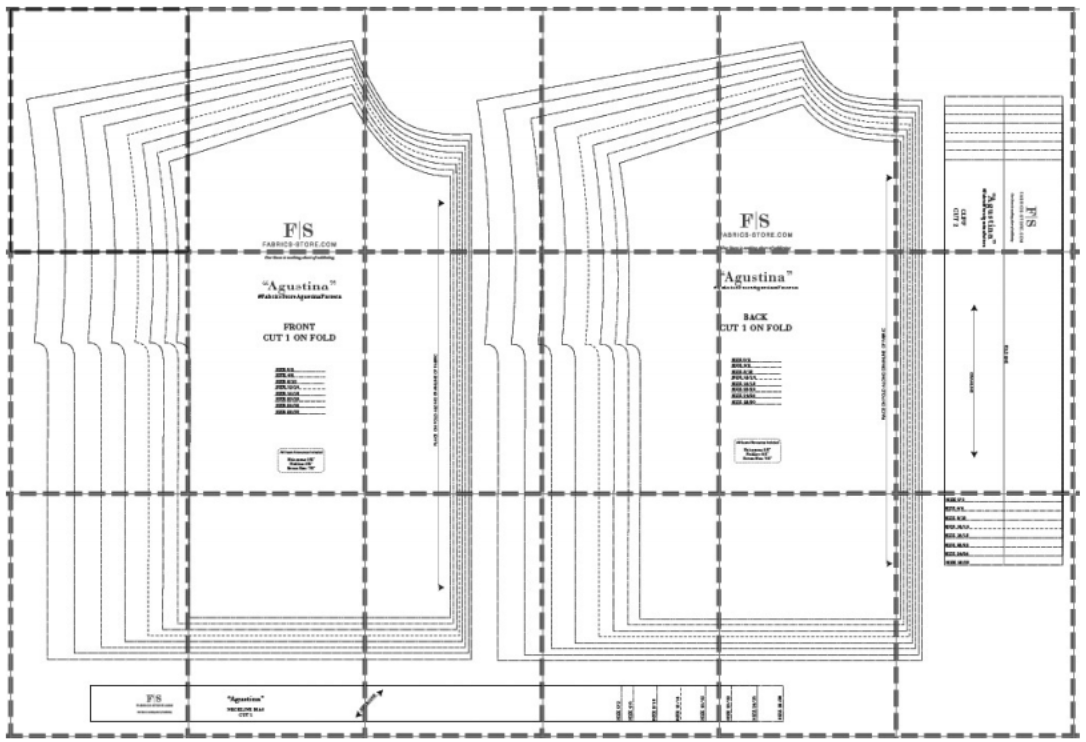
One problem I encountered was that the size of the PDF did not match the size of my paper. I had to then cut each page before taping them together. This caused some inaccuracies since I could not cut each paper perfectly and let to papers not being perfectly lined up.
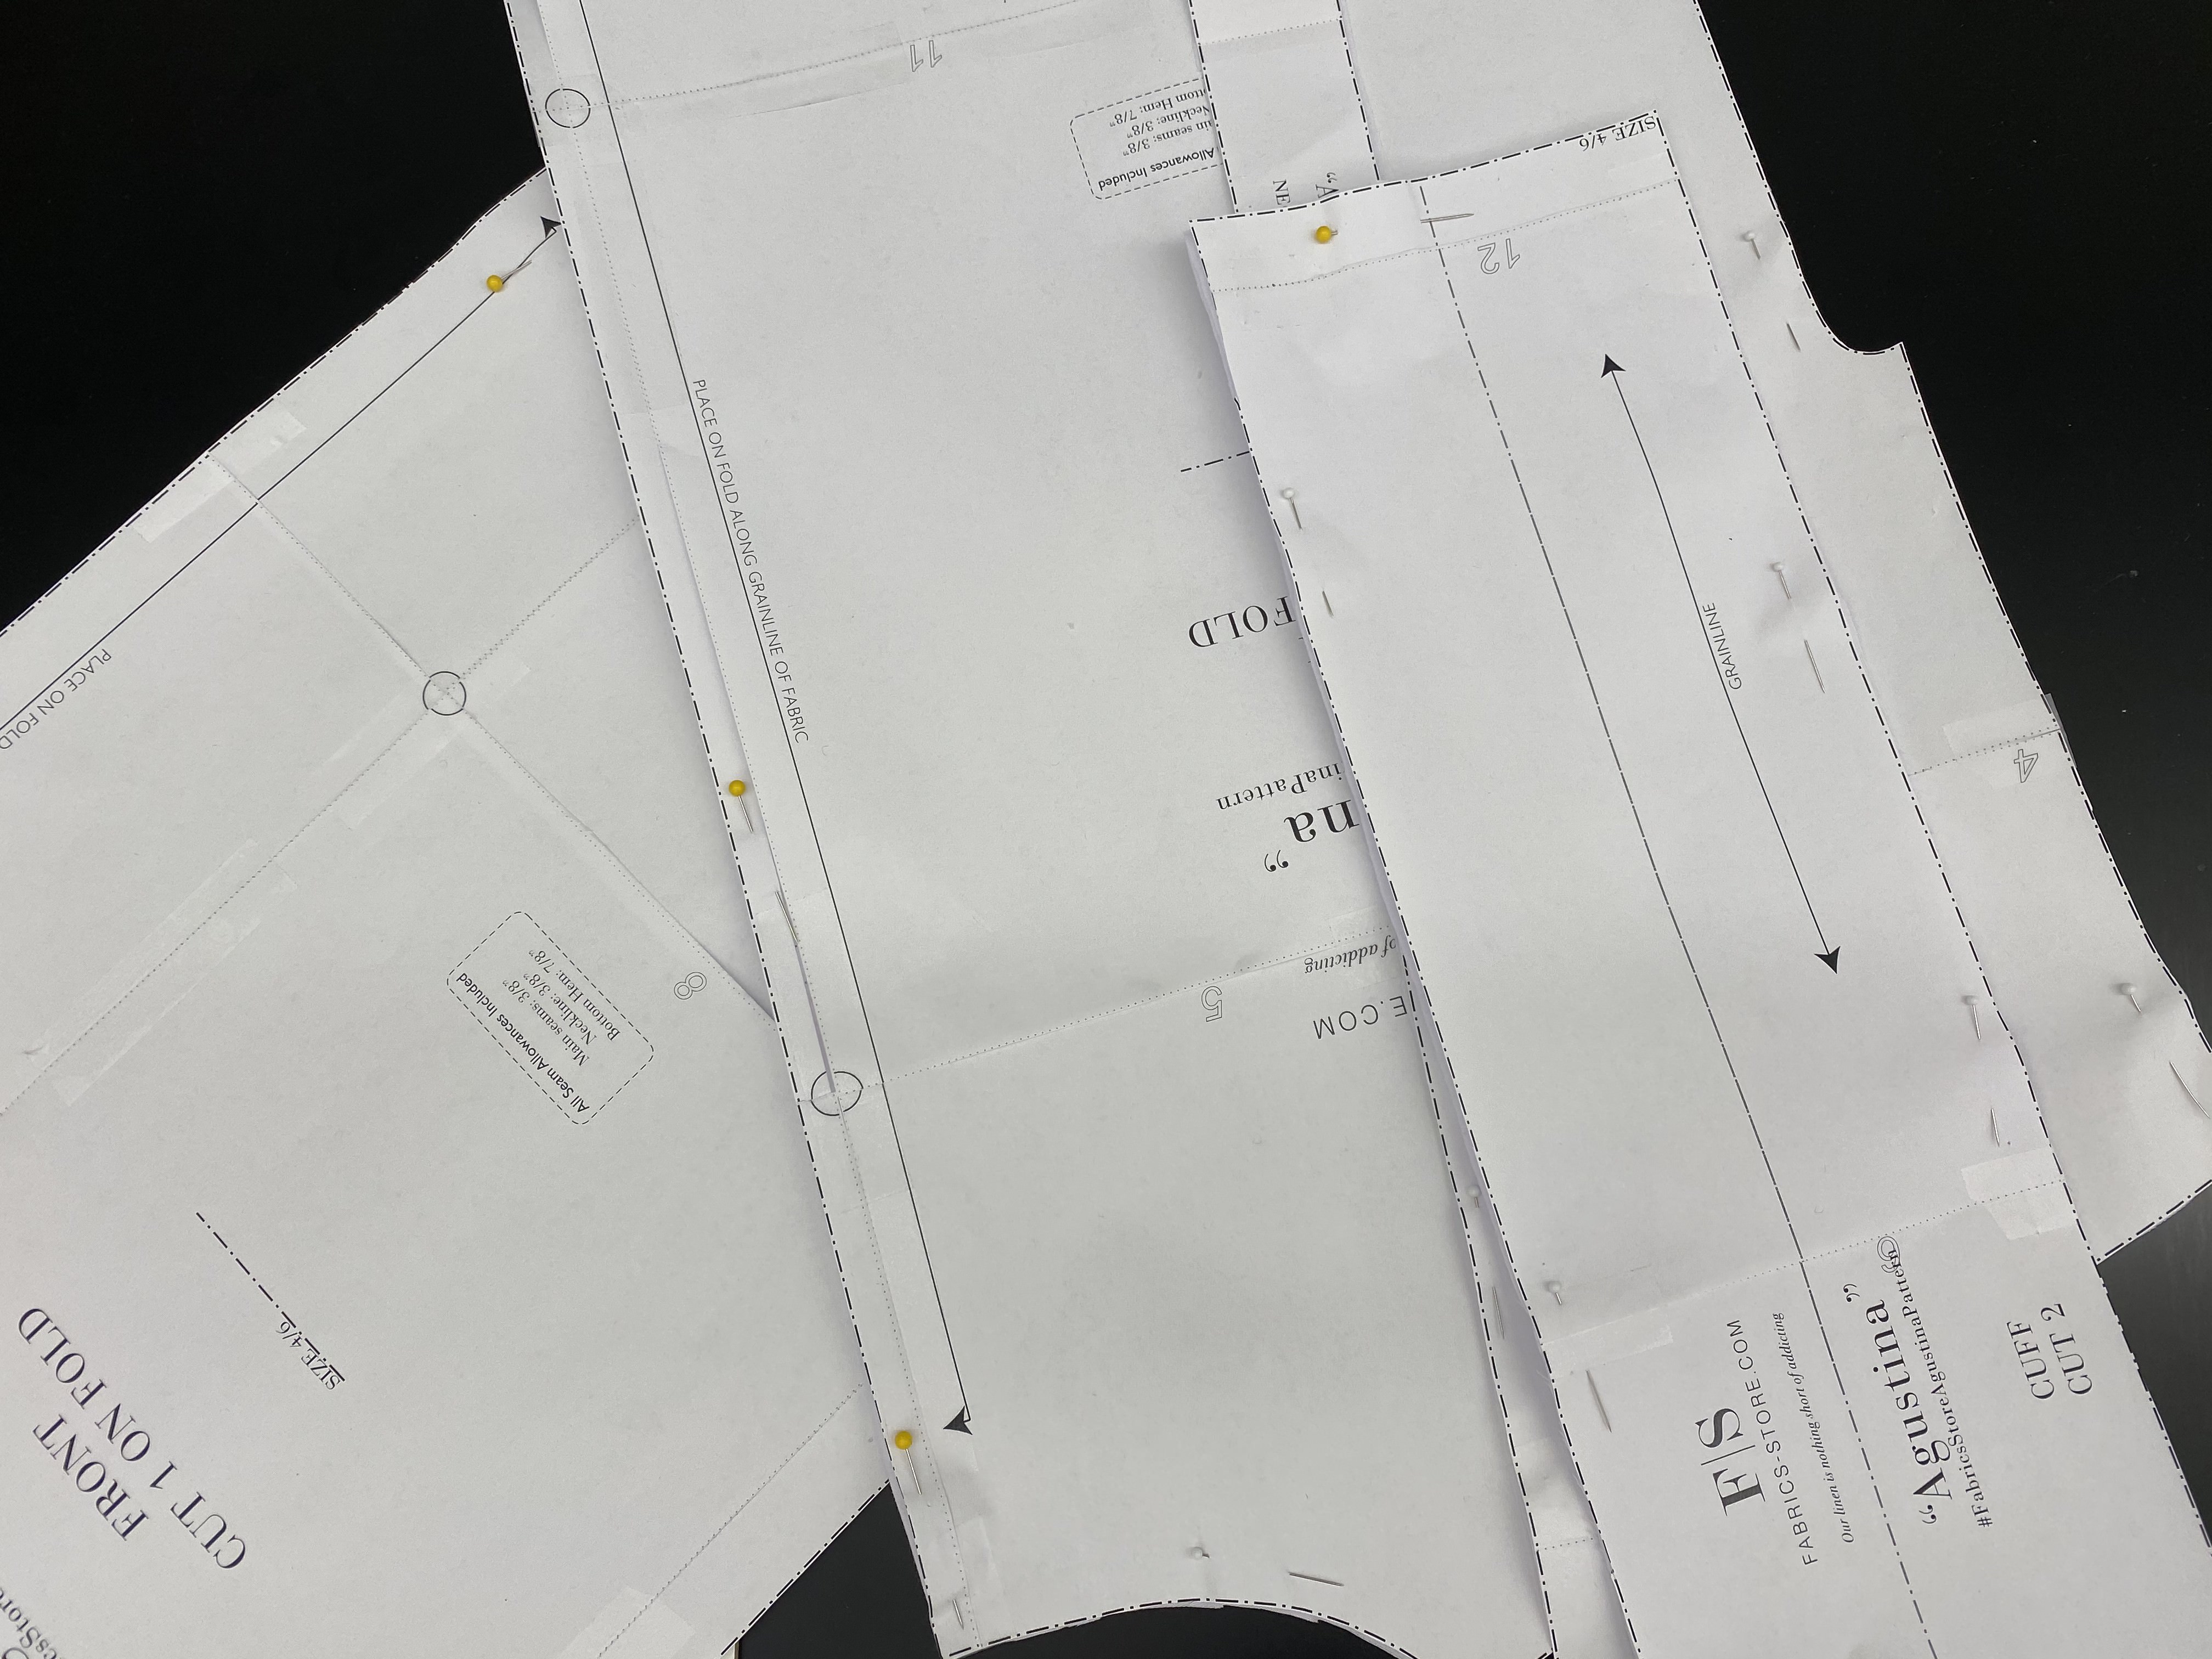
2. Cutting the pieces
I cut the fabric as directed, using pins to hold the pattern with the fabric. It was slightly difficult to cut long, thin pieces like the collar. I had to lift the fabric often which lead to not so straight/clean cuts. For next time, I will try to put more pins and move the fabric so that I am cutting around the edge of the table.
3. Sewing the pieces
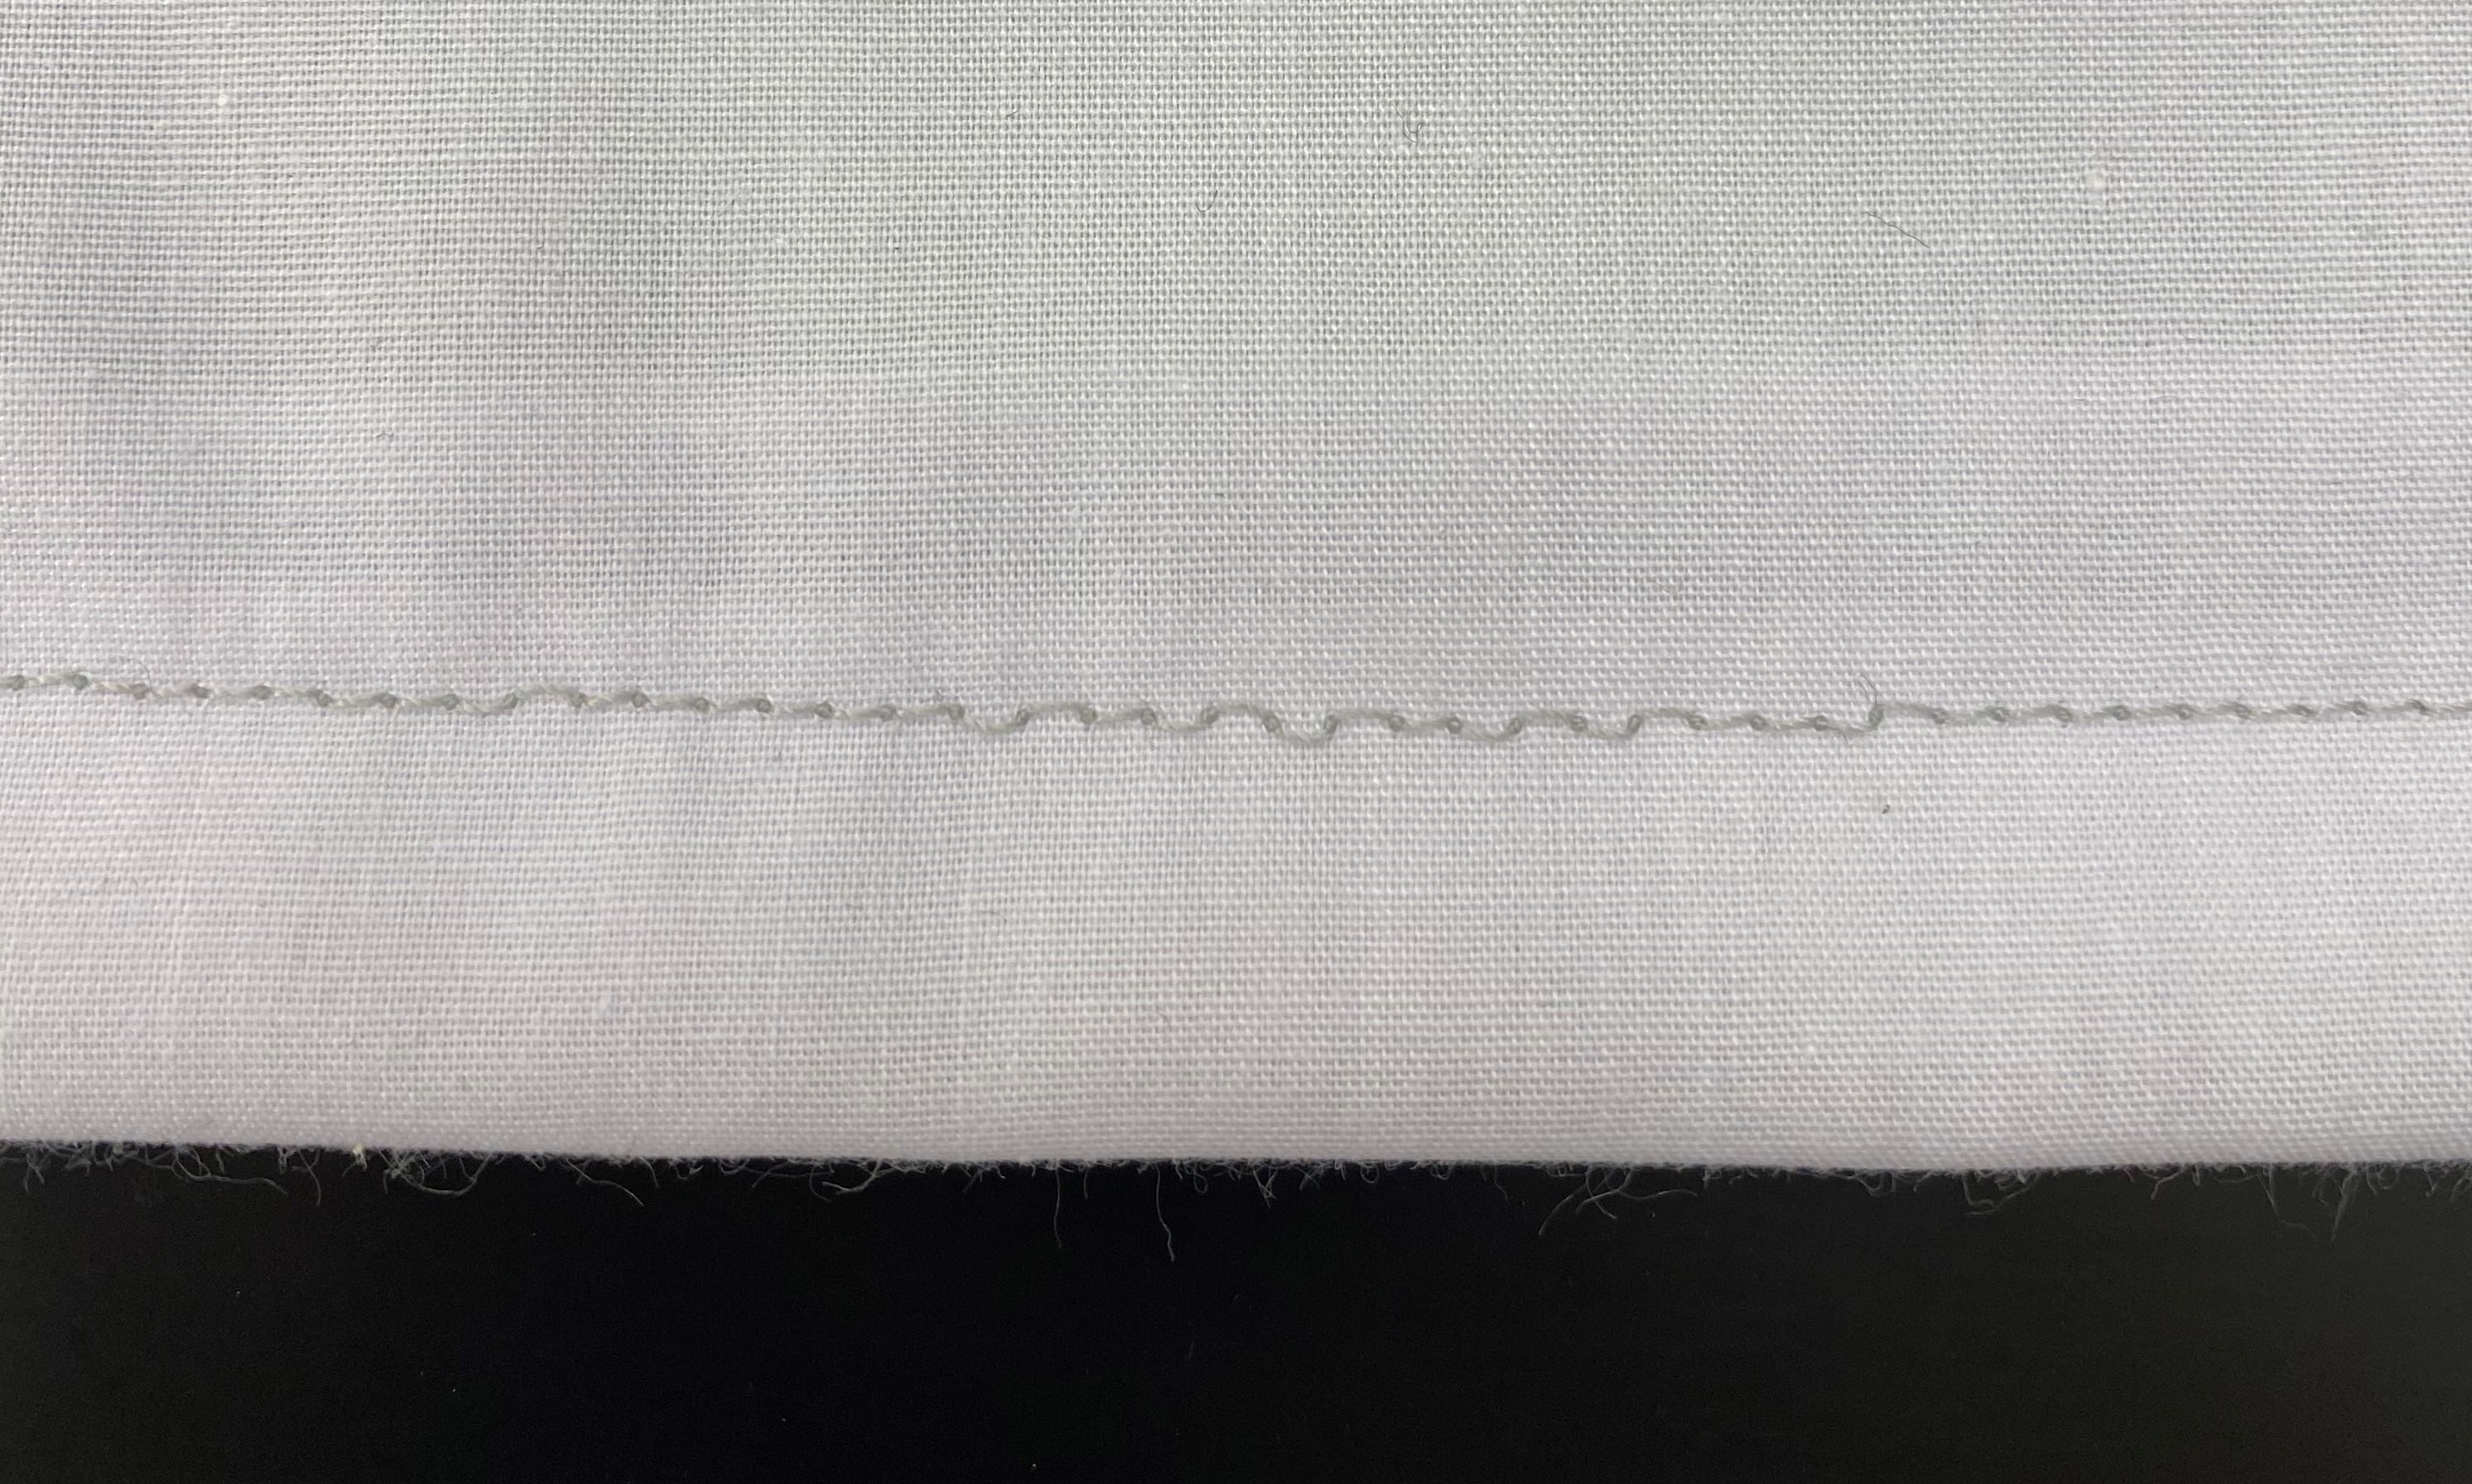
The instructions for sewing the pieces were easy to follow but I encountered some problems. One, I realized that serging is not as easy as I thought. I thought that a zigzag seam along the edge would work but the machine created a clump of thread and started to pull the frabric. I have now realized that I should have used a special presser foot, an overcast foot.
Two, sewing the collar was the most difficult task. This piece was thin and curved. I had a hard time trying to fold the collar in half lengthwise. This could have been because I did not iron the folds before sewing them. Raw edges were sticking out of the collar and the stitch was not consistent. The distance of the stitch from the fold varied. This might have been, again, because the folds were not ironed.
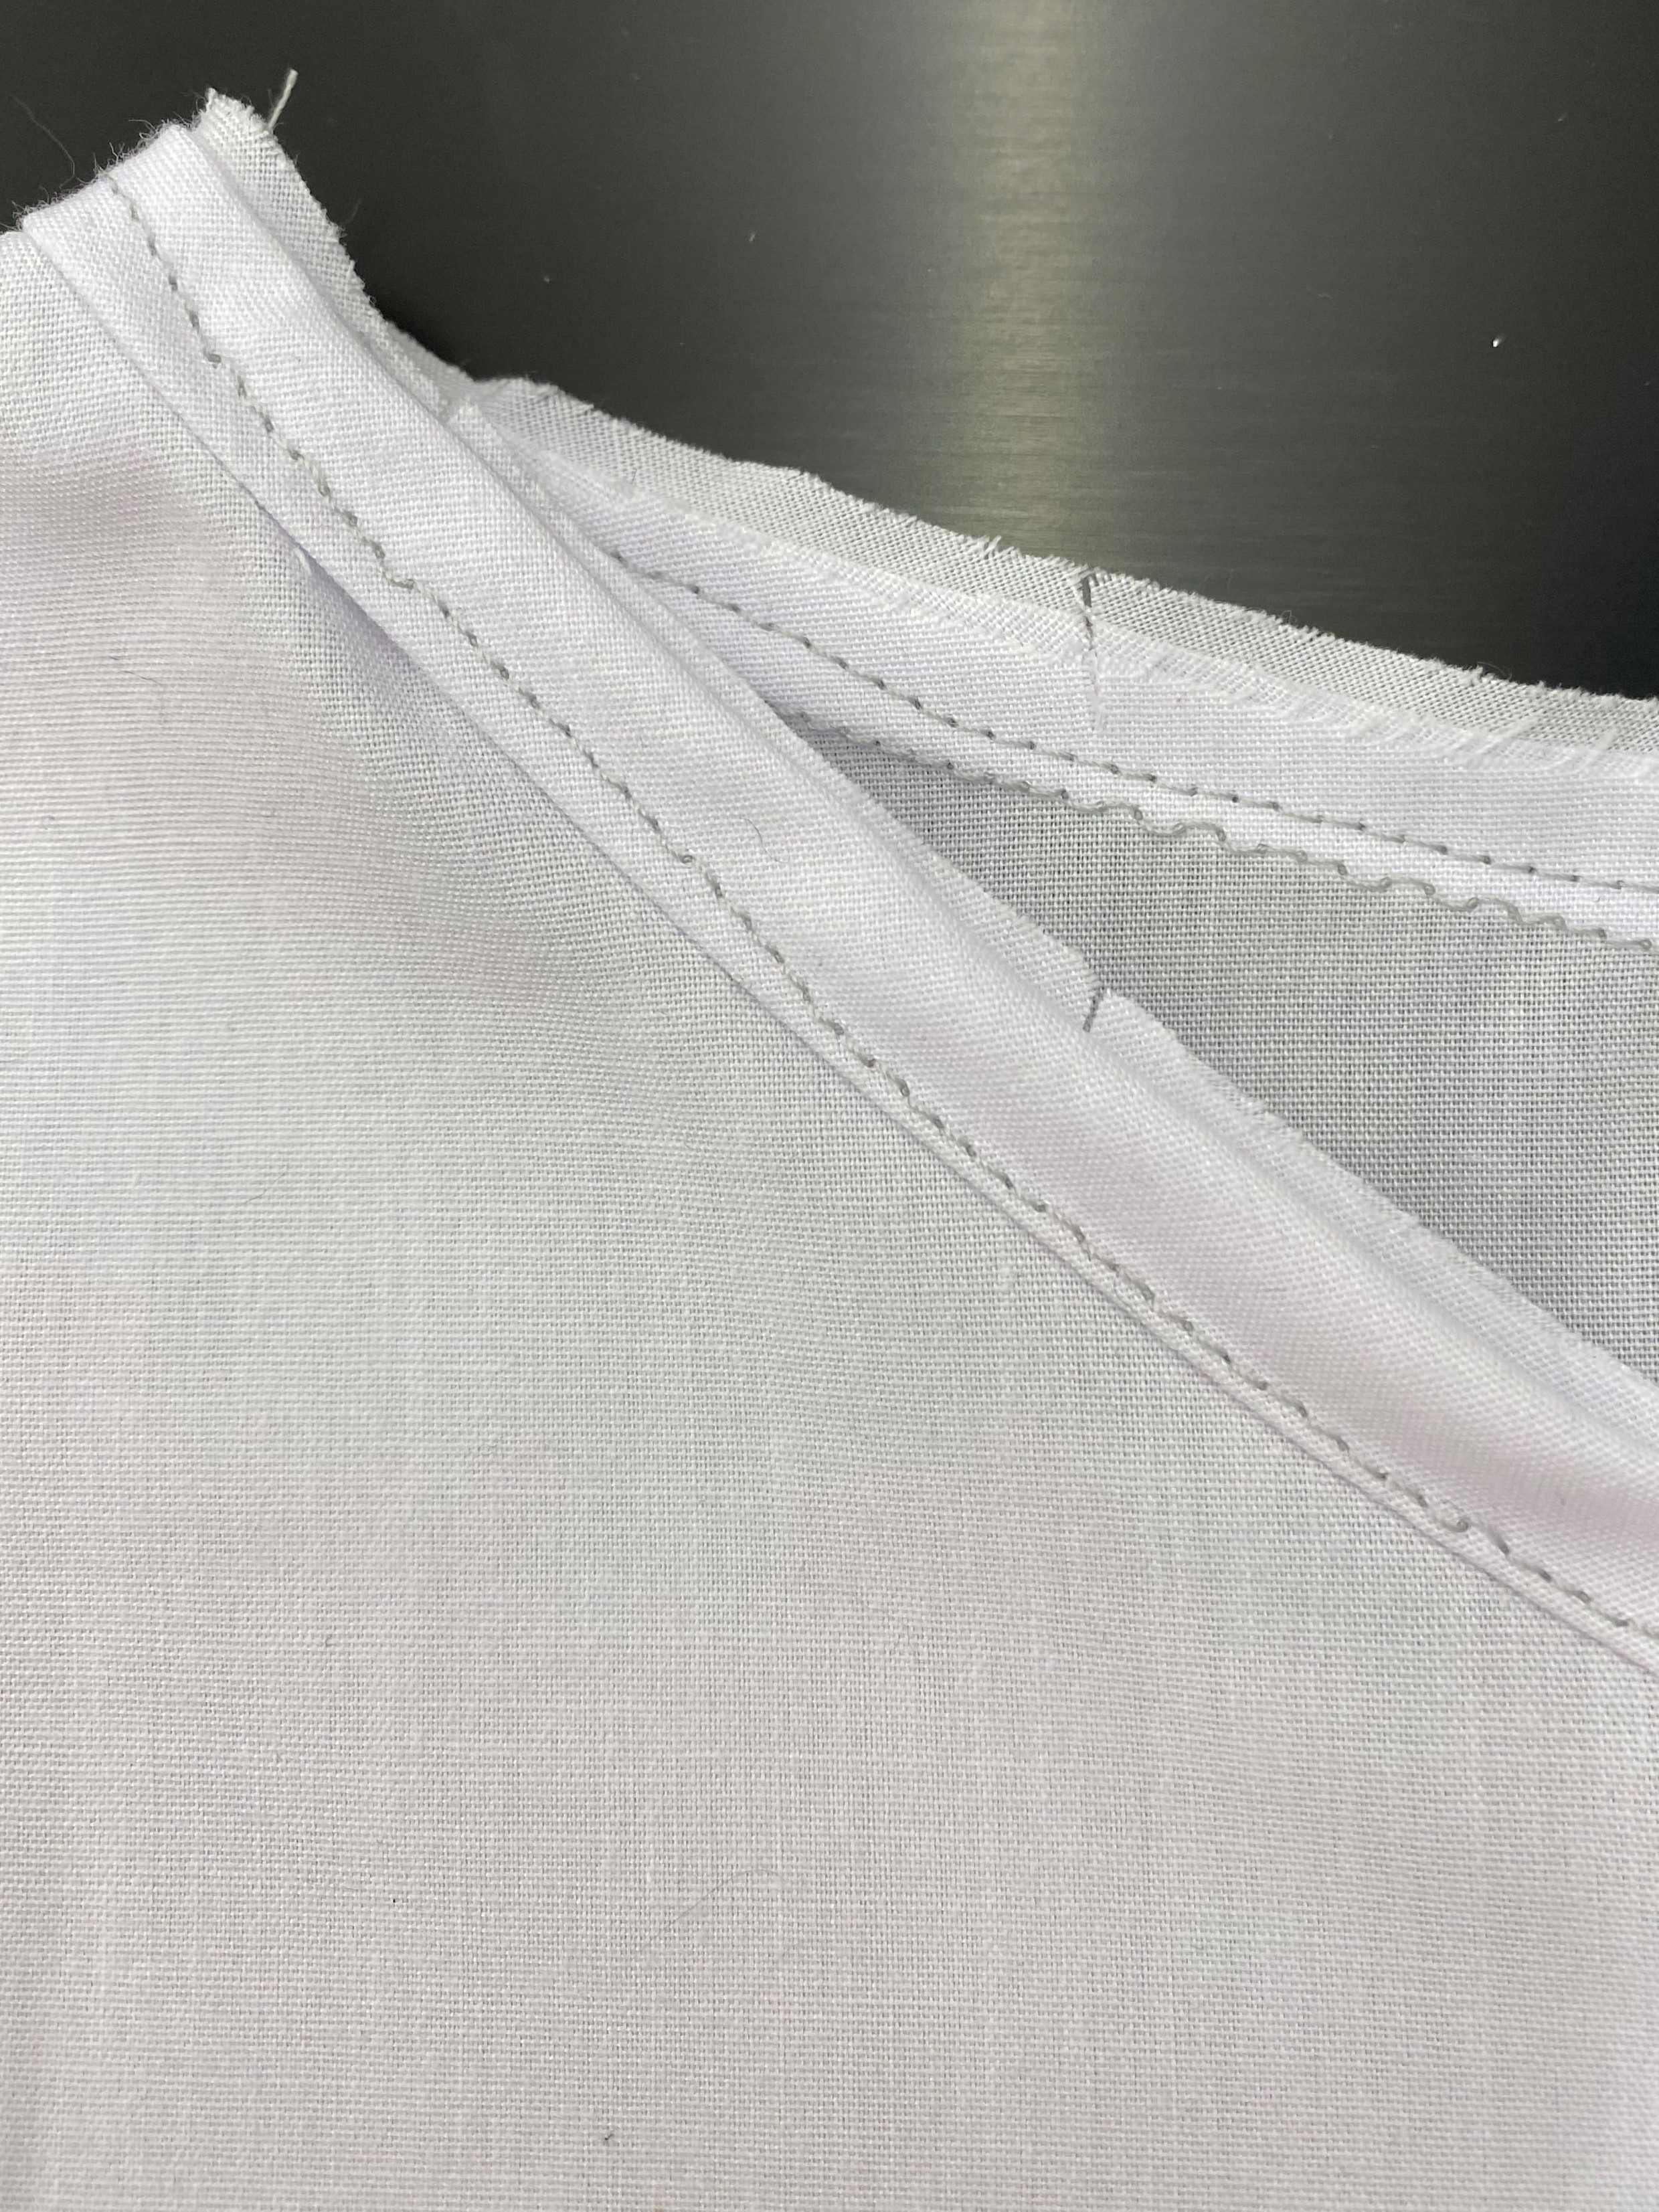
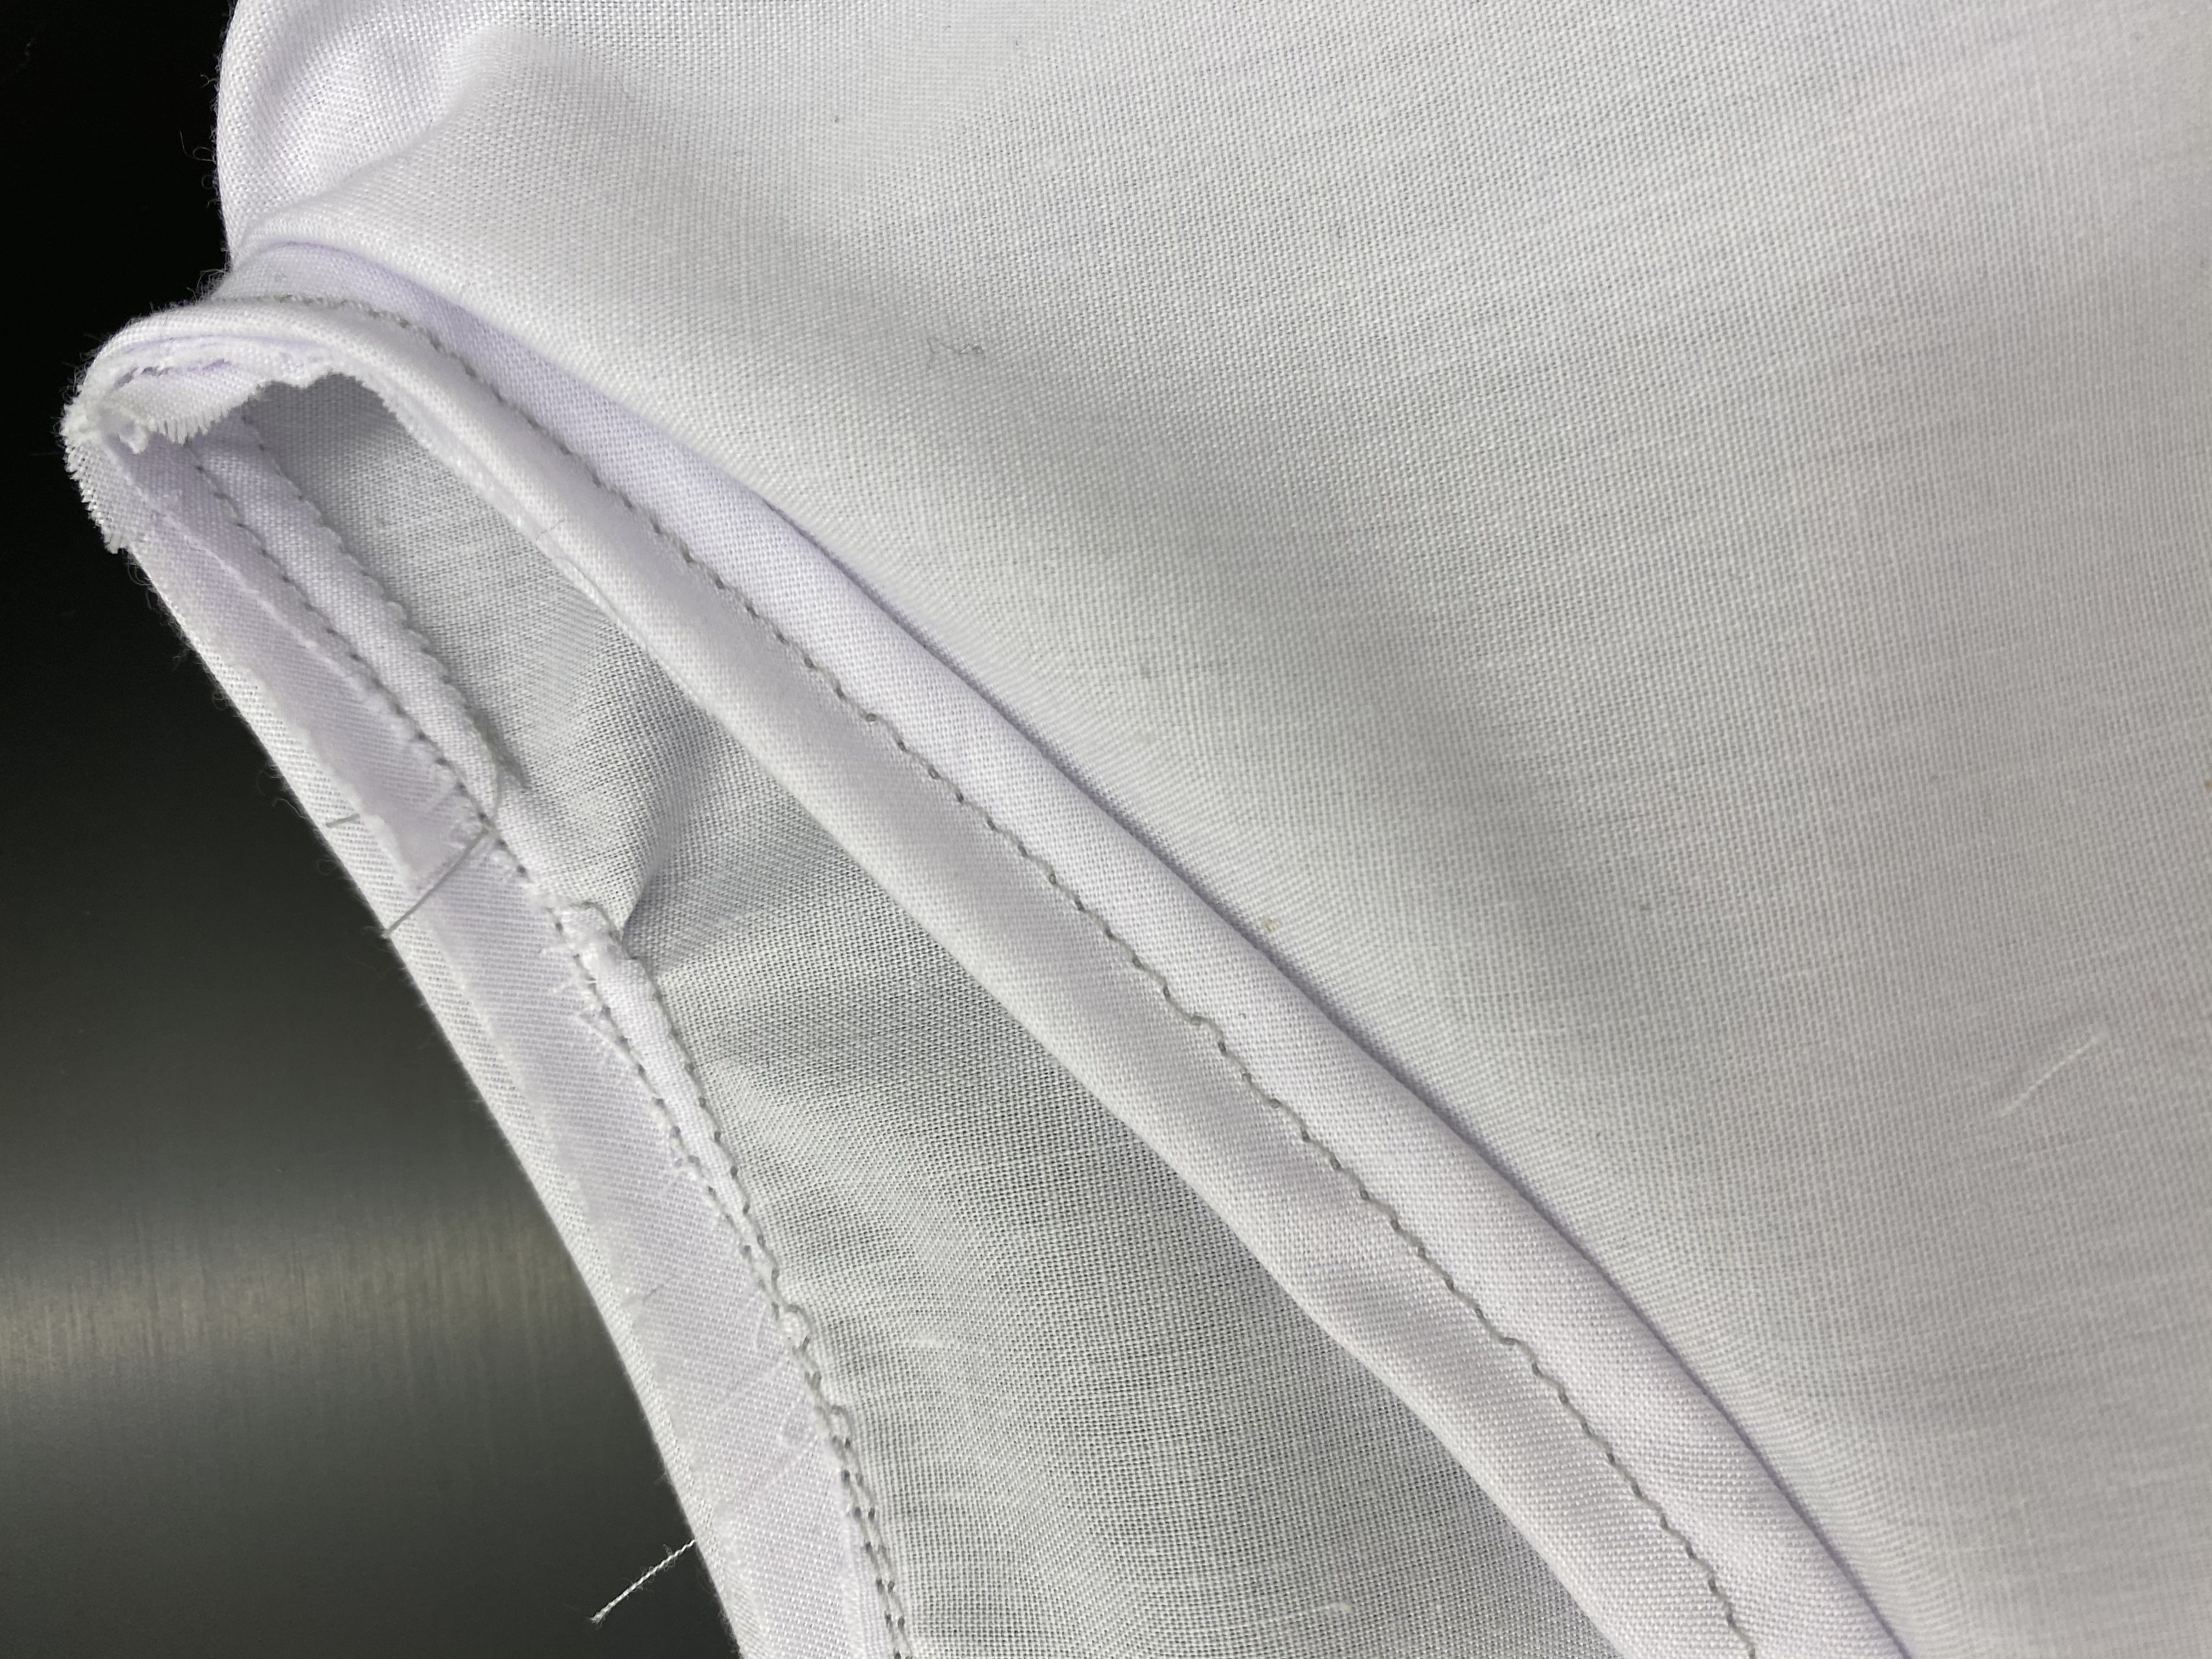
middle of the collar. Raw edges also noticeable on the left.
Lastly, the stitches were not uniform. As stated above, the seams were not
aligned. In addition, some individual stitches were longer than others.
This could have been because there were some folds on the fabric as it was
being sewn. It might help to slightly pull the fabric taut so that there are
no wrinkles when it is sewn or iron the fabric beforehand.