Making a Tote Bag
(The following is not a tutorial but a reflection of my results. Click here to access the tutorial and pattern used.)
1. Pattern Design
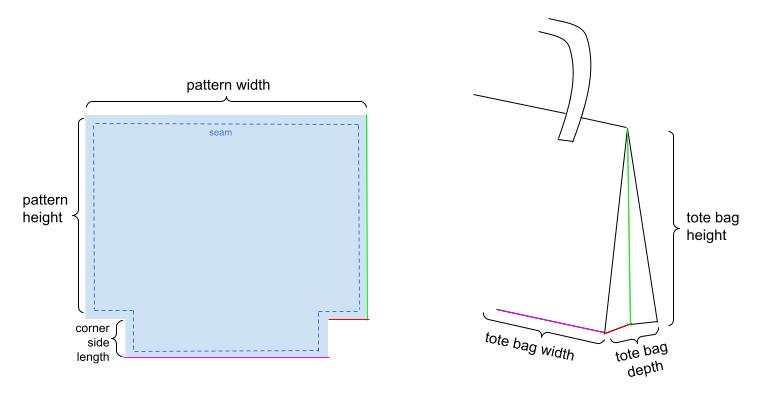
The pattern of the tote bag consisted of rectangles and linear shapes.
The bag's pattern was a rectangle with squares cut at the corners. The pattern
includes a 1/4" seam allowance. Designing the pattern from the height, width, and pattern
of the tote bag is pretty straightforward.
The depth of the bag is the corner’s side length minus the seam, then multiplied by two.
The height of the bag is the height of the pattern minus the corner’s side length.
The width of the bag is the width of the pattern minus twice the quantity
of the corner’s side length and seam allowance.
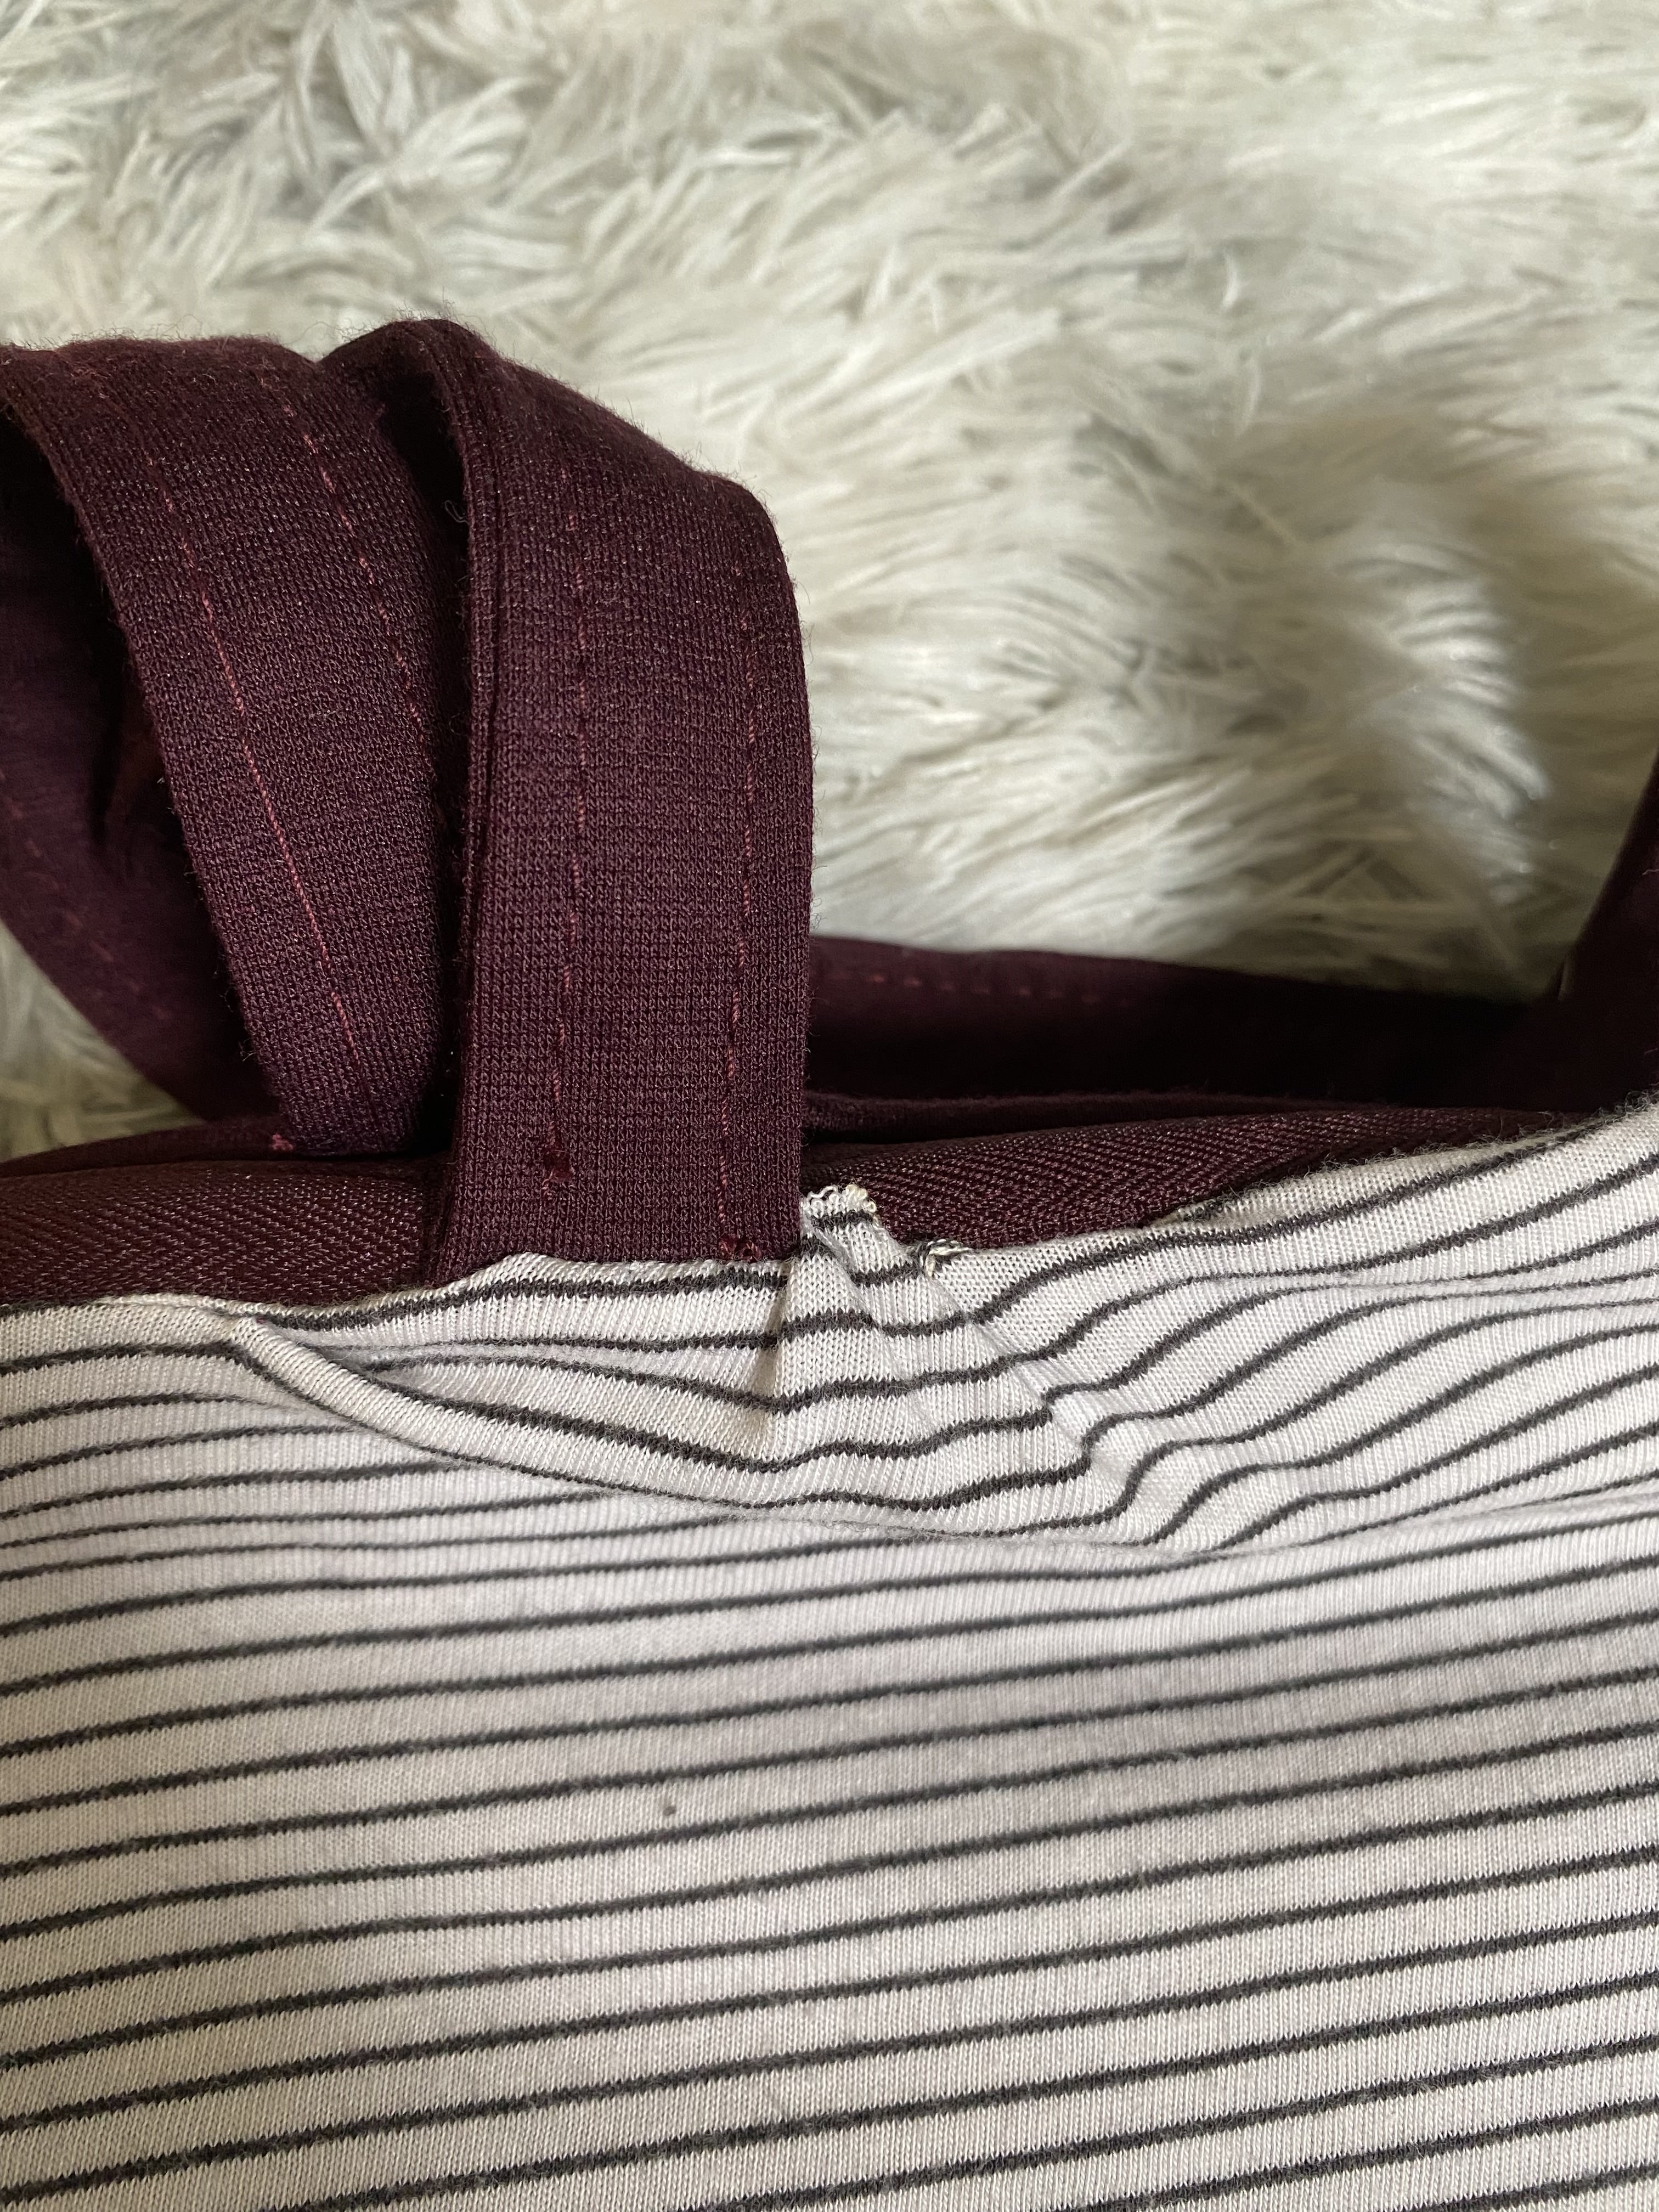
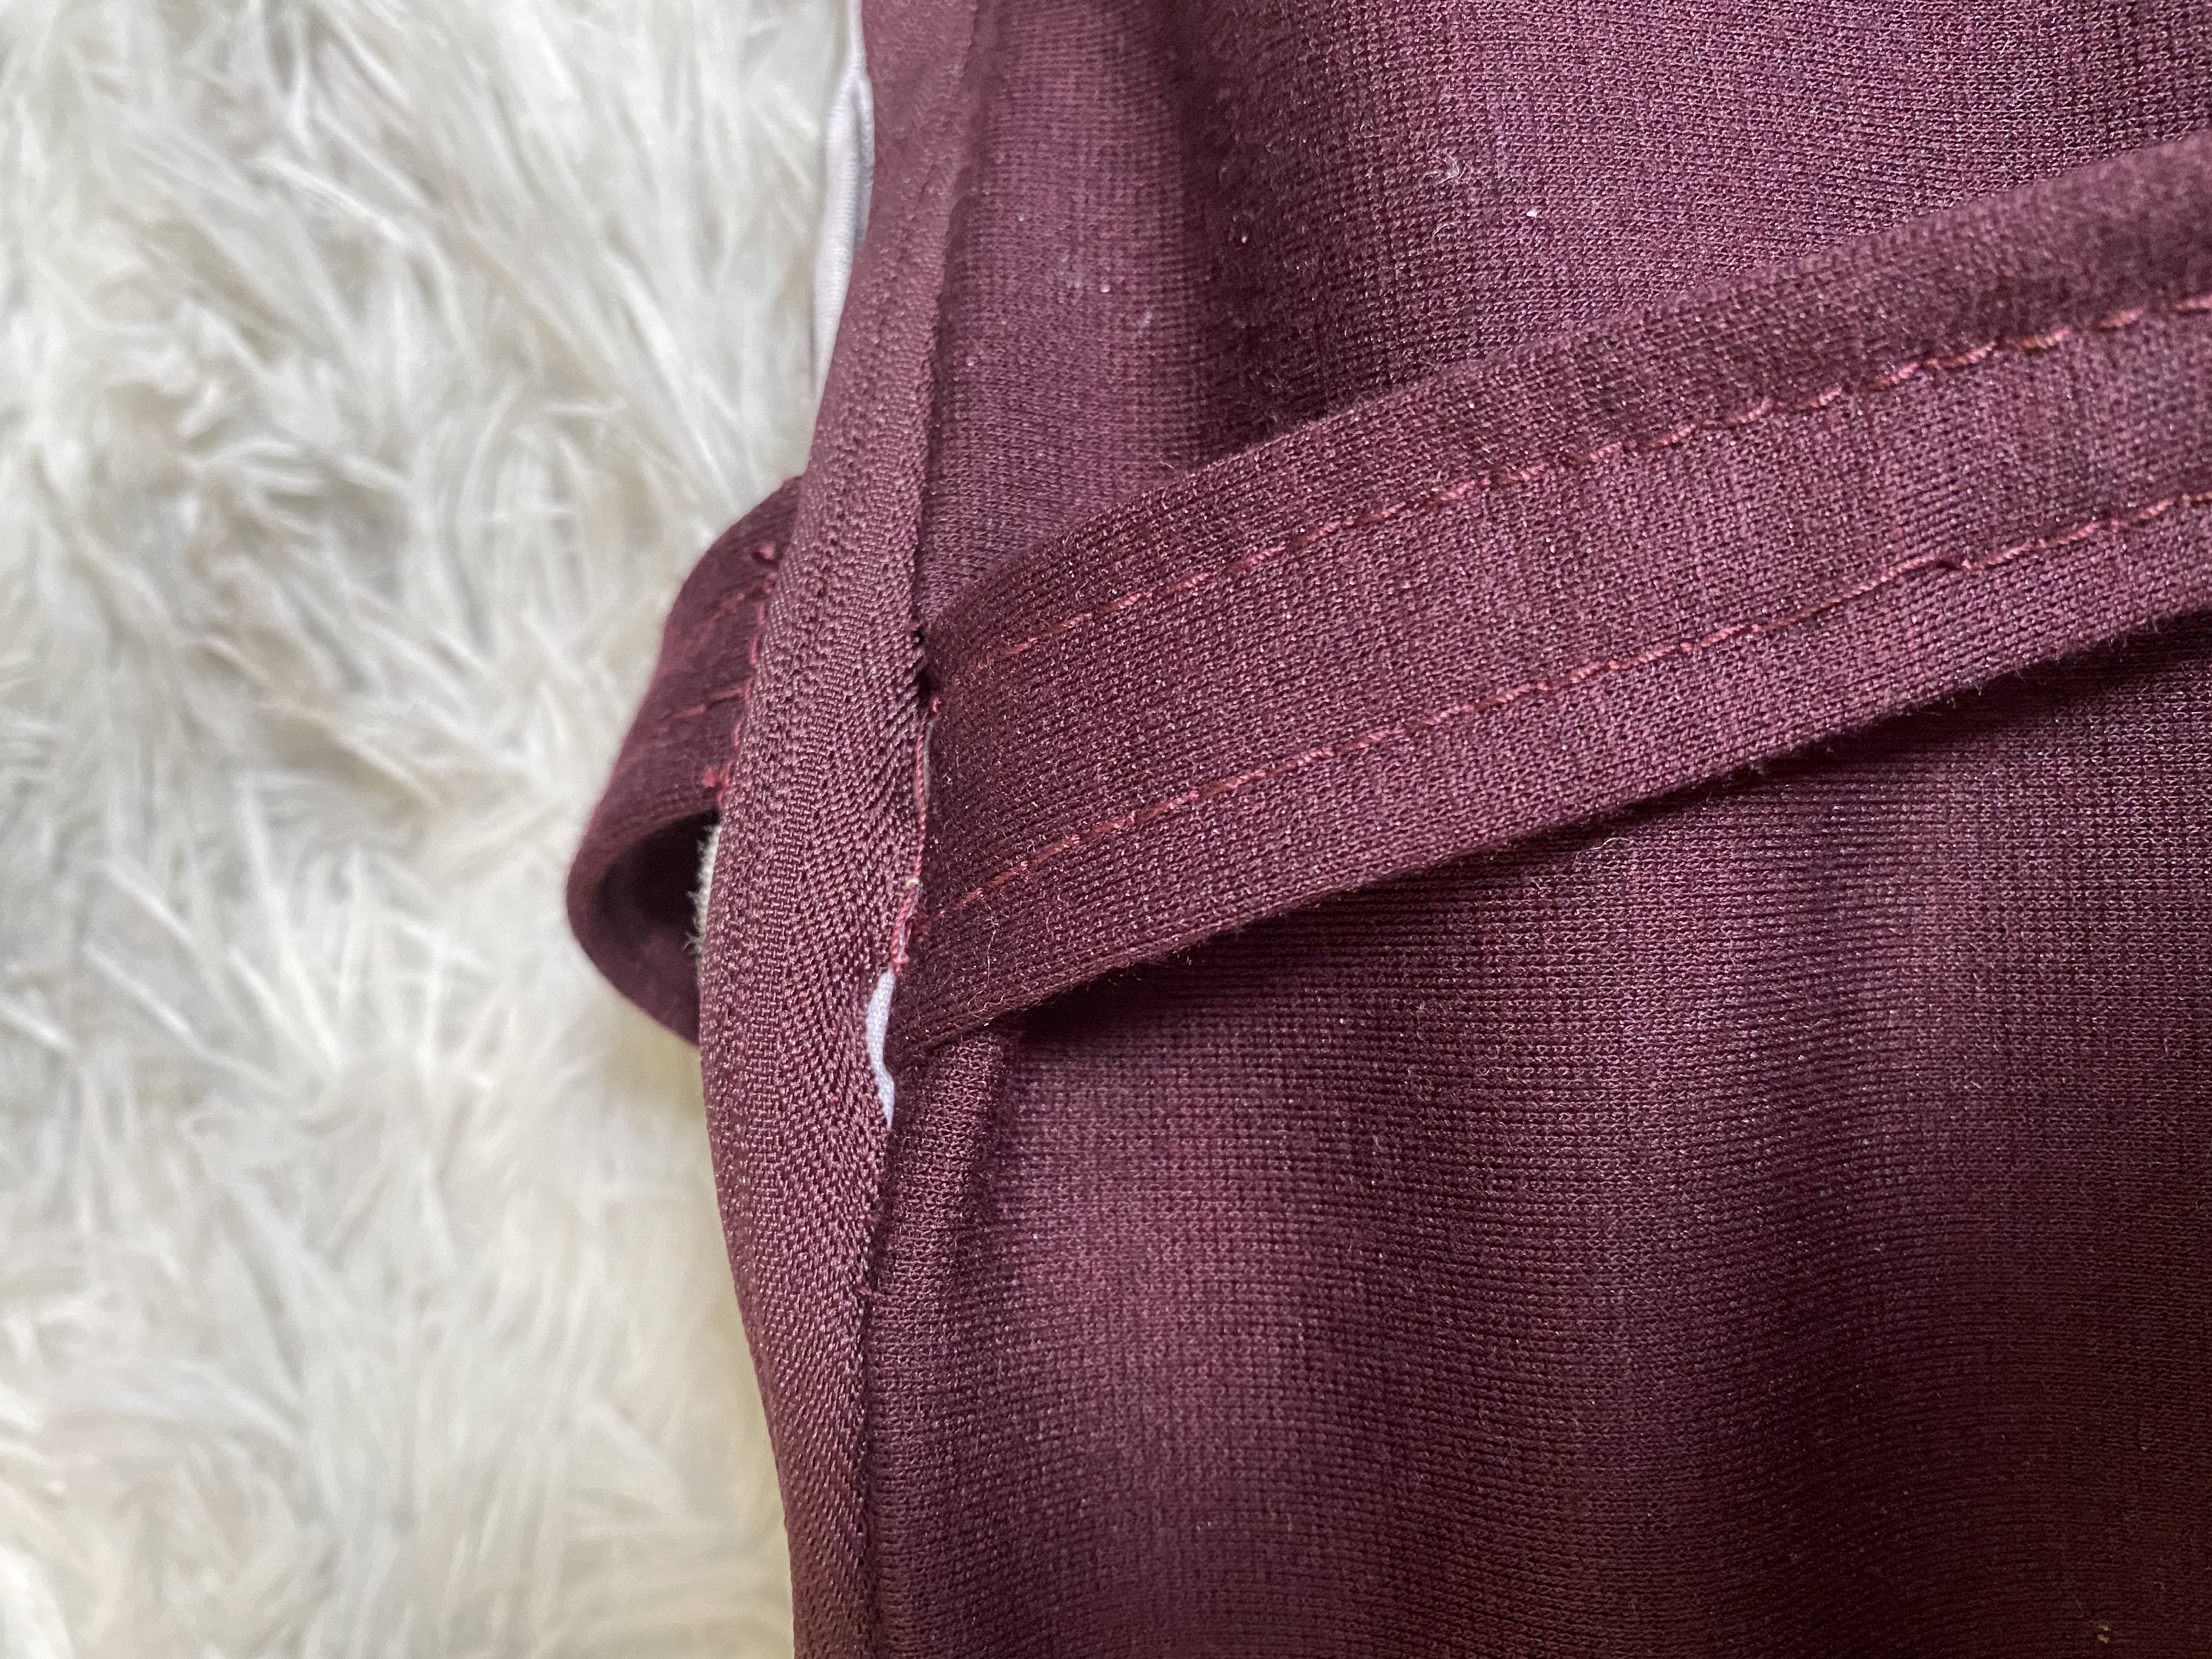
The straps were kept the same length. While the pockets were calculated in
proportion to the measurements given in the tutorial. The zipper had the
same width as the bag’s pattern. The outside pocket also had the same
width as the bag, and a 70% of the bag pattern height. The interior pocket had 60% of the
bag pattern width and 90% of the bag pattern height.
Summary:
x = height of bag (input height)
y = width of bag (input width)
z = depth of bag (input depth)
s = seam allowance
H = height of bag pattern
W = width of bag pattern
C = corner side length
For the bag's main pattern:
$$C(s,z) = 0.5z + s$$
$$W(C,s,y) = y + 2\cdot(s+C(s,z))$$
$$H(C,x) = x + C(s,z)$$
For the outside pocket:
$$Outside Pocket Height = 0.7\cdot H(C,x)$$
$$Outside Pocket Width = W(C,s,y)$$
For the interior pocket:
$$Interior Pocket Height = 0.9\cdot H(C,x)$$
$$Interior Pocket Width = 0.6\cdot W(C,s,y)$$
2. Autodesk Fusion Code
For rectangular patterns, I just used the fusion’s built in function to create a
rectangle. For the bag’s pattern, I had to draw lines through each point.
There was not a function that could reflect the lines drawn, but there was a
constraint function. I drew half of the bag’s pattern and drew the same exact lines
on top again. The copies would have this constraint function which was that they
should be symmetrical to the y-axis.
I also coded the pattern in two different files. One file is for the patterns
using the lining and the other one for the outer fabric. This makes things easier
when it comes to laser cutting.
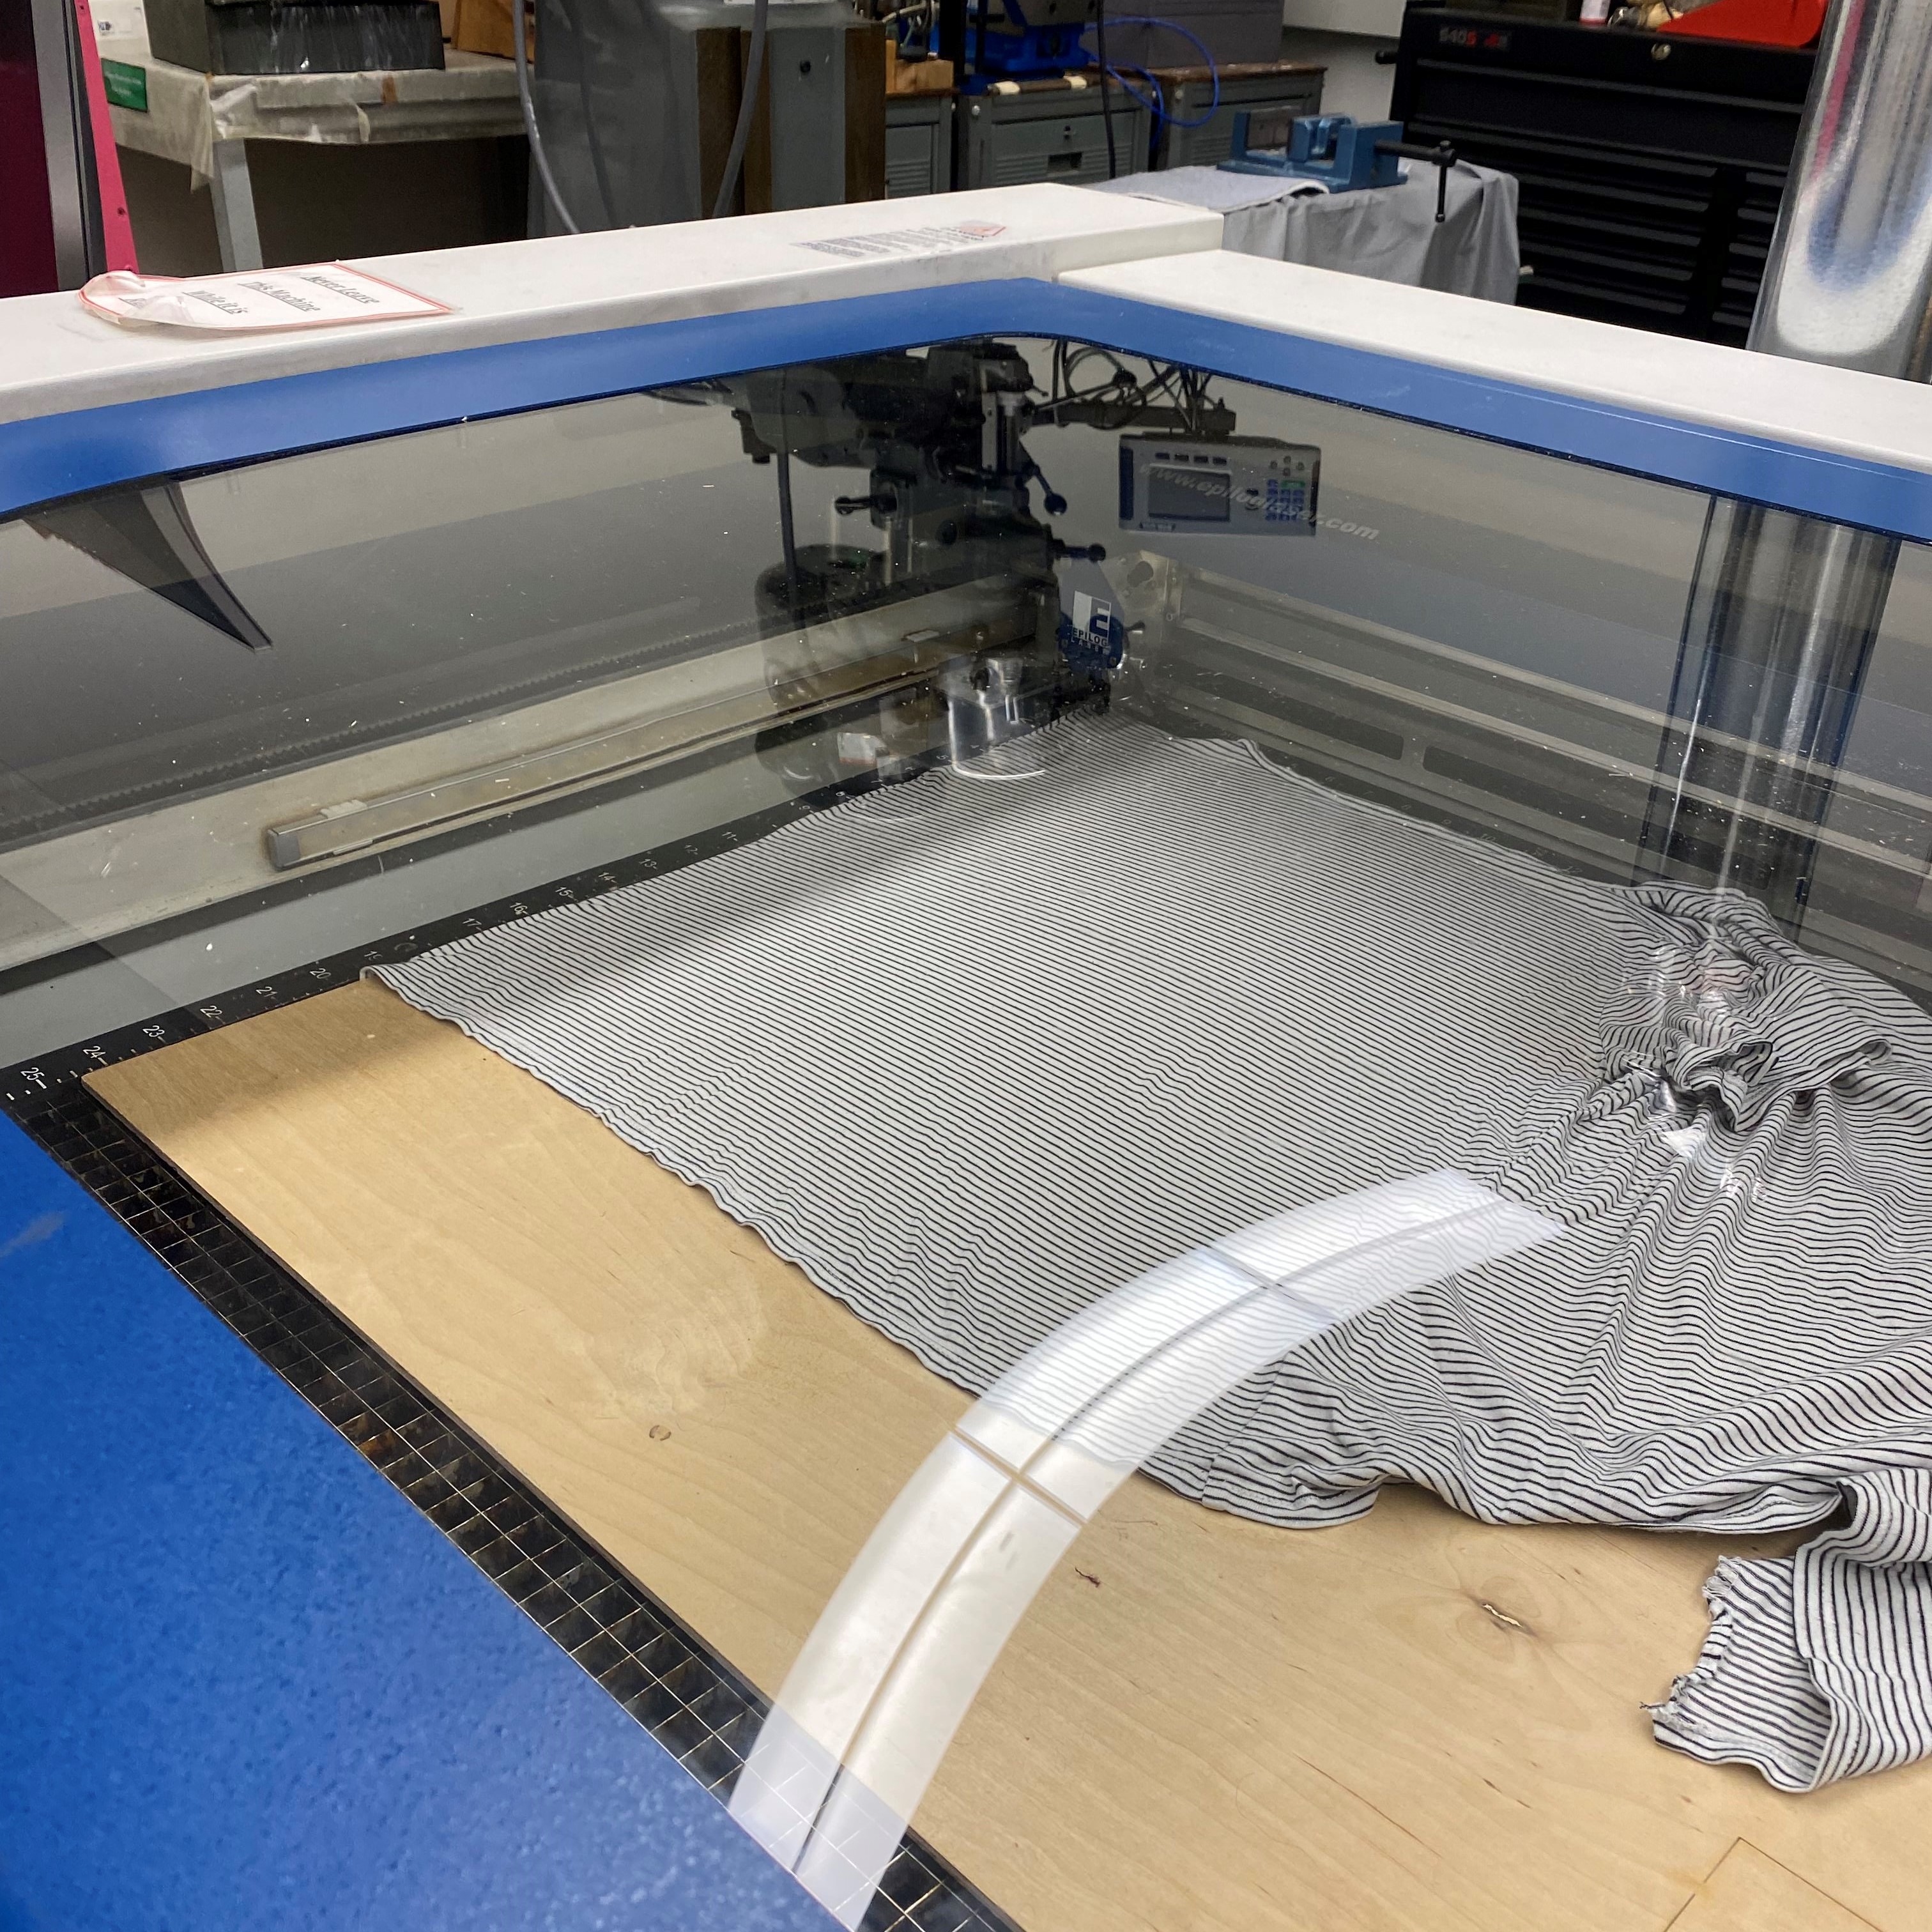
3. Laser Cutting
Unlike the pouch pattern, I made the tote’s pattern three dimensional in fusion.
It had a slight thickness, reflecting the thickness of the fabric. I did this
because it will help in future designs to import it into other software programs.
This created a problem when laser cutting since the pattern was not in 2D. One way
to solve this is to make these bodies into components and then select these components
to create a drawing. When the drawing is created, you can select which point of view
you want. These can then be exported as a PDF file and then laser cut.
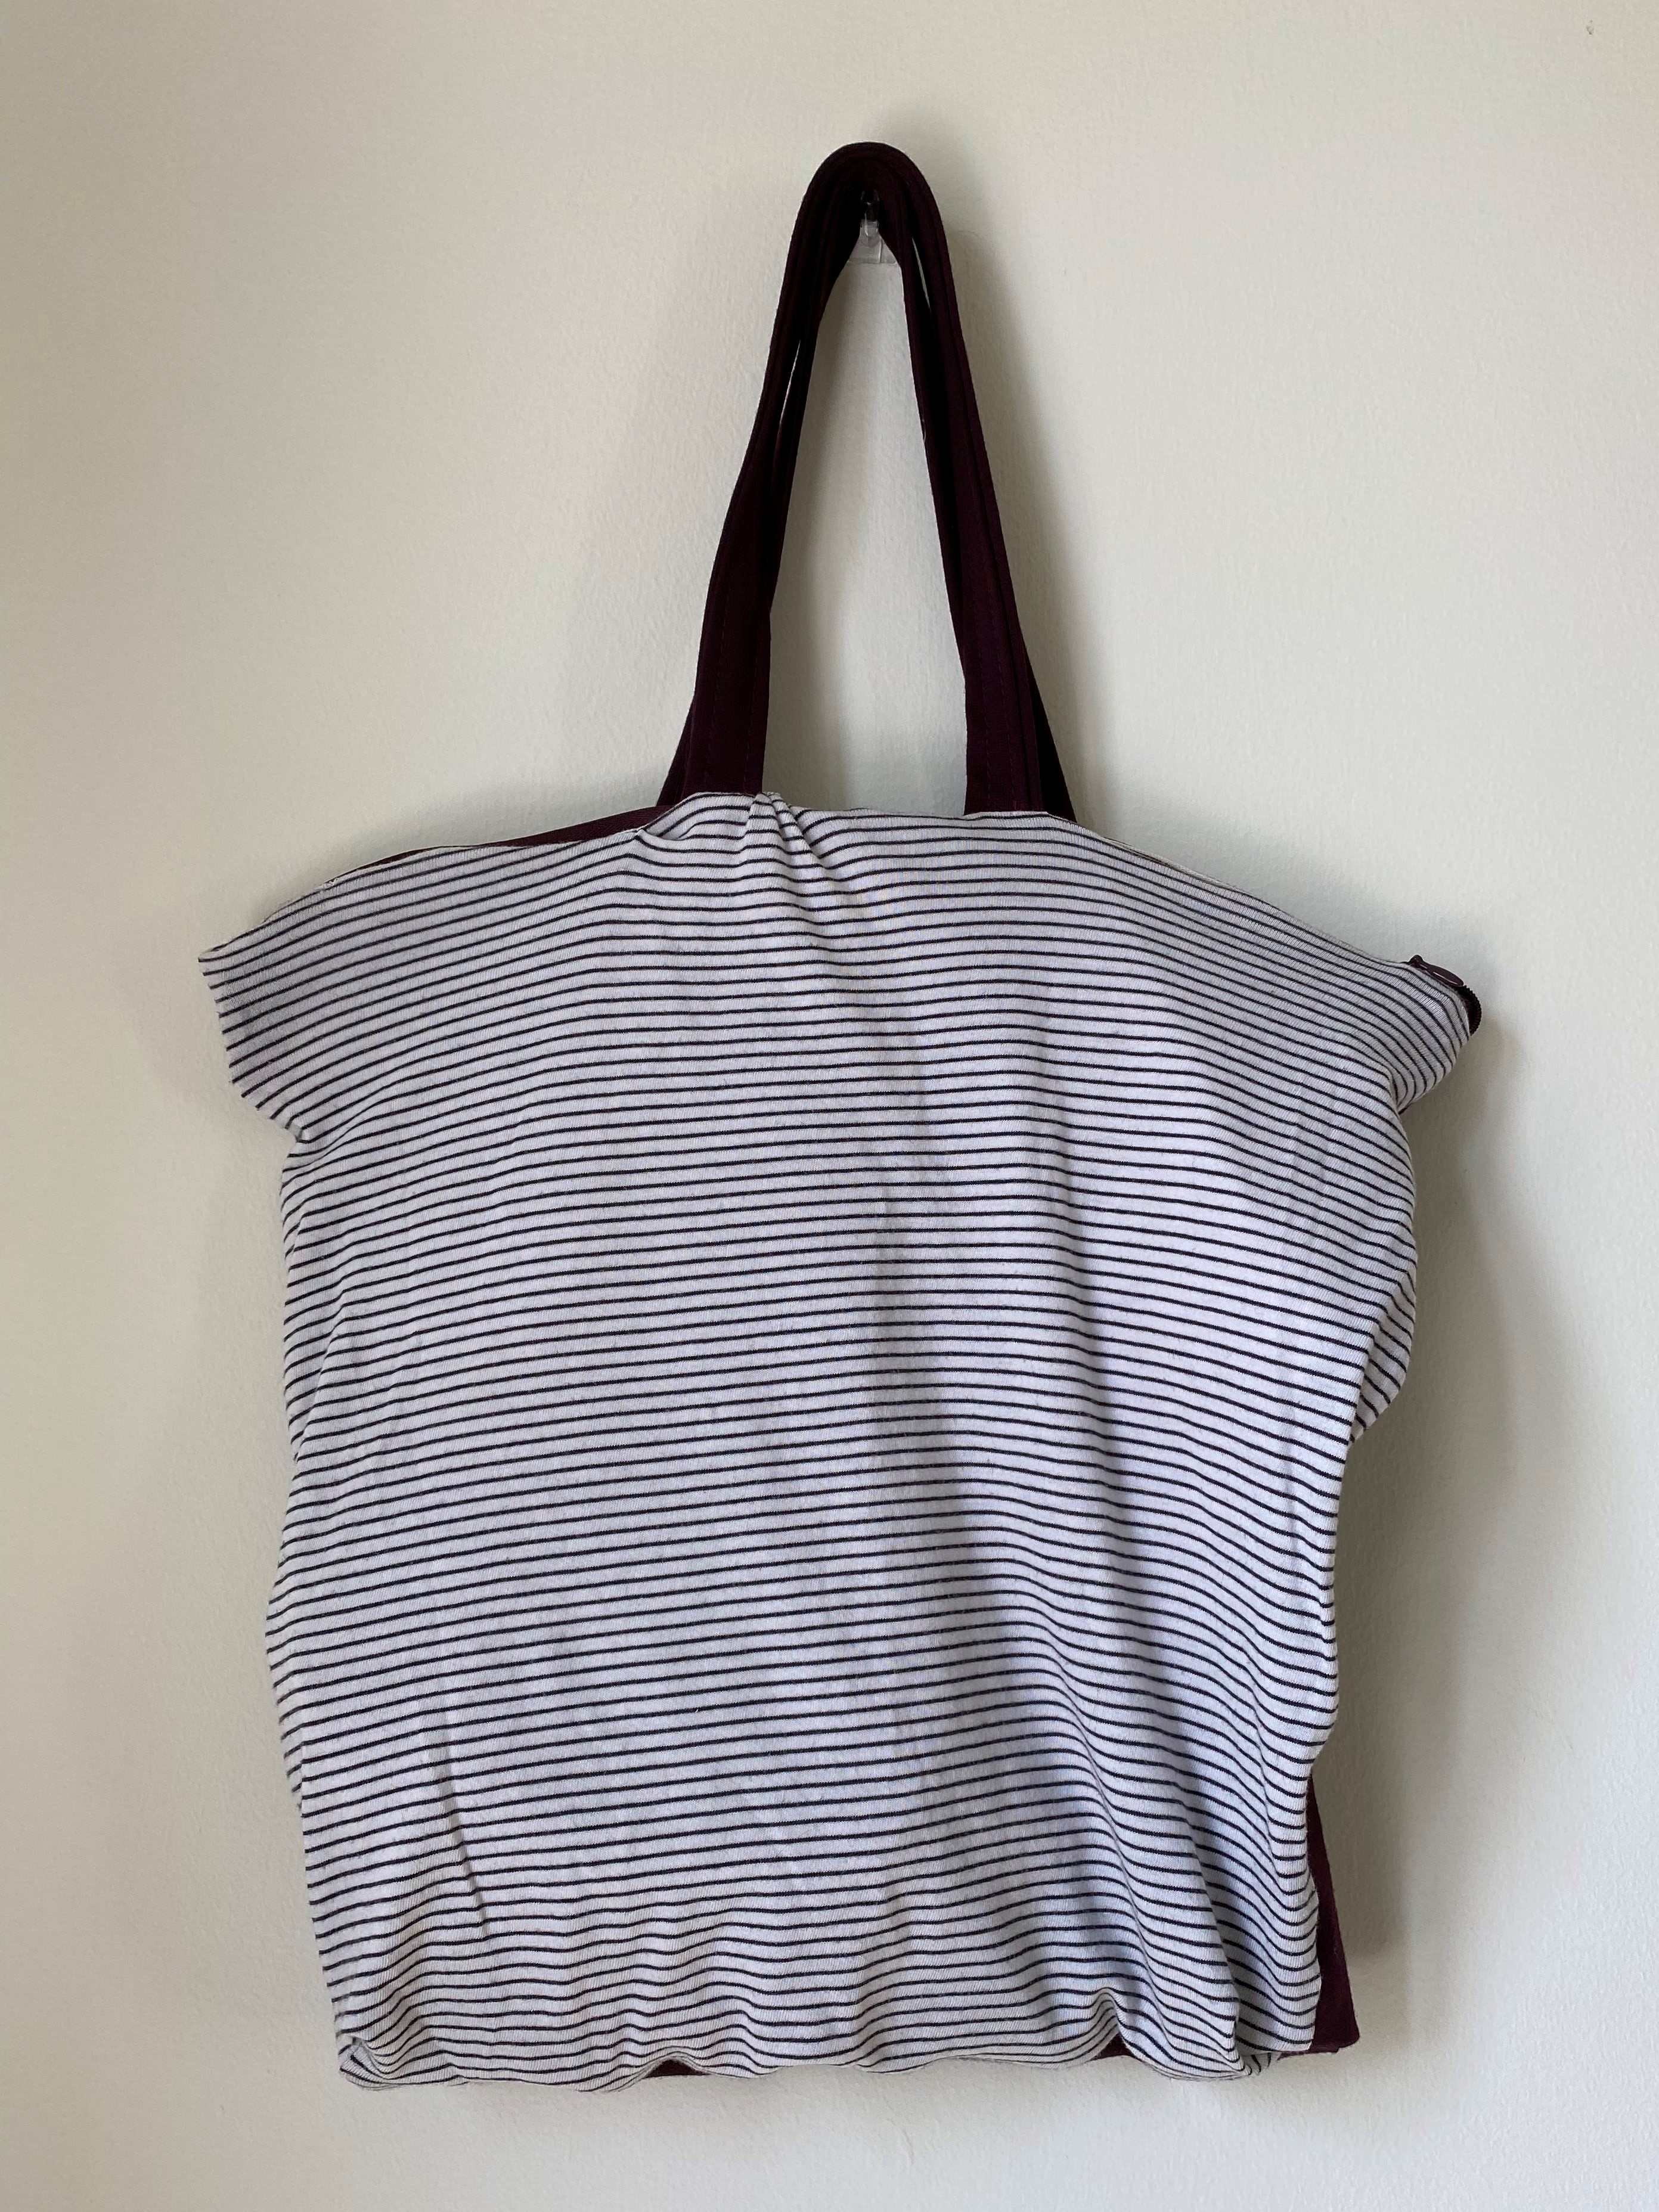
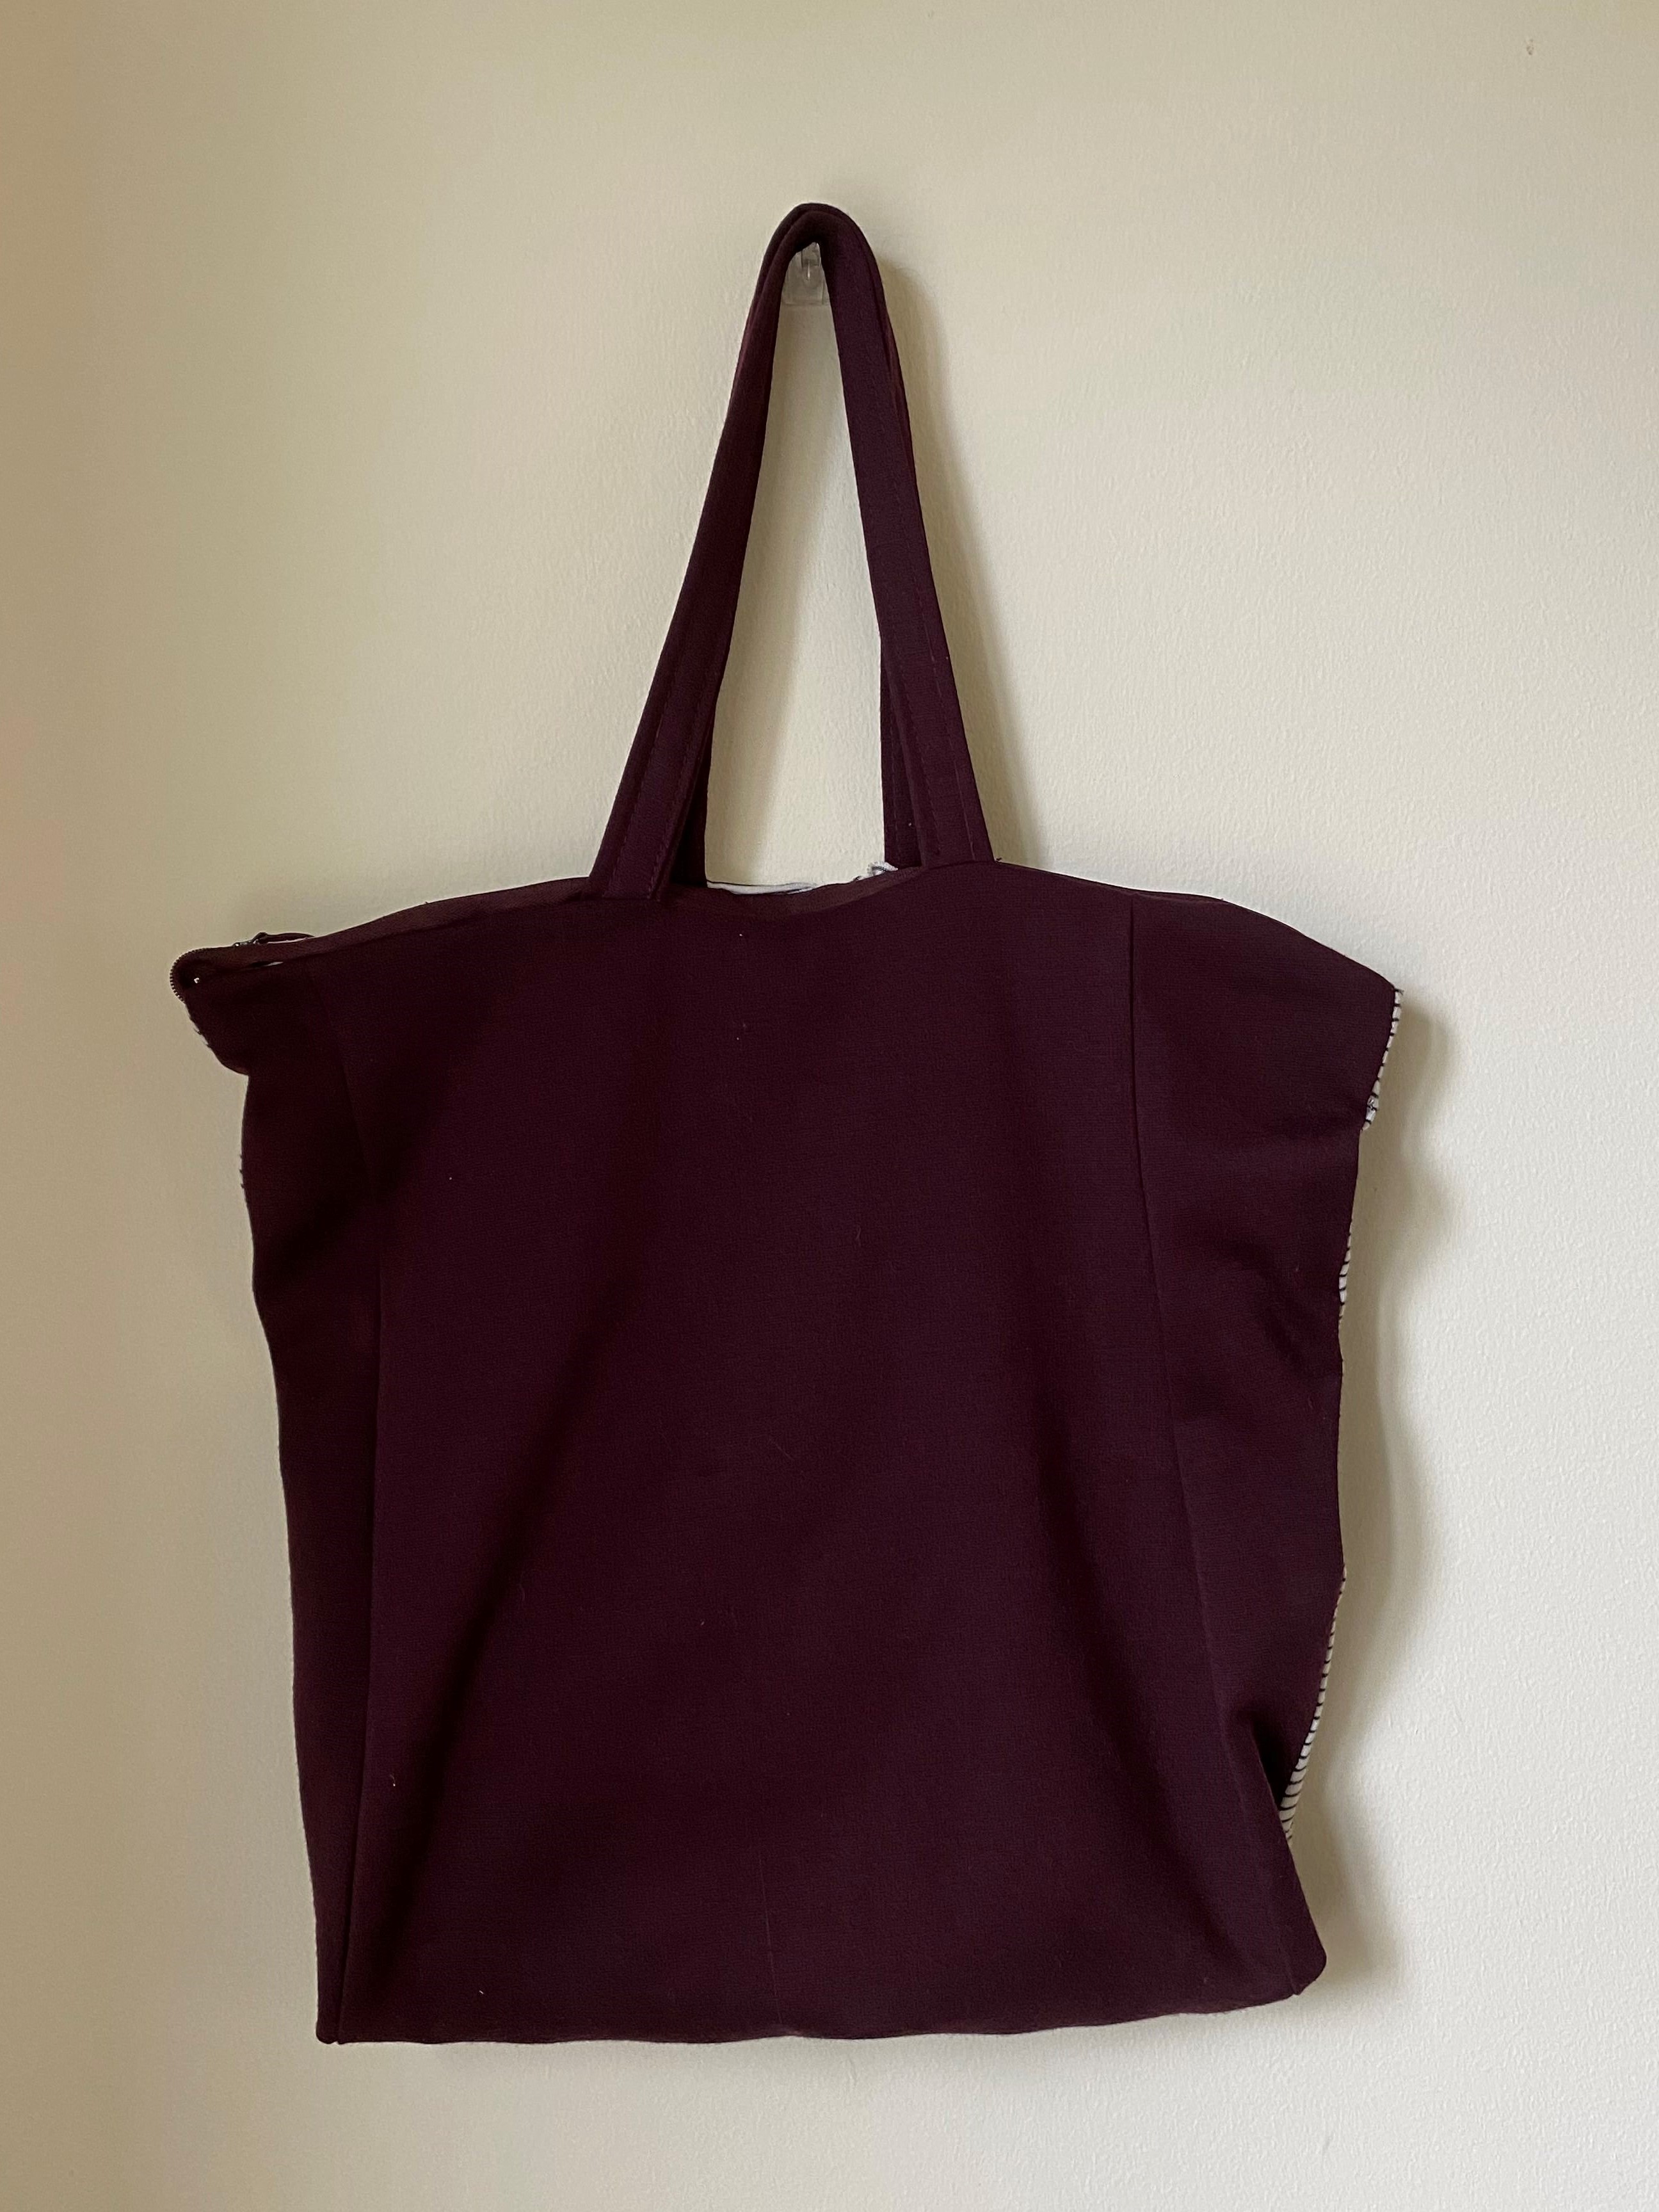
4. Custom Tote Bag
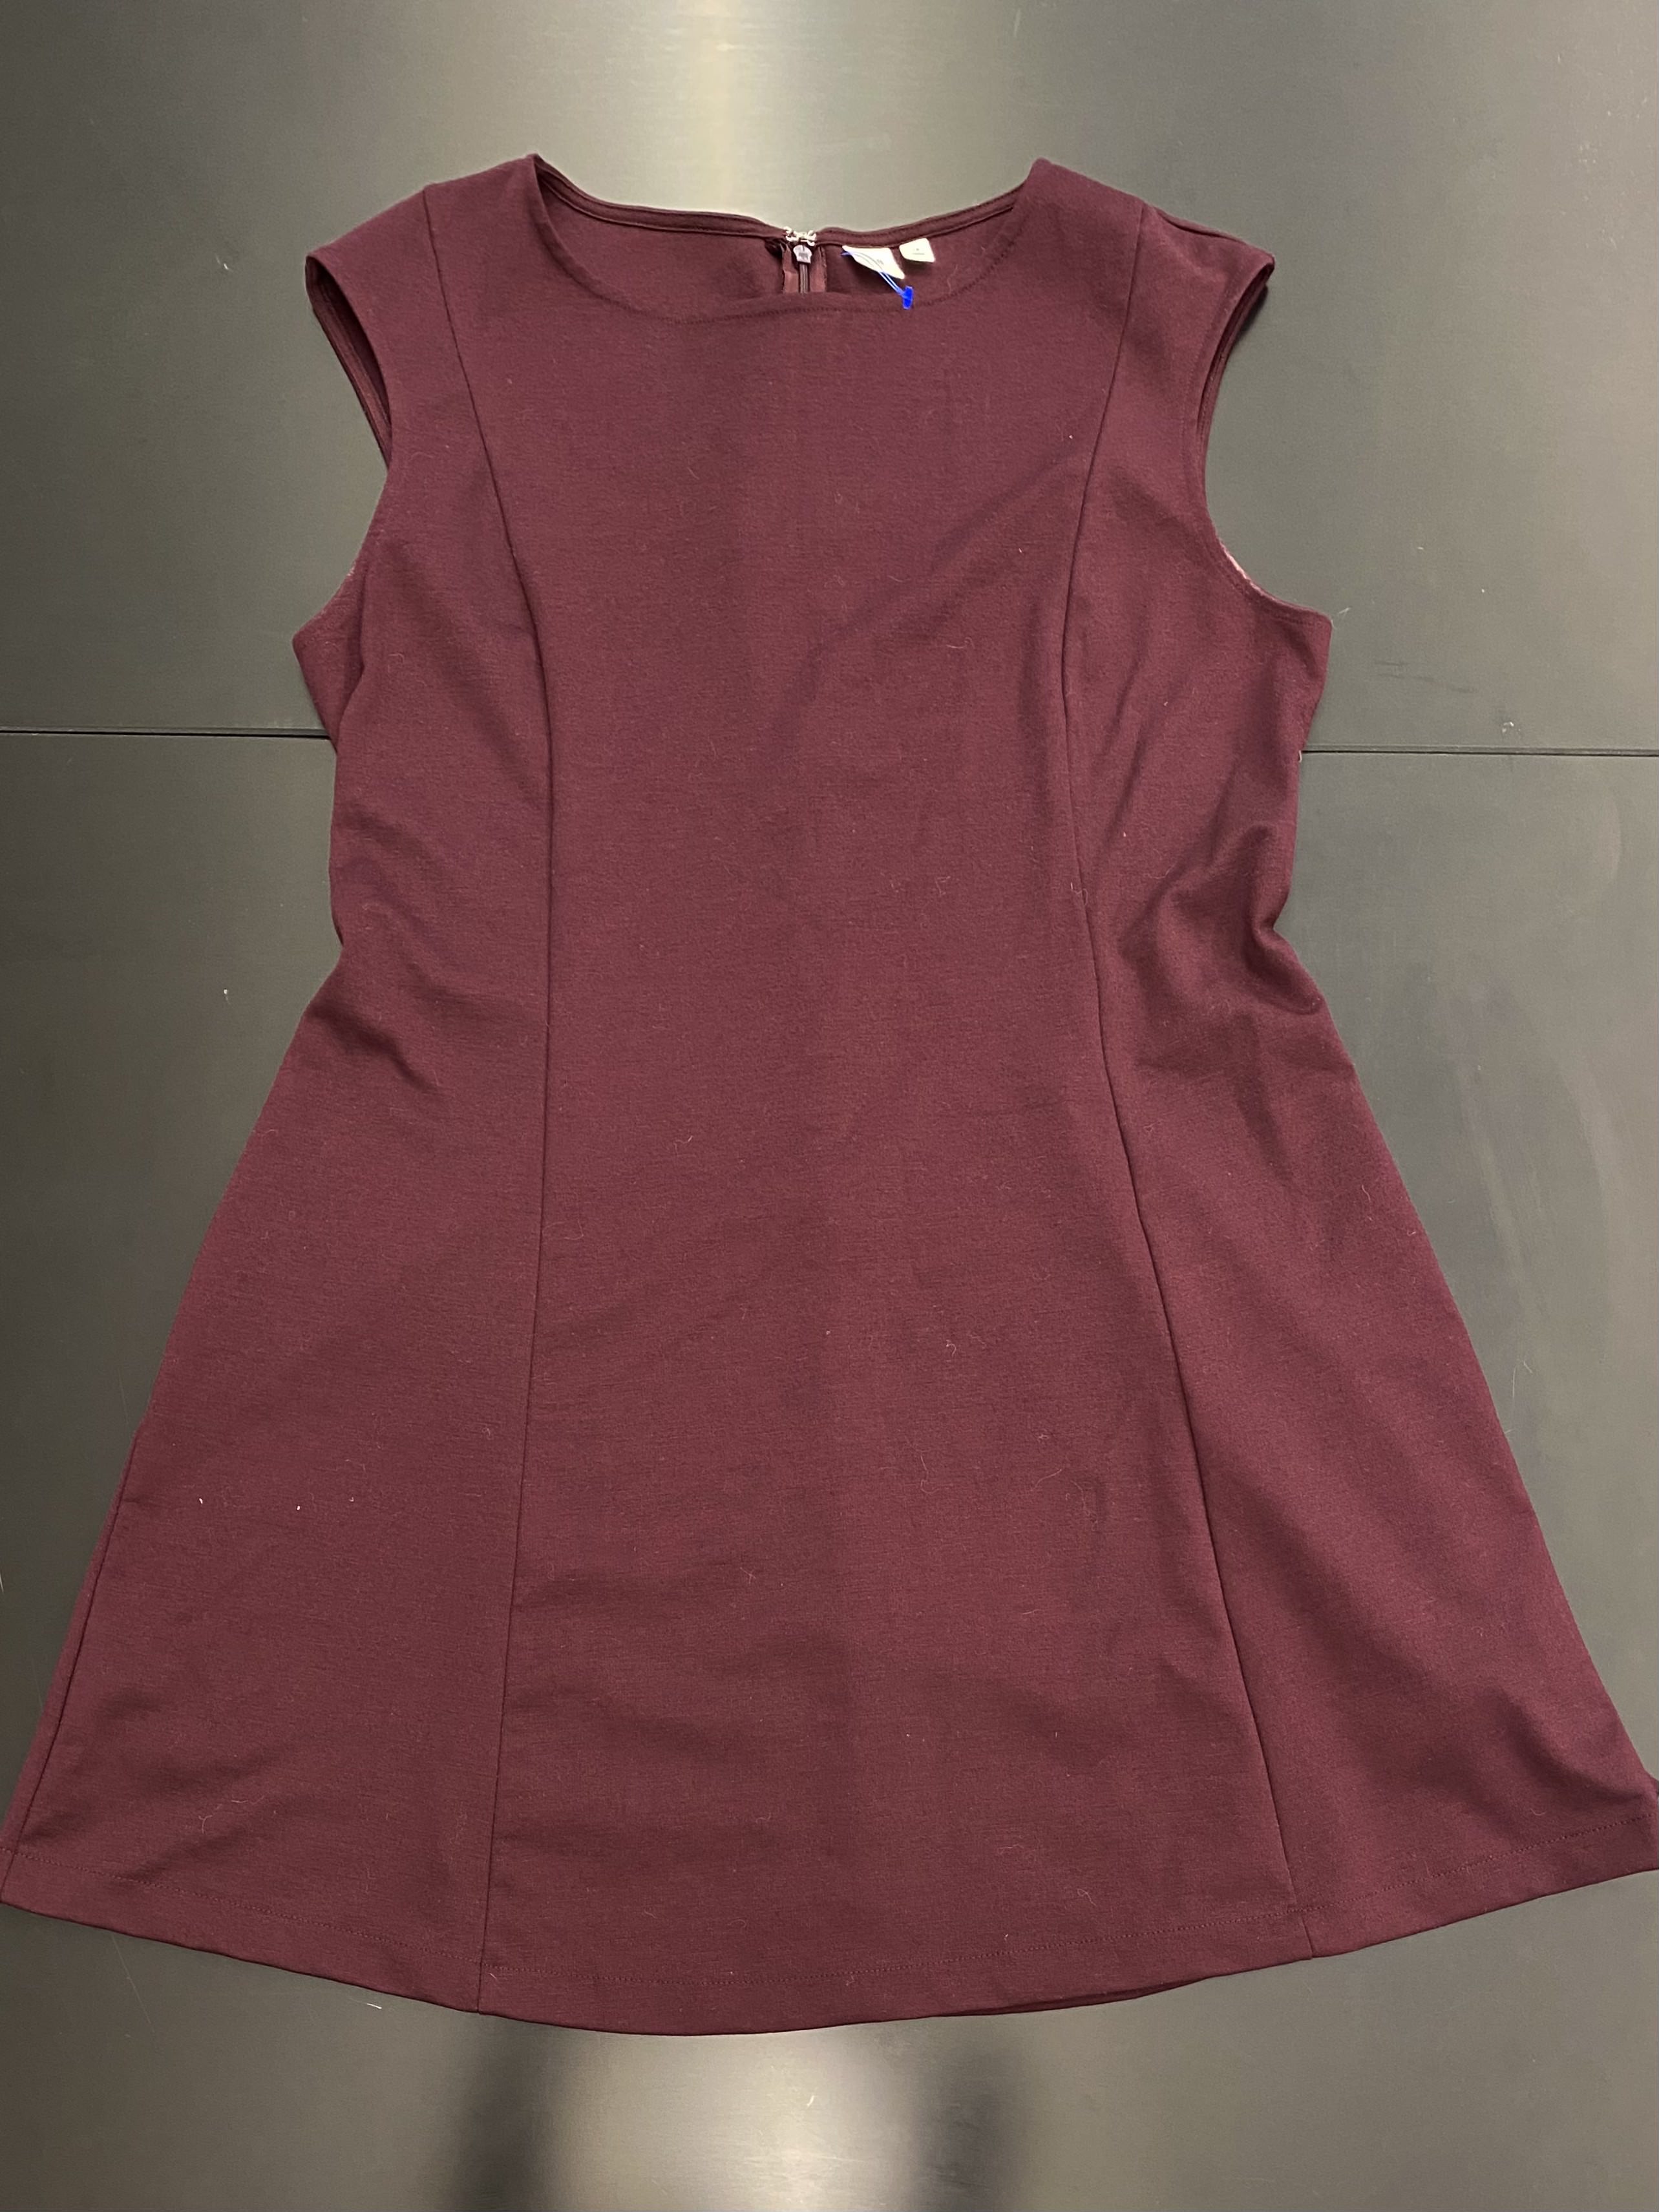
I decided to make a bag 14” tall, 13” wide and 2” deep, without an outer pocket. I used an old gap dress and removed the zipper and used that for my tote bag. I accidentally cut the dress wrong which left me with not enough fabric for the back side of the tote. I decided to use an old shirt of mine.
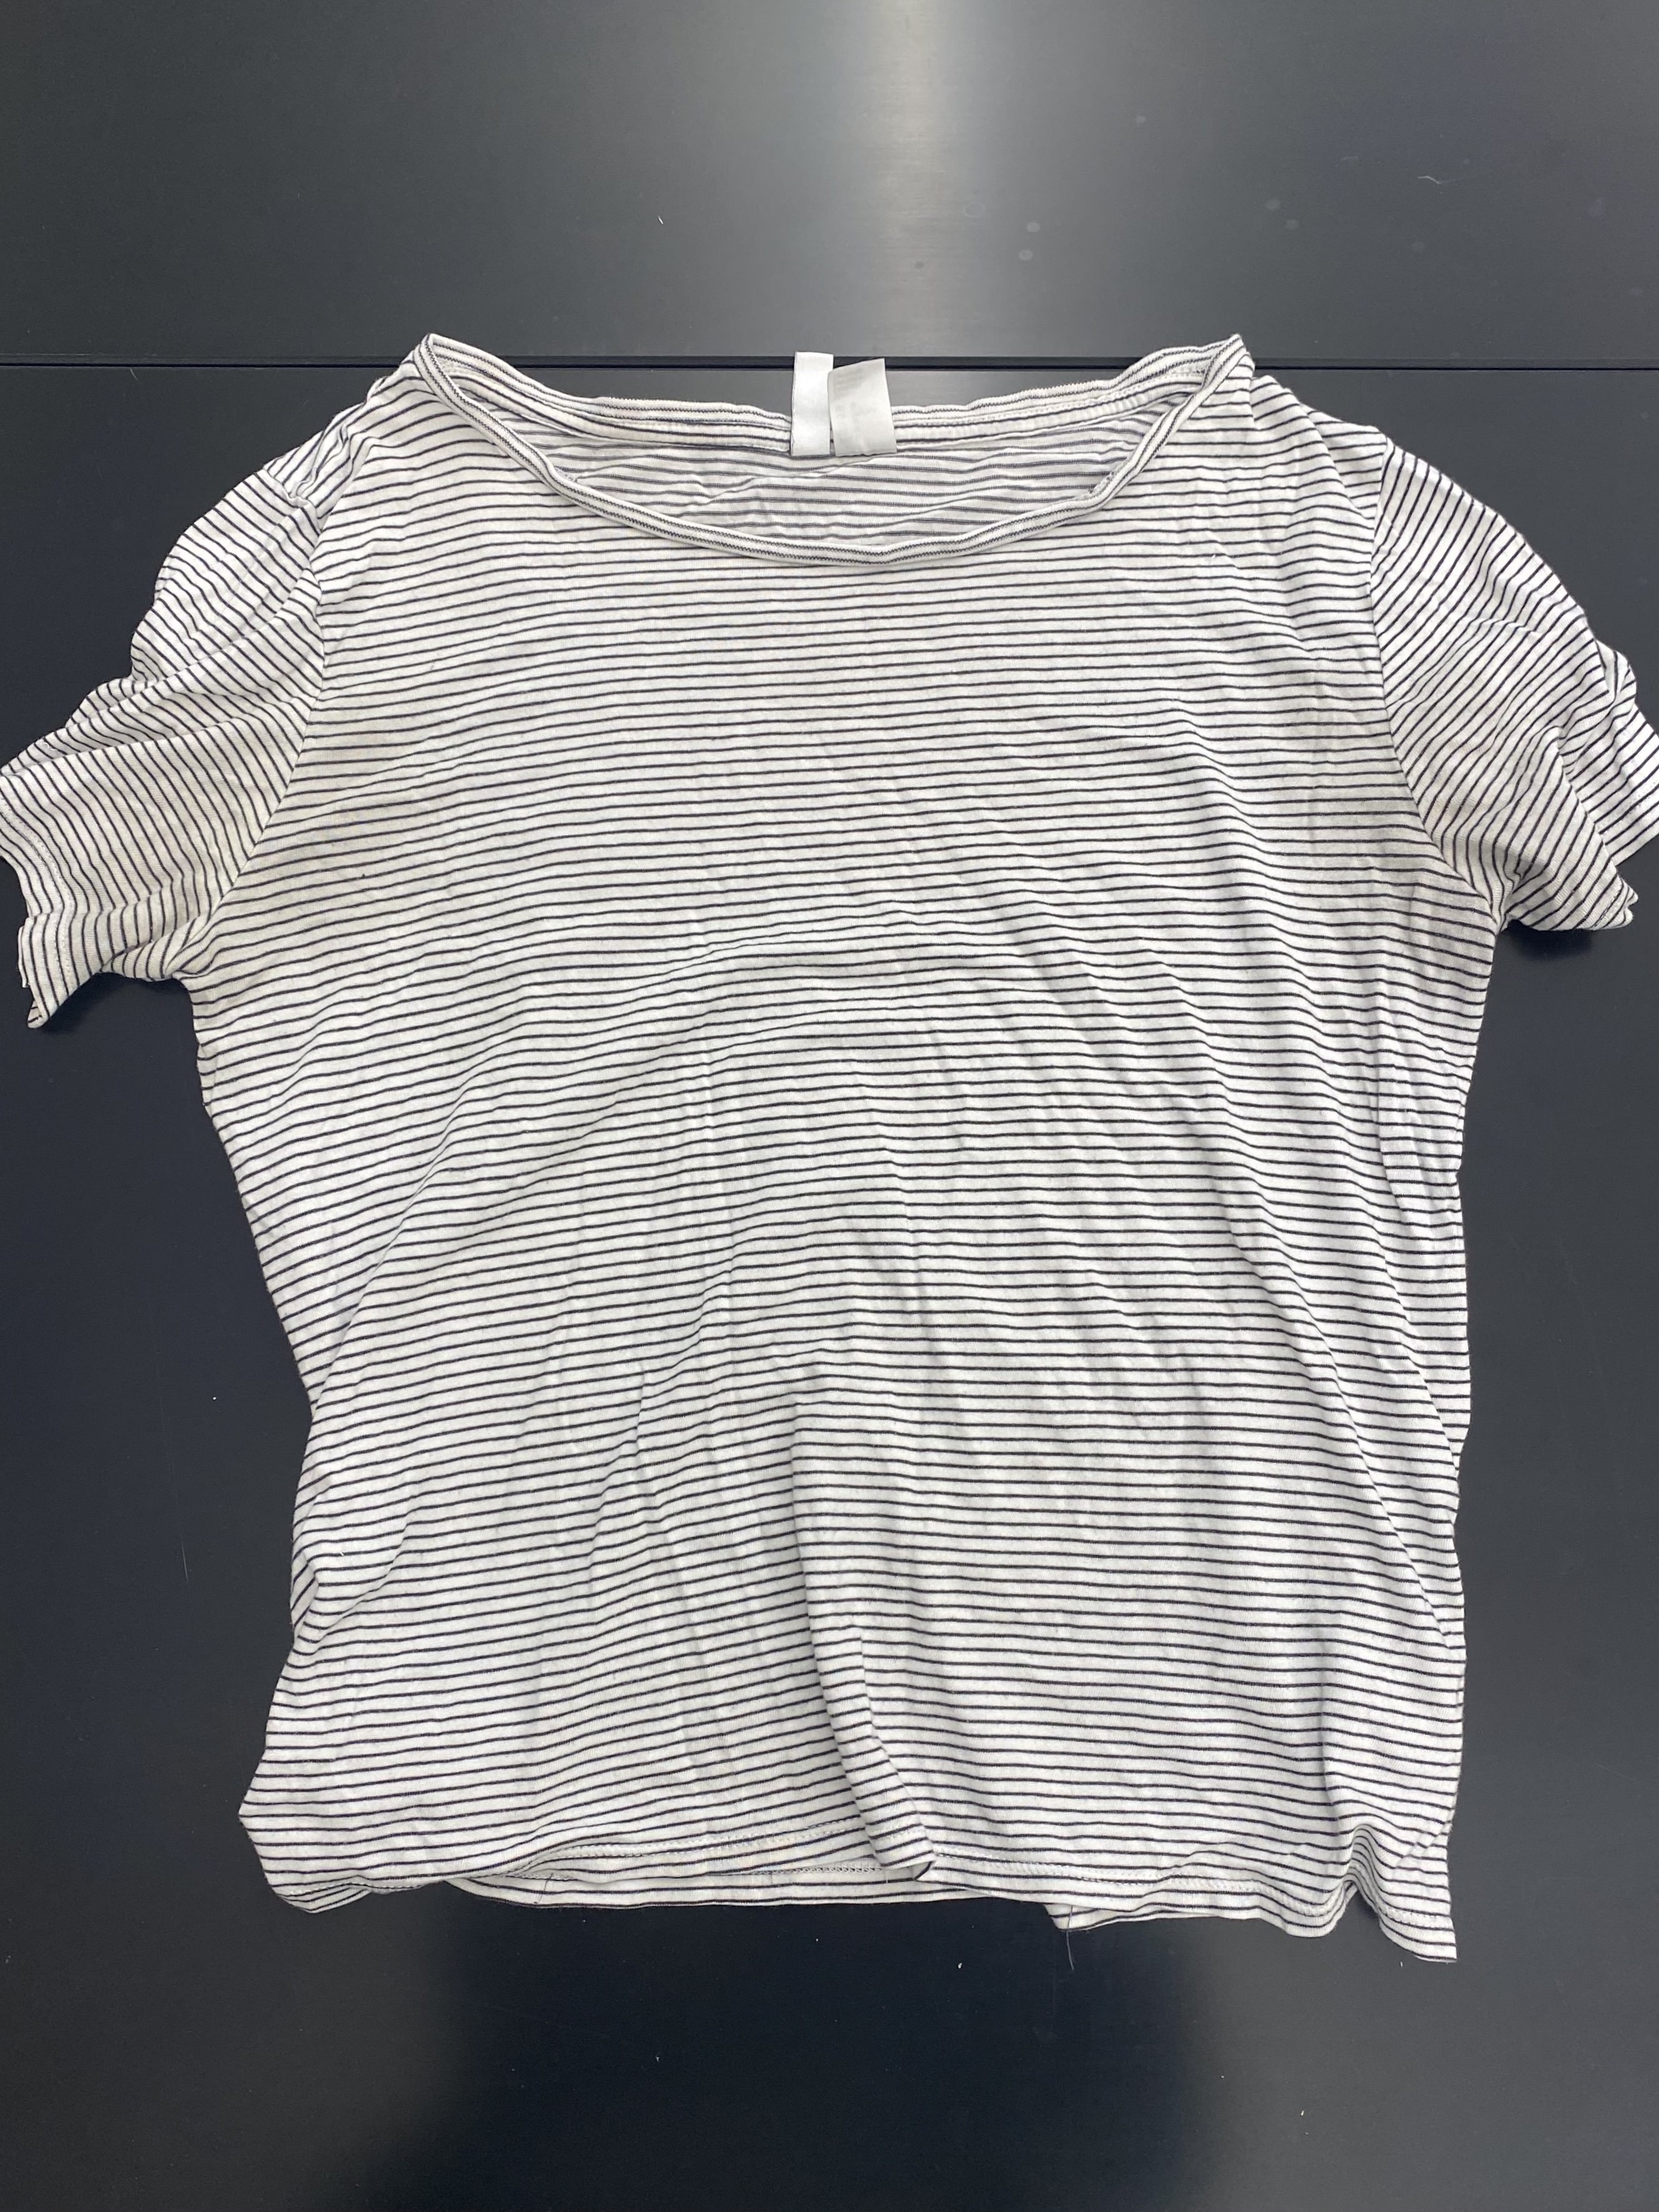
Turns out that the shirt I used had a very stretchy fabric. This was difficult to work with because the fabric will stretch and move around easily.
Other than that, the process was very straightforward. I made some adjustments, such as not using interfacing fabric and not folding the inner pocket in half because it turned out smaller than what I expected. The dimensions of the bag matched the inputs expected.